How to Create a Blog with Modern SharePoint News Pages
Do you remember the blog site template in SharePoint 2010? That’s a long time ago right? The template offered companies an out-of-the-box template to allow employees to blog about interesting content. To be honest, I don’t remember the template being used that often. Not long after the release of SharePoint 2013 the template was deprecated.
Eventually, the blogging feature moved the user’s profile within Delve. This is where the first release of modern SharePoint pages were introduced. Unfortunately, there was never any effort from Microsoft to improve the personal blog. One of the main issues was the absence of a feature to display the blog on a centralized home page. The whole blogging within SharePoint seemed to fade away.
That said, the blog is making a bit of a revival. We still receive, on a regular basis, requests from customers to implement a blog within their SharePoint portals. This used to be a bit of a struggle but with the release of modern SharePoint news pages and page templates, we don’t need a blog site template anymore. Follow me and let me show you how easy it is to create a blog within your SharePoint portal.
Step 1: Create a site column
We are going to create a blog post by using a modern SharePoint news page. The first step is the creation of a site column called: PageCategory. This column has three options:
- Blog
- News
- Page
This will make more sense later on. Just do it! Apply the following options:
- Column name: PageCategory
- Type: Choice
- Require: No
- Choices: Blog / News / Page
- Default value: No
You can rename the name of the column after its created. For example: Category.
Step 2: Add the site column
Go to the sites pages library and open the settings. Add the site column from the previous step:
Step 3: Create a page template for your blog
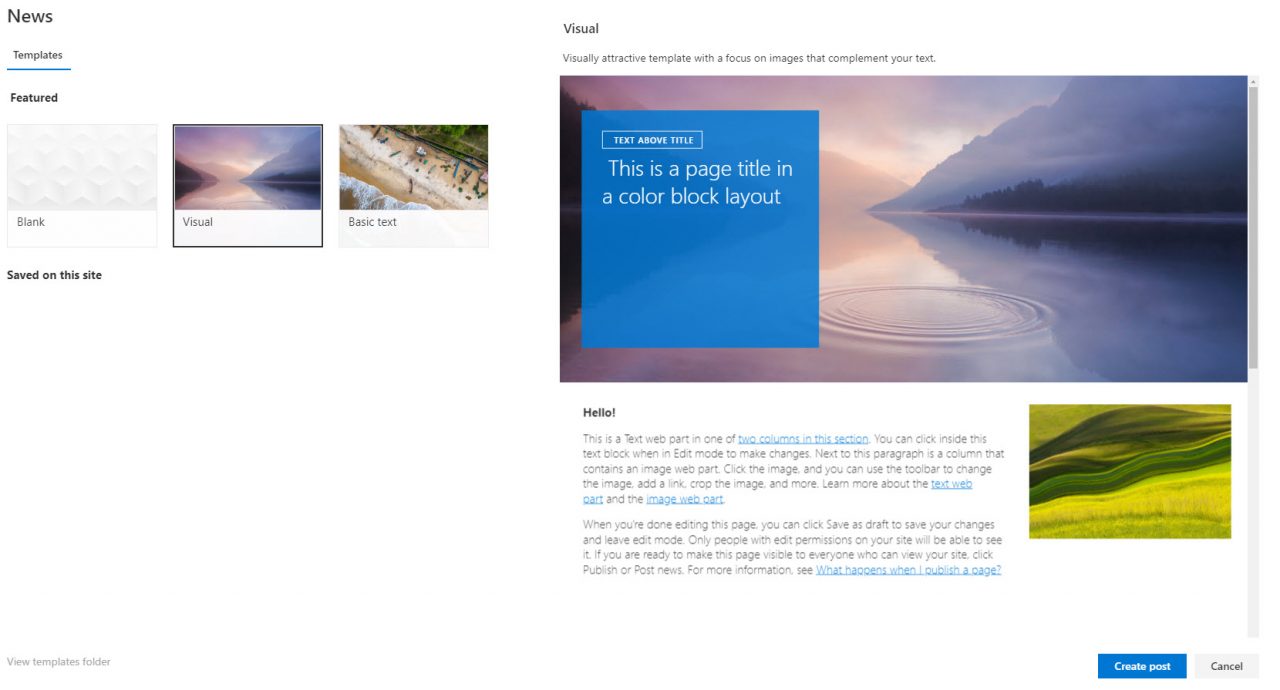
In one of my previous posts, I discussed the arrival of SharePoint page templates. We are now going to create a template specifically for blog posts. Click on the new button and select news post:
Pick one of the standard templates of your choice. I am going for the visual template! You are now going to define the content of your blog template:
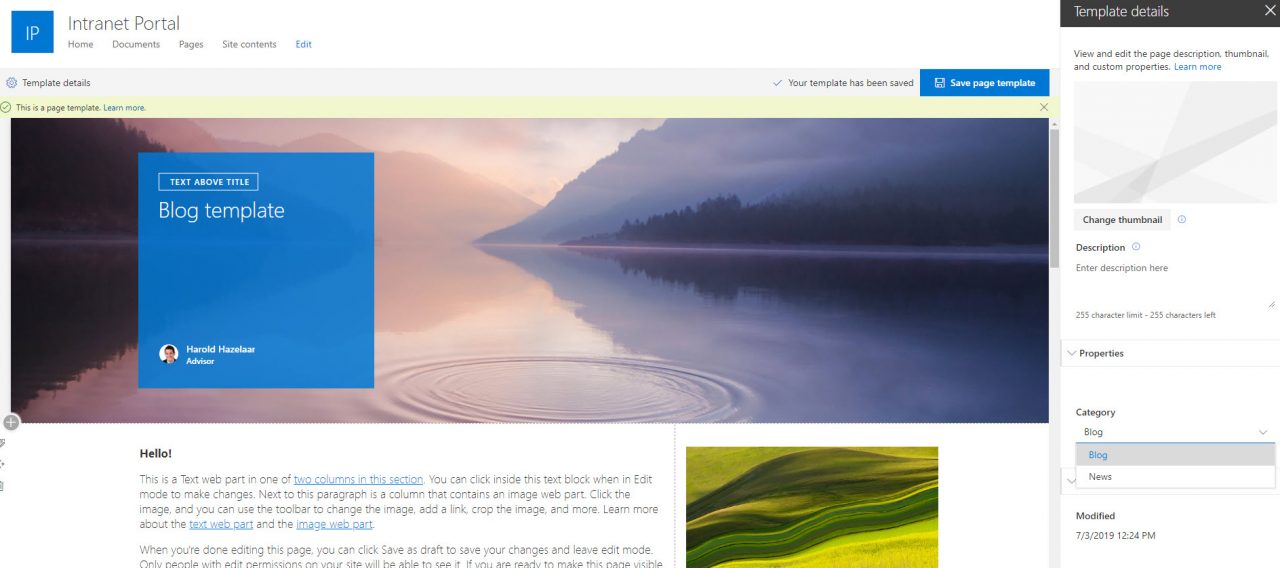
- Add or remove web parts for upcoming blog posts. Are you ready?
- Click on the arrow next to save as draft.
- Select save as template. The next step is important! Open the template details menu and select the value blog:
- Save the template by clicking on the blue save page template button.
Your newly created blog template is now stored in the sites pages library within the templates folder.
Step 4: Create a blog post
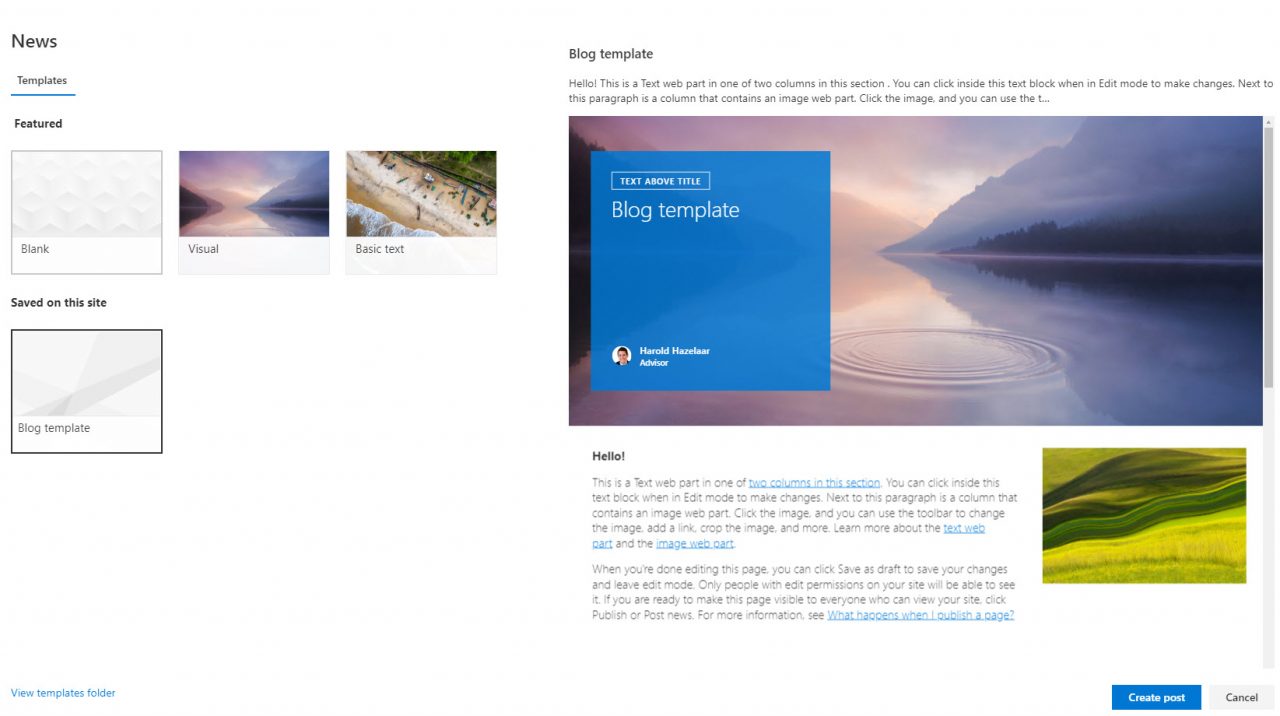
You are now going to create a blog post with the template from the previous step. Click on new and select news post:
Your brand new blog template is available. From here, you can select the template and click on create post; start adding content to your blog and publish.
Step 5: Modify the news web part
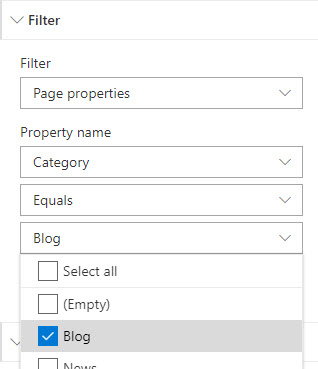
The final step is modifying the current news web part to only display blog posts. Edit the news web part and select the following options:
With these options, only blog posts are displayed. The employees don’t even have to open the page details because the template remembers the setting of the properties. Pretty awesome right? We have been applying this solution and its been pretty successful. Hopefully, this will help a lot of people out there! Don’t forget to add another news web part so your news posts are displayed. Now you have a nice combination between blogs & news.


