Deploy an Azure Application Using Visual Studio Team Services
In today’s Ask the Admin, I will walk you through deploying an app in Azure using an Azure Resource Manager (ARM) template and Visual Studio Team Services (VSTS).
If you have been following my series of articles on VSTS, you will know that it can be useful for sysadmins who are working with DevOps teams that deploy apps to Microsoft Azure. For more information on VSTS, see What Is Visual Studio Team Services? on the Petri IT Knowledgebase.
The instructions that follow show you how to upload an ARM template to VSTS. It can be your own or one downloaded from the Azure quickstart templates gallery hosted on GitHub. You will deploy the template to Azure without leaving VSTS.
Upload an ARM Template to VSTS
The first step is to get an ARM template into VSTS. You might have created a template already from scratch or you can upload an existing template. This is what I will show you how to do below:
- Log into your VSTS site using the URL provided at sign up. It should look something like this: myproject.visualstudio.com.
- On the VSTS homepage under Projects, click the project where you want to upload the template.
- In the list of options across the top of VSTS, click Code and select Files from the menu.
- On the left of the VSTS, you will see the name of the current branch under the project name. If you only have one branch, you will see Master. If you have more than one branch, select the branch that you would like to use by clicking on the arrow to the right of the branch name. Select the required branch from the list. You can also create a new branch if needed.
For more information on branches, see GitHub For Windows — Branches, Pull Requests, and Conflicts on Petri.

- Click Upload file(s) on the right of VSTS.
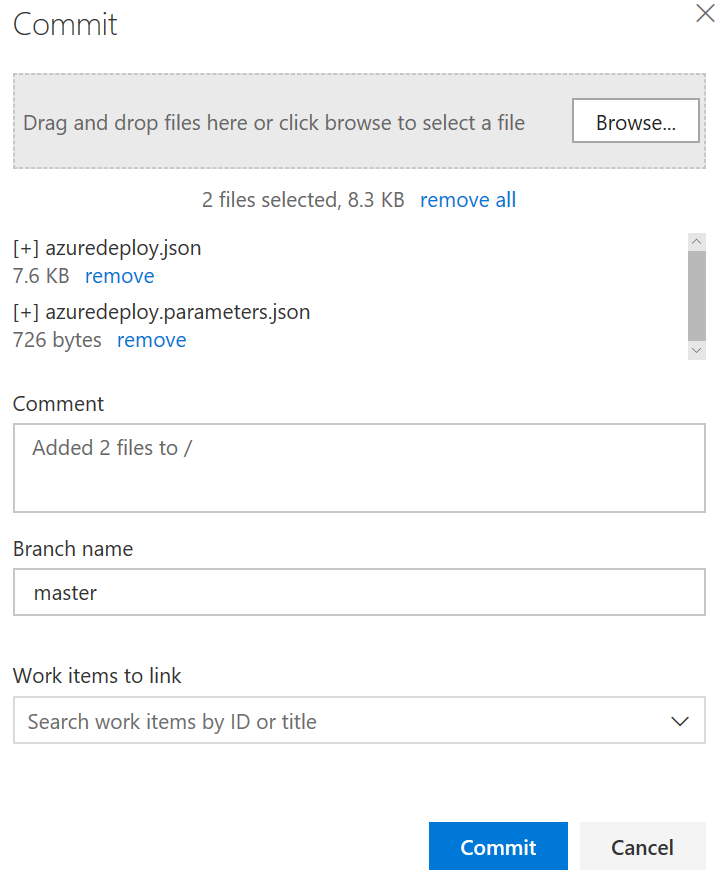
- In the Commit dialogue, click Browse and select the files you want to upload.
- Click Commit in the Commit.
You can either deploy the template as is or edit it in VSTS or Visual Studio.
Deploy ARM Template
The next step is to deploy the template to Azure. Before you can deploy a template to Azure, you will need to establish a connection between VSTS and Azure. For more information on connecting VSTS to Azure, see Connect Visual Studio Team Services to Azure Using a Service Principal Name on Petri.
Once you have made a connection to Azure, deploy the template. Note that VSTS users deploying templates must be a member of the Build Administrators group in VSTS.
- Click Build and Release at the top of VSTS and click Builds in the options that appear below.
- Click + NEW in the top right corner.
- Click the empty process link under Select a template.
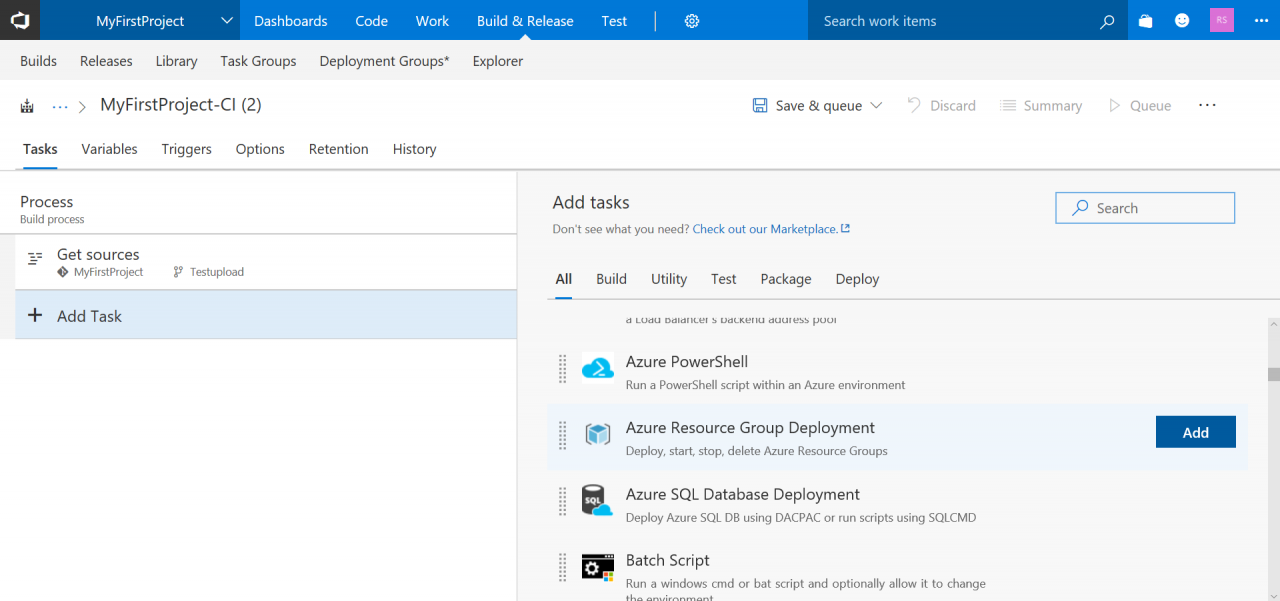
- Click Add Task in the Process menu on the left.
- Find Azure Resource Group Deployment under Add tasks and click Add to the right.

- Azure Deployment: Create Or Update Resource Group action on, will appear in the Process menu on the left.
- Click Azure Deployment: Create Or Update Resource Group action on.
- In the Azure Details section on the right, select your Azure subscription or Service Principal Name (SPN) in the Azure subscription.
- Select Create or update resource group in the Action.
- In the Resource group box, type the resource group name that you want to deploy the template to or select it from the dropdown list.
- Select a location for deployment using the Location.
- Set the Template location to the Linked artifact.
- Click the dots to the right of Template item and in the Select dialogue, choose azuredeploy.json from your project.
- Click the dots to the right of Template parameters item and in the Select dialogue, choose azuredeploy.parameters.json from your project.

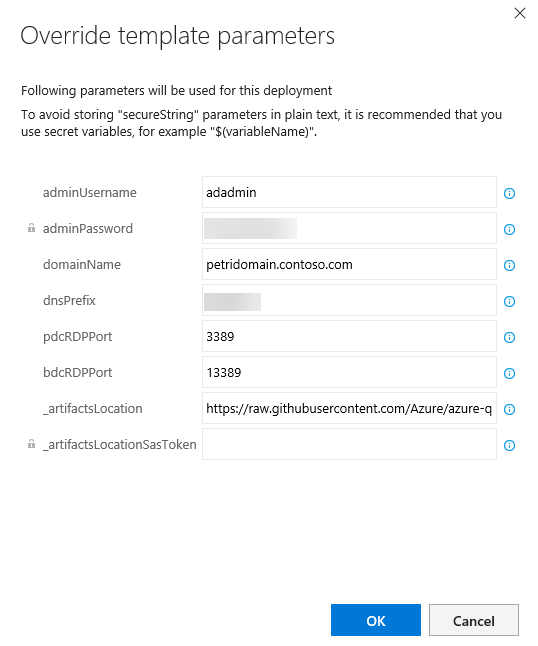
- If you need to specify parameter values or override values in the parameters file specified above, click the three dots to the right of the Override template parameters.
- Set the parameter values as required in the Override template parameters dialogue and click OK.
- Set Deployment mode to Incremental.
- Click Save and queue at the top right of VSTS.

- In the Queue Build dialogue, select Hosted in the Agent queue.
- Select the branch containing the code you want to deploy in the Branch.
- Click Queue to complete the process.
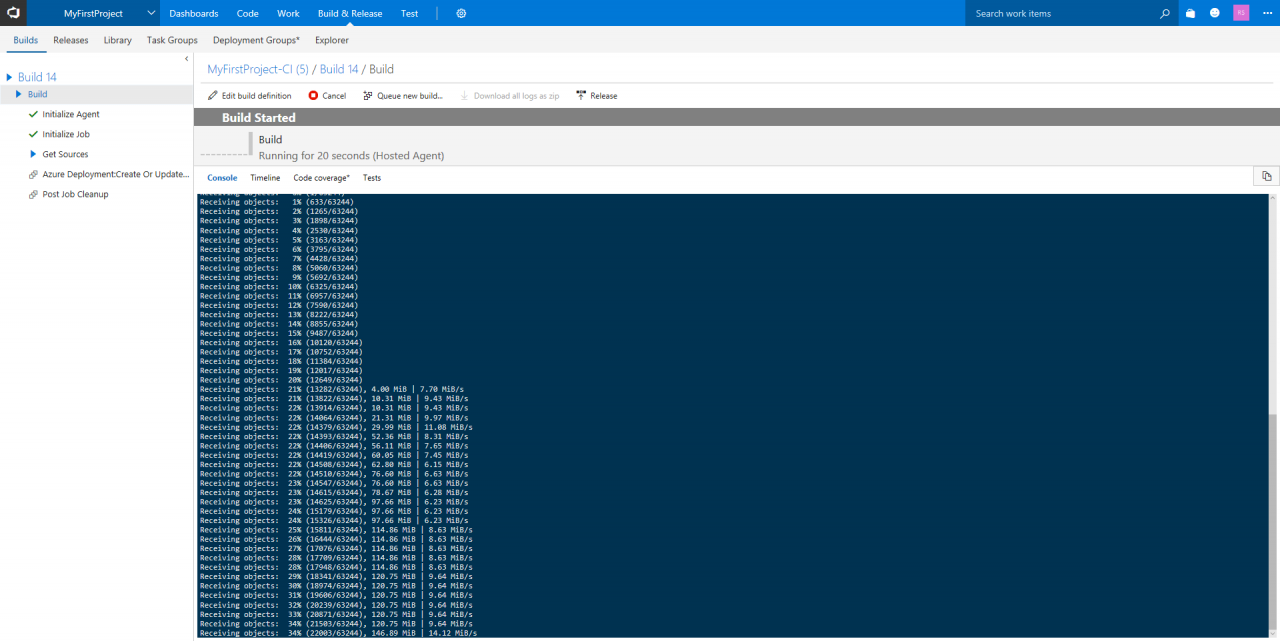
The Build window will appear in VSTS and with a few minutes, the build process should start.
Once the build process has completed, you will find the app deployed to the specified resource group in your Azure tenant.


