


Configure Multiple NICs in an Azure Virtual Machine
In this Ask the Admin, I’ll show you how to provision an Azure VM with multiple network interface cards (NICs), and explain some of the current limitations of the feature.
The ability to add multiple NICs to VMs has only recently been added to Azure, and allows more flexibility in managing network traffic. For example, you might want to isolate data from management traffic, or utilize a virtual network appliance that requires two or more NICs.
Multiple NICs in Azure VMs
There are currently a few restrictions on the use of multiple NICs. The first is that you cannot add NICs once a VM has been provisioned, the VM must be connected to an Azure virtual network (vnet), and VMs with multiple NICs cannot forward packets not destined for or originating from one of the IP addresses assigned to the VM. Multiple NICs on a VM can be connected to the same subnet, but can’t be managed by Azure network security groups (NSGs) and Forced Tunneling can’t be applied, except on the default NIC.

Small and medium sized VMs don’t support multiple NICs, so you’ll need to provision a VM with 4 cores (Large) to get 2 NICs, or 8 cores (Extra large) to get 4 NICs. Extra NICs can only be added using PowerShell, so you’ll need to set up the latest Microsoft Azure PowerShell tools on your management PC and make a connection to an Azure subscription as outlined in Setup Windows Azure PowerShell Management on the Petri IT Knowledgebase. If you already have the Microsoft Azure PowerShell tools installed, make sure they are updated using the Web Platform Installer to get the latest cmdlets.
Provision a virtual machine with two NICs
Open a PowerShell prompt with local administrator privileges. If you haven’t already done so, set the Azure subscription in PowerShell. Type Set-AzureSubscription “Pay-As-You-Go” -CurrentStorageAccount portalvhdsxgwgzn2ml54p5 and press ENTER, replacing “Pay-As-You-Go” and portalvhdsxgwgzn2ml54p5 with the name of your Azure subscription and storage account. You can get your Azure subscription and storage account names using the Get-AzureSubscription and Get-AzureStorageAccount cmdlets respectively.
TIP You might find it easier to use the PowerShell Integrated Scripting Environment (ISE) instead of a PowerShell prompt, which provides additional features for developing scripts, including the ability to run selected pieces of code.
Now copy and paste the code below into the PowerShell prompt, changing the values of each variable according to your own requirements. Don’t forget that the cloud service name ($serviceName) should be unique, and any IP addresses specified not already in use, otherwise the new-azurevm cmdlet will fail. If you want to use a more complex script with error checking, take a look at Provision Domain Controllers in Azure using PowerShell on the Petri IT Knowledgebase.
$serviceName = "CONTOSOSRV1"
$username = "CONTOSOSRV1admin"
$vnetName = "CONTOSO"
$location = "North Europe"
Paste the next piece of code, which will be used to determine the latest Windows Server 2012 R2 Datacenter edition image.
$images = Get-AzureVMImage | where { $_.ImageFamily –eq “Windows Server 2012 R2 Datacenter” } | Sort-Object –Descending –Property PublishedDate
The $newVM variable contains most of the parameters for the new virtual machine. Notice that I’m creating a Large VM with a static IP address on Subnet-1 for the default NIC. My Azure virtual network has already been set up manually using the web management portal. You can replace any of the hardcoded values below to suit your environment, not forgetting to replace ******** with a real password.
$newVM = New-AzureVMConfig -Name $vmName -InstanceSize “Large” -ImageName $images[0].ImageName -DiskLabel "OS" | Add-AzureProvisioningConfig -Windows -Password ******** -AdminUsername $username -DisableAutomaticUpdates | Set-AzureSubnet -SubnetNames “Subnet-1” | Set-AzureStaticVNetIP -IPAddress “10.0.0.10”
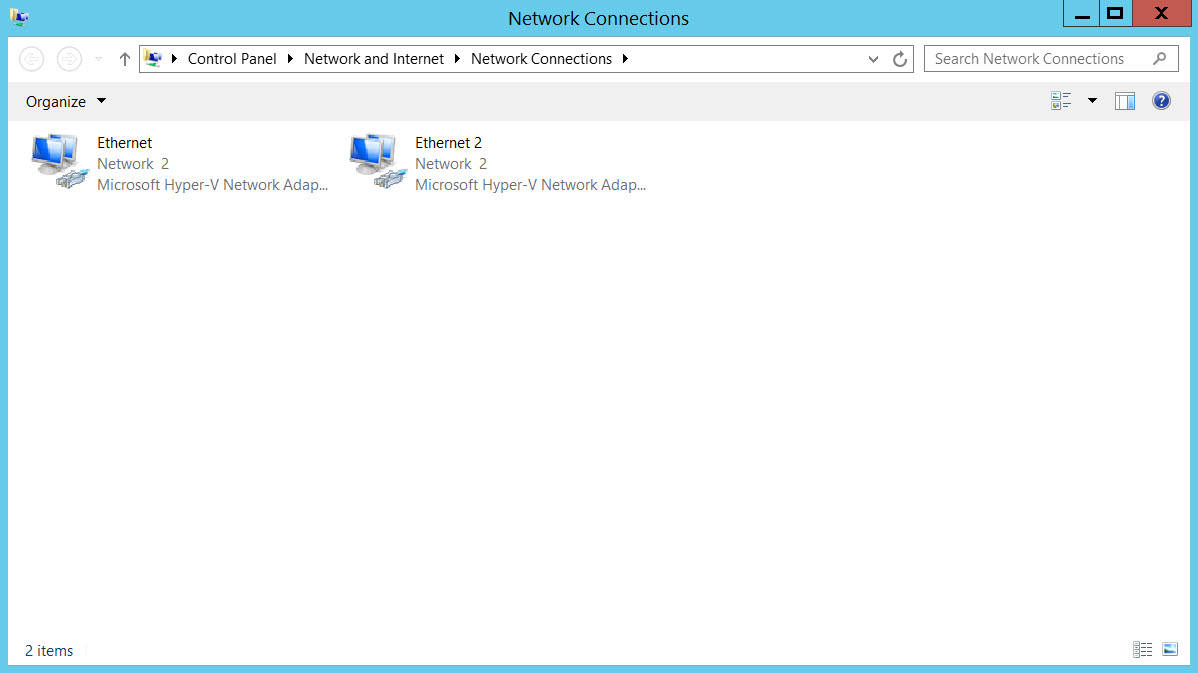
The Add-AzureNetworkInterfaceConfig cmdlet allows you to add an additional NIC to the VM. In this example, I’m setting a static IP address for the NIC on Subnet-2. There’s no reason why you couldn’t add the NIC to Subnet-1, the default first subnet name in an Azure virtual network.
Add-AzureNetworkInterfaceConfig -Name "Ethernet2" -SubnetName "Subnet-2" -StaticVNetIPAddress "10.32.0.10" -VM $newVM
And finally use the new-azurevm to provision the VM.
New-AzureVM -ServiceName $serviceName -VMs $newVM -VNetName $vnetName -Location $location -WaitForBoot