Azure Autoscaling with VMSS and Managed Disks, Part 2: Deployment
In part two of this series on Azure Autoscale, I’m going to show you how to autoscale VMs using Virtual Machine Scale Sets (VMSS) and Managed Disks behind a load balancer.
In part one of this series, I explained how VMSS and Managed Disks make it easier to deploy VMs with Autoscale. If you missed part one, you can read it here. In today’s Ask the Admin, let’s get straight down to business and deploy our first VMSS in Azure.
In this demo, I’m going to use one of Microsoft’s Azure Resource Manager (ARM) quickstart templates: 201-vmss-windows-autoscale. It is possible to deploy a VMSS, with or without Autoscale enabled, via the Azure management portal, but I’d need to manually configure a load balancer. Using a load balancer isn’t compulsory, but it’s the easiest way to present the VMs in the VM Scale Set as a single compute resource on one public IP address.
The template allows you to choose from Windows Server 2012 R2 Datacenter, 2012 Datacenter, and 2008 R2 Service Pack 1. The VM size can be specified manually, but by default is Standard_A1. Remember that not all VM sizes support load balancing. The following Autoscale rules for the VM Scale Set are hard coded into the template:
- Sample for CPU (\Processor\PercentProcessorTime) in each VM every 1 minute
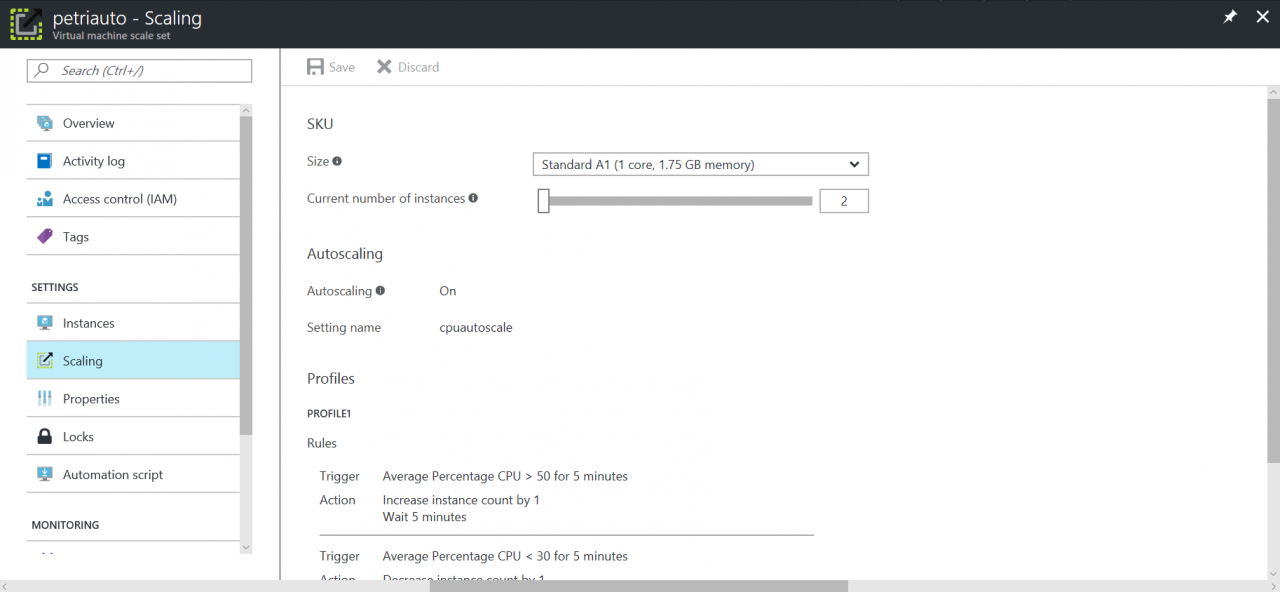
- If the Percent Processor Time is greater than 50% for 5 Minutes, then the scale out action (add more VM instances, one at a time) is triggered
- Once the scale out action is completed, the cool down period is 1 minute
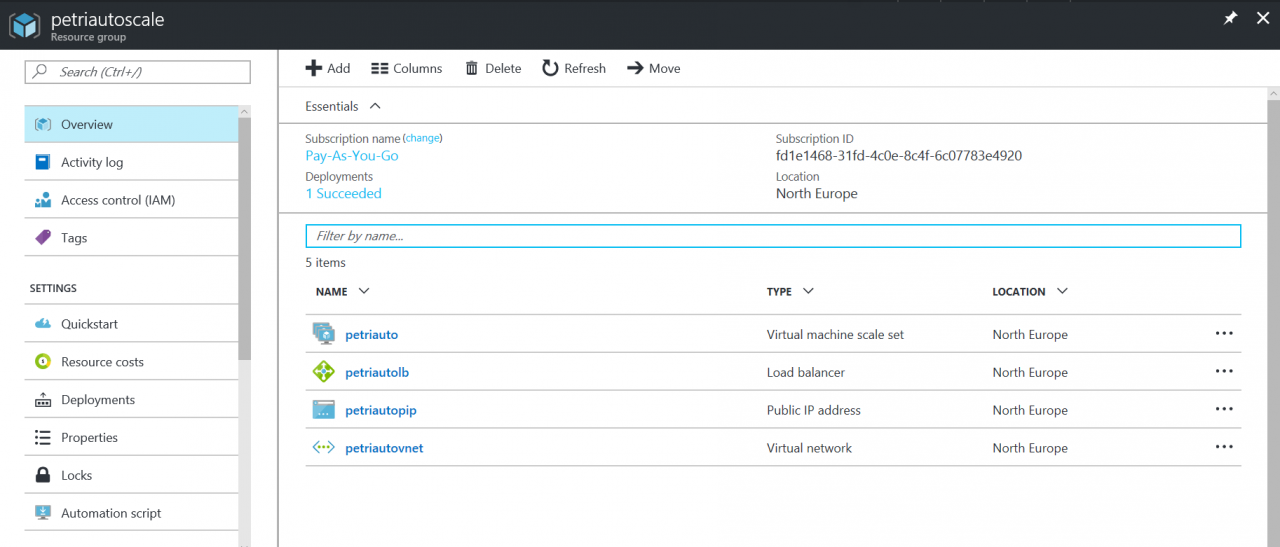
The maximum number of VMs is set to 10, and the minimum and default values are set to 1. The Autoscale settings, or any other parameters in the template, can be changed manually in the JSON code before deployment if necessary, as the Azure management portal includes a built-in JSON editor. In total, the template deploys 5 resources:
- A virtual network (VNET)
- A public IP address
- A load balancer
- A Virtual Machine Scale Set
- Autoscale settings
Deploy a VMSS with Autoscale
To complete the instructions, you’ll need an Azure subscription. If you don’t already have one, you can sign up for a free 30-day trial here. Let’s get started with the deployment.
- Open the 201-vmss-windows-autoscale template in GitHub.
- In the README.md section, click Deploy to Azure. You’ll be redirected to the Azure management portal. You will be required to log into Azure if you don’t have an active session already open in the browser.
- On the Deploy a VM Scale Set with Windows VMs and Auto Scale pane, select the Azure subscription in which you want to deploy the VMSS, in the Subscription drop-down menu under BASICS.

- Make sure that Create new is selected to the right of Resource group, and then type the name of a new resource group. I’m going to use petriautoscale in this example.
- Change the location for the new VMSS, using the Location drop-down menu if necessary.
- In the SETTINGS section of the template, change the VM size in the Vm SKu field if you want something other than the default Standard_A1. I’m going to leave the default size.
- Using the Windows OS Version drop-down menu, select the version of Windows Server that you’d like deployed on the VMs in the VMSS.
- In the Vmss Name field, give the VMSS a name. It must be between 3 and 31 characters in length and globally unique in Azure.
- In the Instance Count field, type the number of VM instances you want in the VMSS. The maximum number is 100. I’m going to specify 3 instances.
- Enter an admin username and password for the VMs in the Admin Username and Admin Password fields.
- Select I agree to the terms and conditions stated above.
- Select Pin to dashboard.
- Click Purchase to deploy the template.
Configuration Details
Once Azure has validated the parameters provided, you’ll have to wait a short time while the resources are deployed. Once complete, you’ll be redirected to the pane for the new resource group.

- On the Resource group pane, click the Virtual Machine Scale Set in the list of resources.
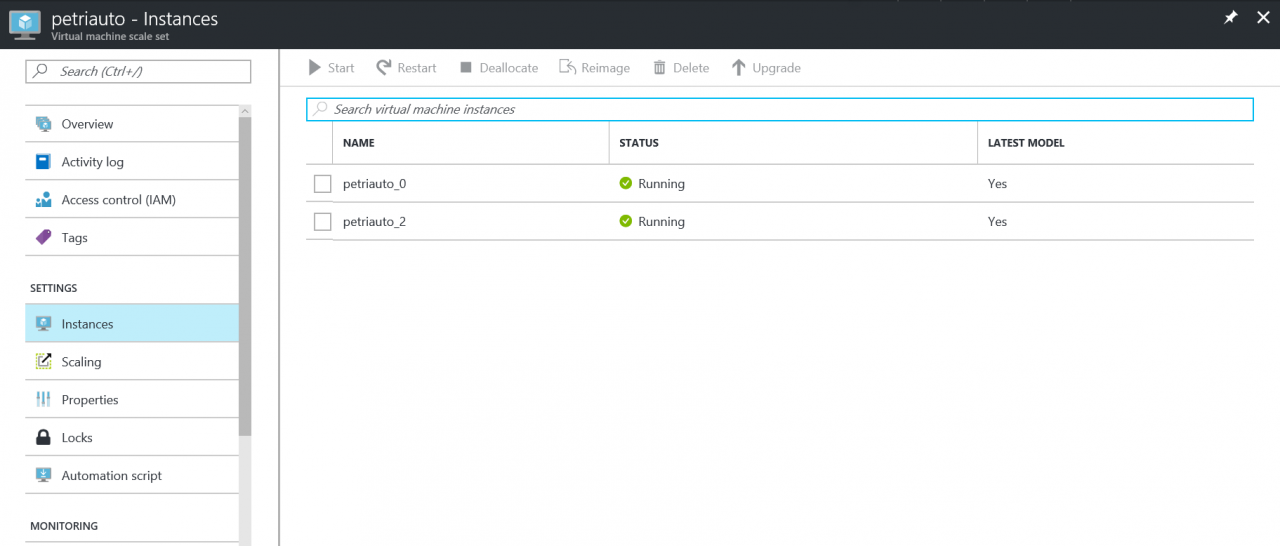
- On the Virtual machine scale set pane, click Instances under SETTINGS on the left.
- You might see any number of instances here, between 1 and 10, the maximum number allowed by the autoscaling rules in the template.
- You can select one or more instances and manually Delete or Deallocate them if you want to override Azure Autoscale. The inbound NAT rules on the load balancer will be automatically updated as needed.

Note, that if only one VM instance is running in a VMSS, you won’t qualify for the 99.95 percent Azure SLA guarantee. In a production environment, you might want to modify the template autoscale settings to ensure two VM instances are always running in the VMSS.

- To check the autoscaling rules, click Scaling under SETTINGS on the left. Here you can change the number of instances manually, using the Current number of instances slider, if you don’t want to wait for autoscaling rules to be triggered. Don’t forget to click Save at the top of the pane if you make any manual changes.
- Close the Virtual machine scale set pane.
- Back on the Resource group pane, click the Load balancer resource.
- On the Load balancer pane, click Frontend IP pool under SETTINGS on the left. Here you can see the public IP address used for connecting to the VMSS.

- Click Backend pools under SETTINGS on the left. Expand the pool of IP address on the right. Notice that because of the integration between Azure Load Balancer and VMSS, IP addressing is automatically managed for VM instances as they are added and removed from the VMSS.
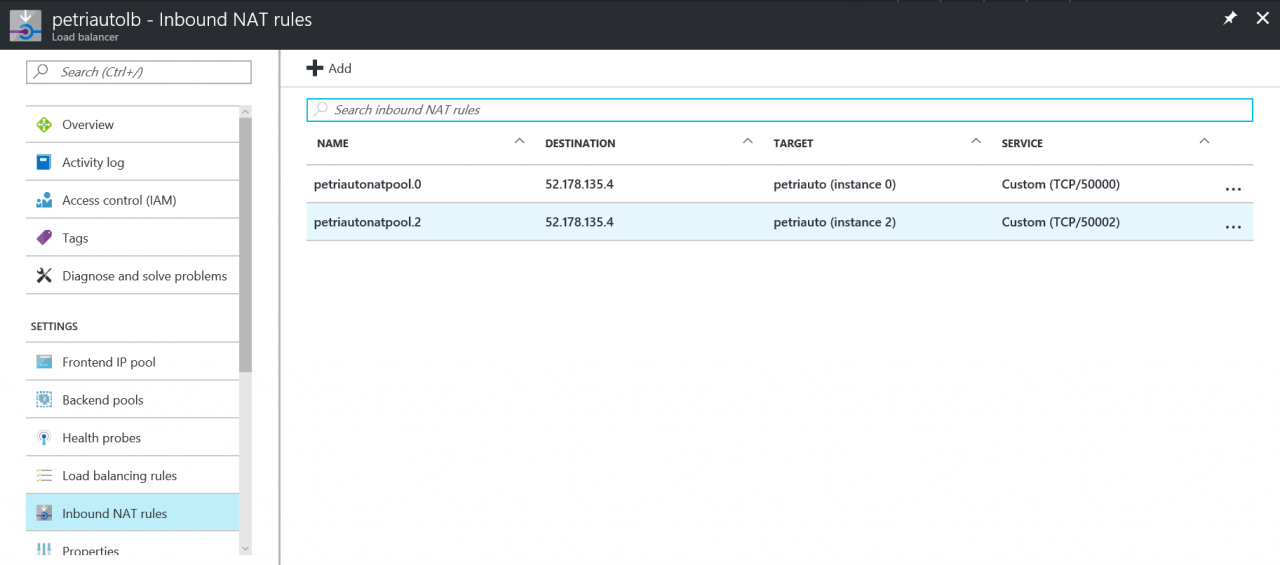
- Click Inbound NAT rules under SETTINGS on the left. For each IP address in the backend pool, there’s a NAT rule that maps an incoming TCP port on the public IP address to port 3389 on an IP address from the backend pool, allowing a connection to each VM instance to be made using Remote Desktop (RDP). Again, these rules are automatically added and removed as required.
- To connect to instance 2 in my VMSS, I’d need to type 52.178.135.4:50002 in Remote Desktop Connection.
In this article, I showed you how to deploy a VMSS with Autoscale enabled behind a load balancer. In the third part of this series, I’ll show you how to use vertical scaling.


