Azure Autoscaling with VMSS and Managed Disks, Part 1: Concepts
In today’s Ask the Admin, I’ll introduce you to Azure Autoscale, and how Virtual Machines Scale Sets (VMSS) and Managed Disks, two Azure features that reached general availability in February, make using and managing Autoscale easier.
Azure Autoscale is a great solution for automatically scaling out cloud-based compute resources, such as virtual machines (VMs) and websites, when demand increases. It works by utilizing a set of identically configured VMs placed behind a load balancer so that they appear as one entity. A diagnostic agent on each VM collects utilization data, which Microsoft Insights uses to build a picture of the load across the VMs. If utilization goes above a predefined threshold, additional VMs are started to help manage the increased demand. And when demand falls, VMs are stopped.
But Autoscale requires organizations to pre-provision enough identical VMs to meet demand at peak level, add them to an availability set, and to think about how VMs are removed and added while retaining high availability using update and fault domains.
Virtual Machines Scale Sets
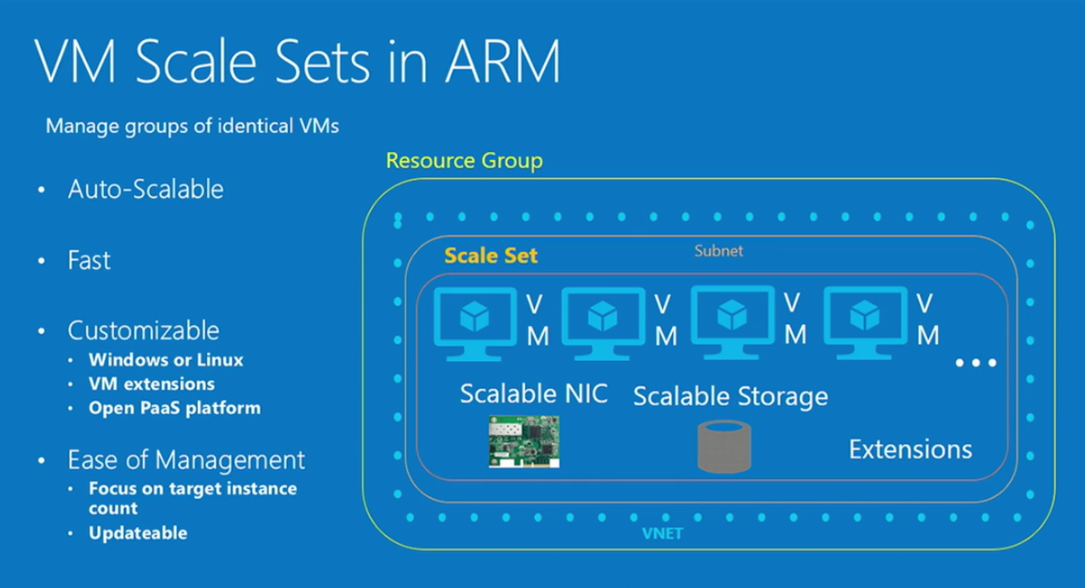
Virtual Machines Scale Sets (VMSS) aim to make using Autoscale easier, by allowing you to focus on how many VMs you want in a scale set, and quickly deploy identically configured VMs, while providing full integration with Azure Autoscale and Load Balancer, resulting in a dynamically scalable compute layer.

It is possible to automate the deployment of identical VMs in Azure without VMSS, but requires some in-depth knowledge of JSON templates or PowerShell scripting, and more administrative effort. Multiple resources can be deployed using Azure Resource Loops in JSON templates. For instance, 10 VMs, 10 network interfaces, 2 storage accounts, but then the resources must be correlated with each other to make a working system. But VM Scale Sets are resources that can be managed as a single entity using Azure Resource Manager (ARM).
Scale Sets can contain up to 1,000 VMs, and a minimum, maximum, and default number of VMs can be defined for each set when Autoscaling is enabled. Instead of overprovisioning, as is required by Azure Autoscale when used without VMSS, just the VMs – or instances as Azure refers to them – that are required for an average load can be initially provisioned. And unlike creating VMs using Azure Resource Loops, VMSS sends a single call to the Azure Compute Resource Provider to optimize the VM provisioning process.
Horizontal Versus Vertical Scaling
When creating a VMSS with Autoscale, horizontal scaling is used by default, which involves increasing or decreasing the number of available VMs for a workload. Sometimes this is referred to as scale in and scale out. VMSS can also be configured to use vertical scaling, where adding or removing memory, storage, and CPU cores are used to cope with changes in demand. This is also known as scale up and scale down.
Managed Disks
I mentioned storage accounts in the list of resources above, and if you’ve already worked with Azure, you’ll know that until recently, this infrastructure piece was a requirement before virtual hard disks could be created. Managed Disks hand over the provisioning of storage accounts to Azure, leaving you to specify a few parameters, such as disk name, size, and storage account type. For more information on Managed Disks, see What Are Azure Managed Disks? on Petri.
In part 2 of this series, I’ll show you how to use VMSS and Managed Disks to quickly deploy a set of VMs with autoscaling in Azure.


