We’re back with our multi-series look at PowerShell and vSphere PowerCLI. If you missed the previous articles, take a few minutes to get caught up before proceeding: In part one, we took a look at downloading and installing PowerCLI. In part two, we went through the steps of setting up and configuring PowerCLI. And in part three, I showed you how to use PowerCLI to start and shutdown VMs. In part four, we went over PowerCLI and PSDrives, and in part five, we created a new VM. Today I’ll go through to steps to manage your ISO files.
The New VM
As before, I’ve already loaded the snapin and connected to my ESX server. In the last article you might recall I created a new virtual machine:
PS C:\> get-vm petri-2 Name PowerState Num CPUs MemoryGB ---- ---------- -------- -------- Petri-2 PoweredOff 2 4.000
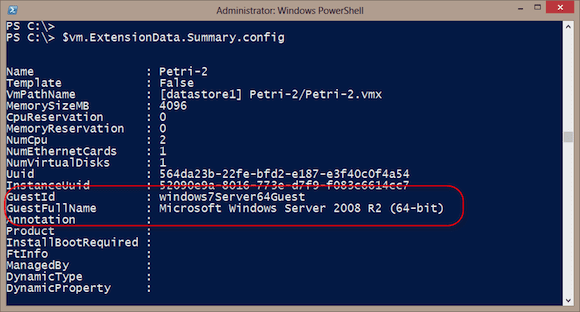
My intention is for it to run Windows Server 2008 R2. When I created the virtual machine I specified a guest operating system identifier.
As you can see in Figure 1, there is a wealth of information available from PowerCLI, but sometimes it requires a little digging. What I need to do next is load the installation media into the virtual machine CD drive so that I can install the operating system.
PowerCLI: Copy an ISO
The first step is to get the ISO file of installation media on to the VMware server. Fortunately this is quite easy with the Copy-DatastoreItem cmdlet. This command allows me to copy files between the file system and the VMware providers. You can’t copy files using the PSDrives, but this cmdlet solves the problem.
On the server I have a folder in Datastore3 with an ISO folder. The ISO I need is currently locally in G:\ISO. Looking at cmdlet help (which you should always do), it seems all I need to do is this:
PS C:\> Copy-DatastoreItem G:\iso\en_windows_server_2008_r2_standard_enterprise_datacenter_and_web_x64_dvd_x15-59754.iso -Destination vmstore:\ha-datacenter\datastore3\iso
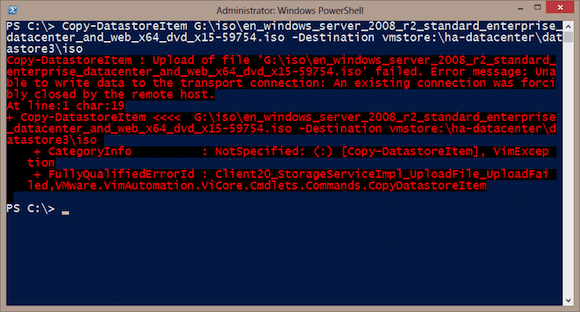
But when I do, I get an error, as shown below.
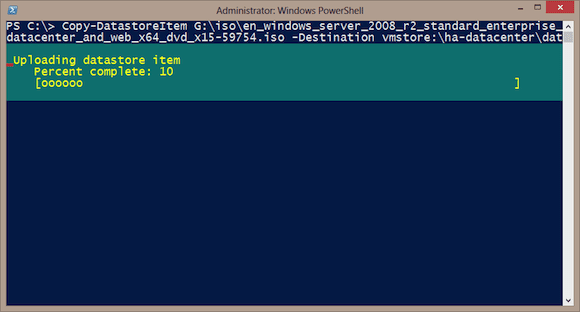
It turns out that the VMware path is case-sensitive. The folder is actually ISO, not iso. This is where using tab completion helps. Once I correct the path the file begins to copy.
But now I have a file that I can mount.
Mount the ISO
Currently, the CD drive is unused in my virtual machine.
PS C:\> get-cddrive -VM petri-2 IsoPath HostDevice RemoteDevice ------- ---------- ------------ PS C:\>
I’ll point the drive to the ISO file. Unfortunately, I can’t use the VMstore PSDrive, which would be the easy thing to do. Instead, I need to construct a path that the ESX server will recognize. Here are some steps I can take to “figure it out” with PowerShell. Remember, paths are case-sensitive here.
PS C:\> $iso = get-item vmstore:\ha-datacenter\datastore3\ISO PS C:\> $file = get-item vmstore:\ha-datacenter\datastore3\ISO\en_windows_server_2008_r2_standard_enterprise_datacenter_and_web_x64_dvd_x15-59754.iso PS C:\> $isofile = join-path $iso.DatastoreFullPath $file.name PS C:\> $isofile [datastore3] ISO\en_windows_server_2008_r2_standard_enterprise_datacenter_and_web_x64_dvd_x15-59754.iso
I build a new path using the DatastoreFullPath property for the datastore and the name of the file. With this information I can mount the ISO file.
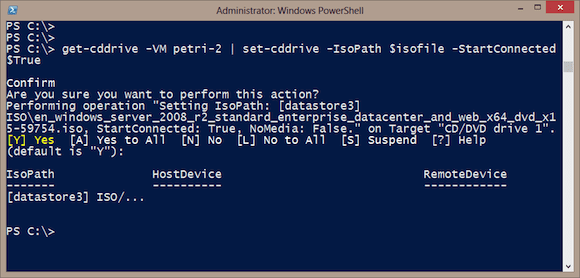
PS C:\> get-cddrive -VM petri-2 | set-cddrive -IsoPath $isofile –StartConnected $True
You will be prompted to mount the ISO, as you can see in Figure 4.
If you want to avoid the prompt, set –Confirm to $False.
PS C:\> get-cddrive -VM petri-2 | set-cddrive -IsoPath $isofile –StartConnected $True -confirm:$false
But now I’m ready to go.
Start the Virtual Machine
I can start the virtual machine from PowerShell.
PS C:\> start-vm petri-2
However, since the ISO isn’t set up with any sort of unattend file (something you could certainly do), I need to manually connect to the console via the vSphere client and install the operating system.
Dismount the ISO
After the install is complete I can “eject” the media from the CD.
PS C:\> get-cddrive -VM petri-2 | set-cddrive -NoMedia -confirm:$false
It is also possible to configure the virtual machine CD to use a local CD orDVD drive on the VMware host, but I find I get better performance with an ISO file plus with a mix of files I can build automated build scripts using PowerShell and PowerCLI. I hope you are recognizing that learning a single management and automation tool has tremendous benefits – and I hope you’ll stay connected with the site for more PowerCLI goodness!


