Preparing to Upgrade to Configuration Manager 2012 R2
In an earlier post from November 2013, I covered the procedures and sequence to apply Cumulative Updates for System Center Configuration Manager 2012 SP1. Since that post, Microsoft has released the System Center 2012 R2 and some hot fixes to address issues that have appeared since the public release of this awesome new version.
Although there are many different posts on this topic and some good guidance from Microsoft, in this post I am going to walk through the procedures and some of the issues I faced as I proceeded to update one of my production environments.
Upgrading to Configuration Manager 2012 R2: Environment Overview
As a recap: The environment that I am updating is not overly complex, but it should be representative to a vast majority of SCCM 2012 deployments. Hopefully this will answer some of your unasked questions along the way.
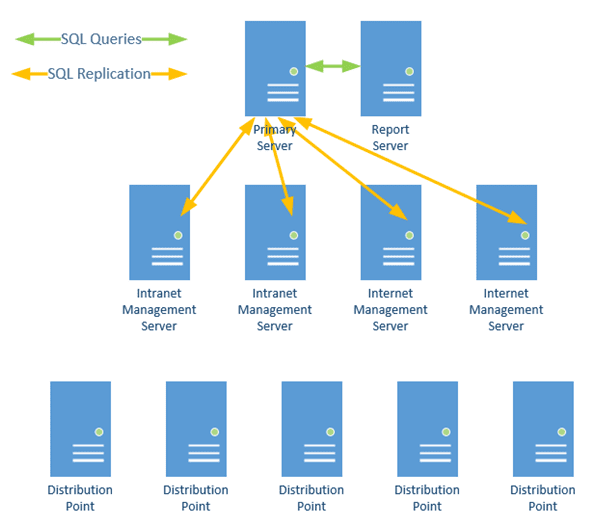
My primary server is configured to leverage SQL replication to keep each of the management servers in sync, while also using a distribution point in each of the geographical locations of the enterprise to facilitate applications and operating systems deployment.
SQL Replicas
Before we can being the exercise of deploying the new version of Configuration Manager, we must first change back our configuration for all of our management servers, so to ensure they are all leveraging the central primary servers SQL as tier database respectively.
For comfort, I generally connect directly to the primary site server, using Remote Desktop or VM console (which is nice and rich in Hyper-V 2012 R2 or VMware), and execute the complete series of procedures from this single machine.
Changing Management Point Databases
Switch the management points back to centralized mode. This will require that you have allowed firewall traffic and authentication permissions for each server to the database.
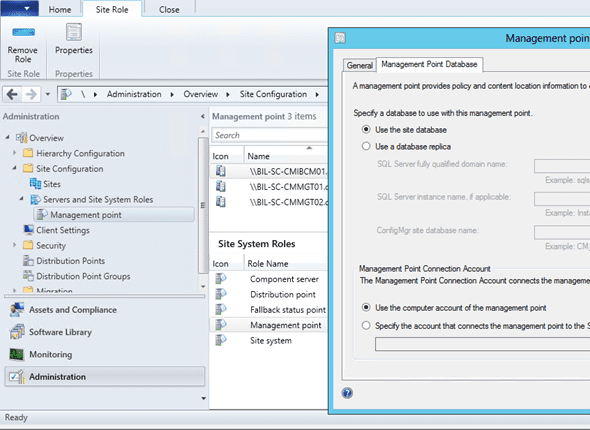
Once you have completed the initial work of reconfiguring all of your management servers to use the central SQL, you can then proceed to remove all traces of the replica configuration from your environment. We will recreate the replicas again once the upgrade is completed.
Remove SQL Replicas
From the Central SQL server, you can expand the Replication node and expose the Local Publications for our SCCM Database. From here we can remove each replica; for example, I have three remaining replias to remove from my environment.
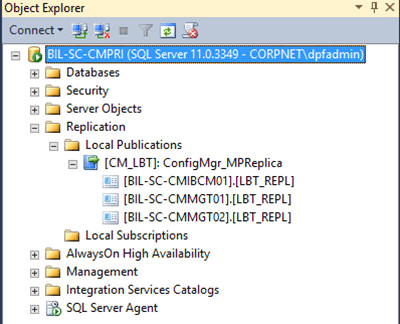
As you select each replica to be removed, SQL will prompt you to confirm to connect to the remote replica SQL server, so as to automate the process of taking its copy offline at the same time.

After you have all the replicas removed, we are now ready to proceed with the actual upgrade process. Of course, I don’t need to remind you how critically important it is that you perform a backup before proceeding with any of these steps. There is no guarantee that you will not encounter issues, even if the lab and pilot testing has been flawless. In every SCCM environment I have built out, these have been 100 percent virtualized, so as well as backing up my SQL, I also backup a copy of the VM itself.
Note: If you start the upgrade and keep getting a message that your primary server is still hosting an Active Replica MP, then you will need to run the following stored procedure:
exec sp_dropdistributor @no_checks = 1
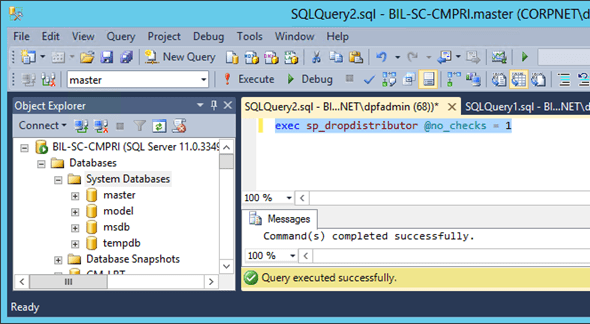
After executing this procedure, you should be clear to proceed. Curiously, I only encountered this problem on one production environment, and never in any of my pilots or labs!
Windows ADK
When you originally deployed SCCM, one of the prerequisites for our primary server is the installation of the Windows ADK, which is used to create the packages for User State Migration and enable to support of Operating Systems deployment. However, as one of the key features in SCCM 2012 R2 is official support for deploying Windows 8.1 and Windows Server 2012 R2, we must also upgrade the version of the ADK we have on the primary server to this new version.
Remove ADK 8.0
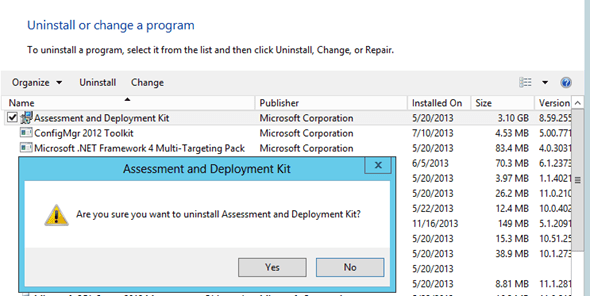
Removal is pretty pain free. While you are still connected to primary server, ensure that the SCCM Console is closed and then simply open up the Add/Remove programs dialog. From the list of installed applications, locate the Assessment and Deployment Kit and then click on the Uninstall button.
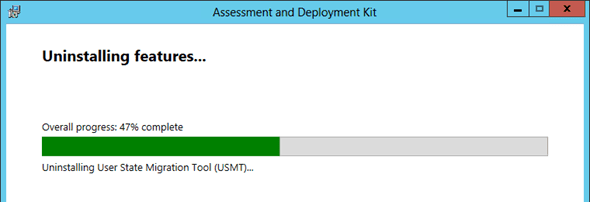
After a few moments, the wizard will kick into action and work its way through the procedure of removing the components of ADK 8.0.
Install ADK 8.1
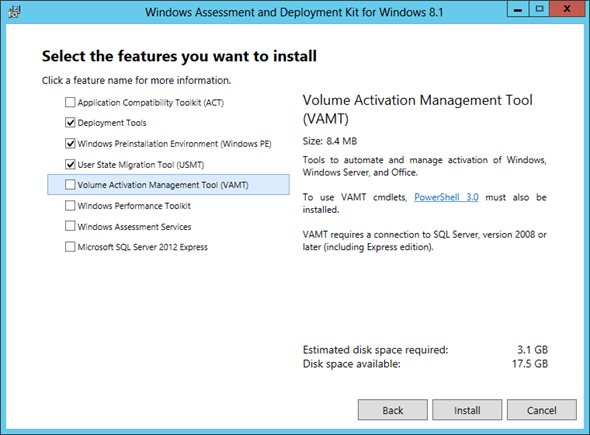
Next, simply download and start the installation of the current version of the ADK, and as with the original installation, we just need to install the Deployment Tools, Windows Pre-installation Environment, and User State Migration Tools.
The wizard will the do the rest of the work. Place these components on the server ready for our upgrade to begin.
SCCM 2012 R2
With the preparations work complete, and the precautions for roll back now ready, we an proceed with the main show, and get on with the primary objective of upgrading the SCCM environment from SP1 to R2.


