Testing the Windows 10 Technical Preview in a Hyper-V VM
So you’ve joined the Windows Insiders program, downloaded the Windows 10 Technical Preview, and are ready to get installing and testing, but you’ve realized you don’t have a spare physical machine available to install Windows 10 on. No worries: This is where you can use Hyper-V to give yourself a bigger virtual lab.
How to Get Hyper-V
There are a number of ways to acquire Hyper-V:
- Windows Server Hyper-V: If you have a test lab that is based on Windows Server Hyper-V then you can create one or more virtual machines and start testing using virtual machines on that infrastructure.
- Hyper-V Server: If you have one or more physical machines you can download the free Hyper-V Server 2012 R2, and manage it using the Remote Server Administration Toolkit for Windows 8.1. This will allow you to create lots of Windows 10 virtual machines.
- Client Hyper-V: You can enable client Hyper-V on your Windows 8.1 (for best results) Pro or Enterprise PC or laptop and use your machine’s resources to create a few Windows 10 virtual machines.
Create the Virtual Machine
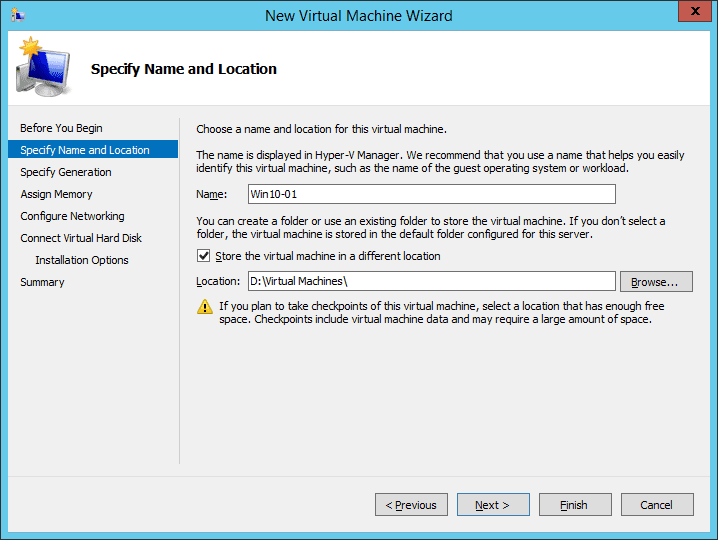
1. The first step is to use Hyper-V Manager (HVM) to create a new virtual machine; you can launch HVM from the Administrative Tools or find it in the Start Screen. Click New > Virtual Machine in the Actions pane to start the New Virtual Machine wizard. Name the virtual machine and choose a storage location, ideally not on the C: drive.
2. Choose a generation (maybe this is a good time to choose Generation 2) and configure the required memory for the virtual machine. If you have created a virtual switch (to route the virtual machine to the network via a NIC on the physical computer) then connect the virtual machine to the virtual switch of your choice.
3. Create a virtual hard disk with sufficient capacity for the guest OS and any applications you will install and data that you will store in the virtual machine.
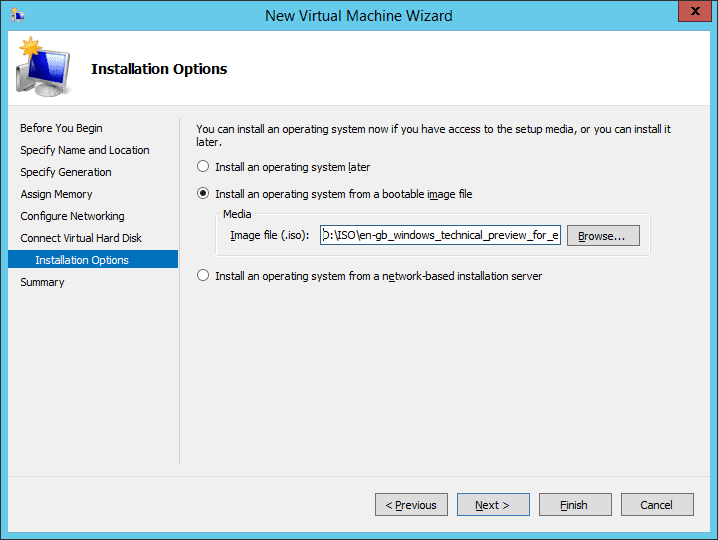
4. Find your Windows 10 technical preview ISO file and mount it by choosing the Install An Operating System From A Bootable Image File option in the wizard.
Finishing the wizard will create the virtual machine and mount the ISO. I would recommend editing the settings of the virtual machine (right-click and choose Settings) and adding some virtual processors and re-configuring the memory to exactly what you require.
Installing Windows 10
1. In HVM, right-click the virtual machine and select Connect to open a window that allows you to interact with the virtual machine. Start the virtual machine (Action menu and Start). The virtual machine will start and the Windows 10 installer will be booted up; you can see everything in the Connect window and interact with it via keyboard/mouse just as you would with a physical machine via its monitor and keyboard/mouse.
2. The first screen is the usual regional settings dialog so configure the installer as required for your language and keyboard.
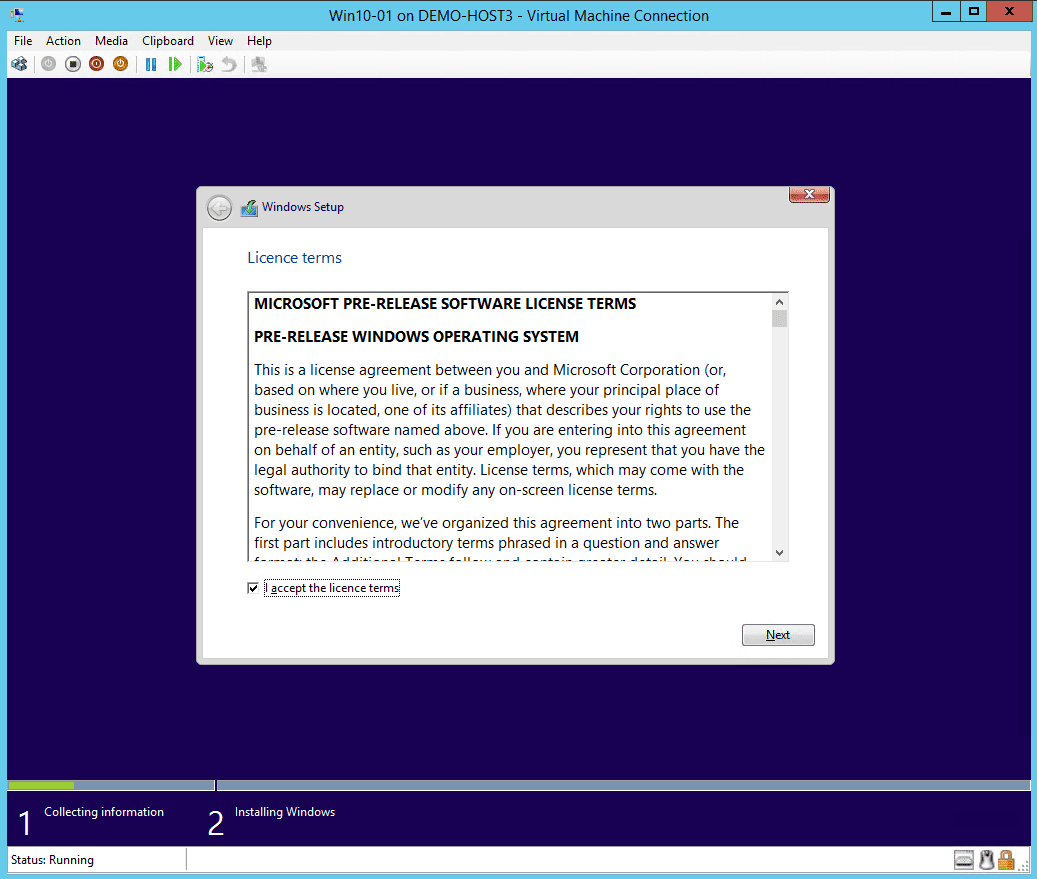
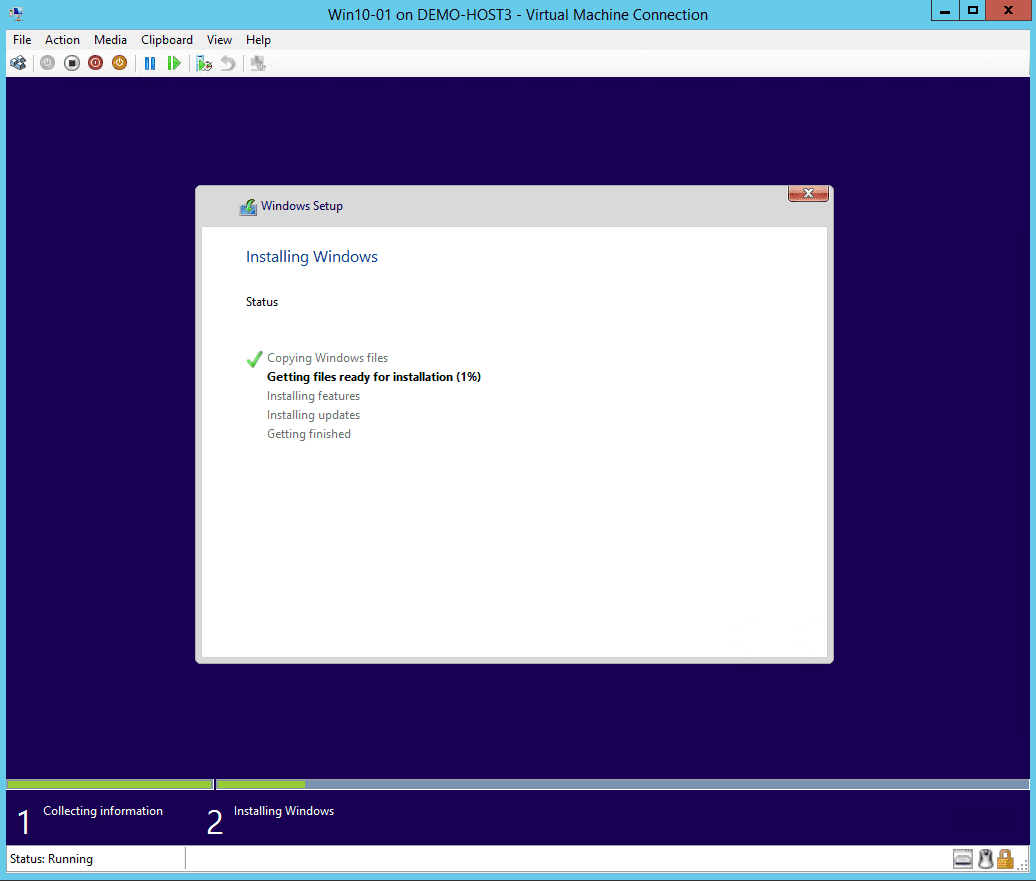
3. Accept the license terms, choose a custom installation, and click Next to accept the default disk configuration of a single volume within the virtual hard disk – best practice is to add virtual hard disks to have new volumes. Now the installation will kick off and you can go take a break.
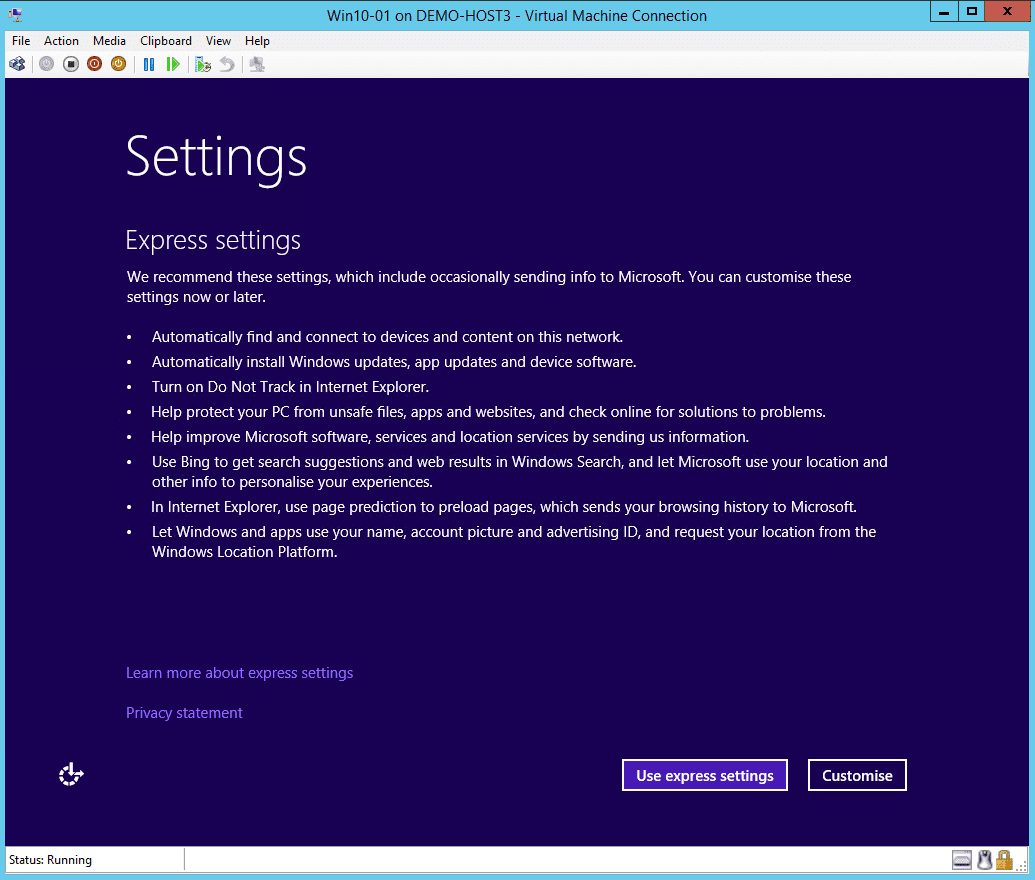
4. The setup process will reboot the virtual machine and eventually you’ll be greeted with the out of box experience (OOBE) to specialize your machine.
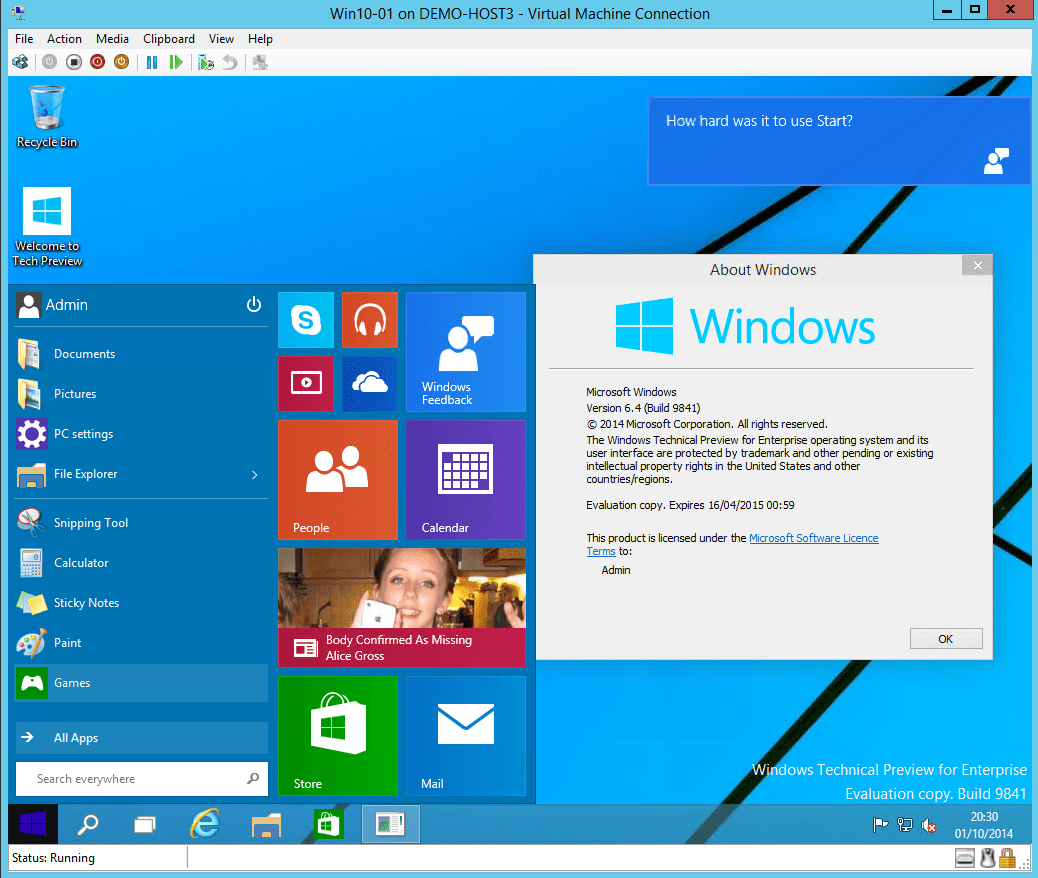
5. Configure your Windows settings, set up your account, and a few minutes later you will have a brand spanking new installation of Windows 10 running in your Hyper-V virtual machine.
6. Usually we would upgrade the Hyper-V integration components via the Connect window. There’s no need to do that anymore with the new OS because Microsoft will deliver new integration components via Windows Update. You should run Windows Update to ensure that the machine has the latest updates (note: there were two updates available on the first day of the preview).
After the Installation
You can follow my tip in Manually Install a Guest OS in a Hyper-V Virtual Machine to customize and sysprep the virtual machine to create a template. This will allow you to create a rapidly deployed copy of this virtual machine at any point in the future and will save you a lot of time if you need to start from scratch with a new machine.


