This guide describes how to replace the default Windows Recovery Environment (RE) with the Diagnostic and Recovery Toolset version 6.5 (new version of Winternals ERD Commander). Read my “Description of Windows RE” article.
Note: Article was written and sent to me by Netanel Ben-Shushan. Thanks Netanel!
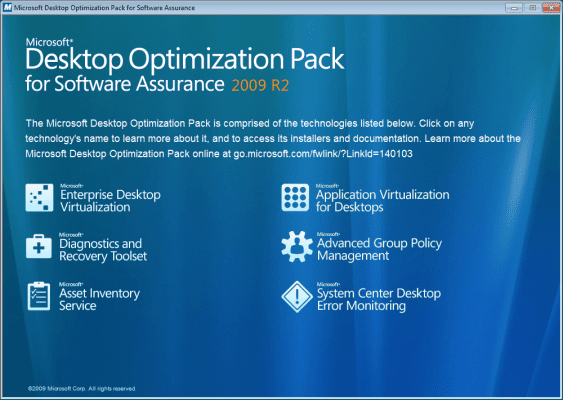
Microsoft has developed a new version of ERD Commander from Winternals, which Microsoft acquired a while ago. The new version is called Diagnostic and Recovery Toolset, or DaRT for short. DaRT 6.5 is a part of Microsoft Desktop Optimization Pack 2009 R2 (available to customers with an active Software Assurance license).
Microsoft Windows Enterprise: Microsoft Diagnostics and Recovery Toolset
http://www.microsoft.com/windows/enterprise/products/mdop/dart.aspx
In order to replace Windows RE boot image with DaRT, you’ll need to use an account with administrative privileges (member of the local Administrators group at least).
It’s recommended to replace the default Windows RE within DaRT for getting a wide local troubleshooting toolset, such as LockSmith, for passwords reset, restoration utility, etc.
In order to perform the replacement, follows these steps:
Preparing the field
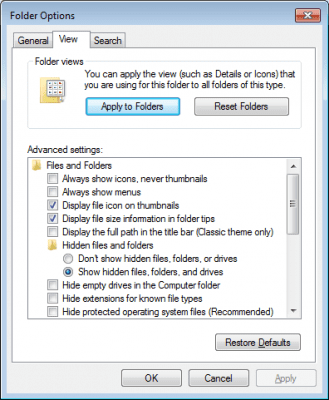
1. Open Windows Explorer, click on the ALT key and choose “Folder Options” from the Tools menu.
2. Choose “Show hidden files, folders and drives” and deselect “Hide protected operating system files (Recommended)“and “Hide extensions for known file types“.
3. Click “OK“.
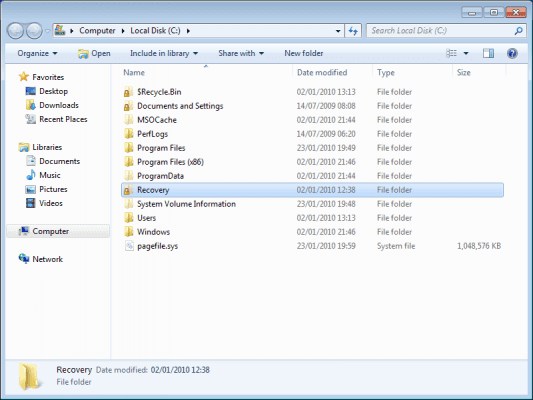
4. Open C:\ Drive, right-click Recovery folder. Choose “Properties” from the menu.
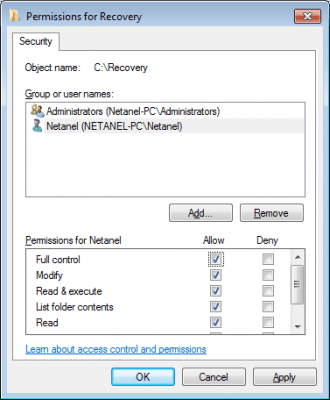
5. Select Security tab, and click on “Edit“.
6. On the new windows, click on “Add” and find you user account, then click on “OK“.
7. Assign Allow: Full Control permissions for the specific account and click on “OK“.
Now, as you can see, the C:\Recovery folder is accessible to your user account.
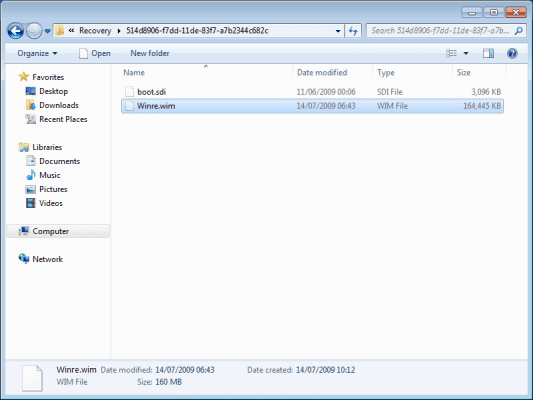
At C:\Recovery\<UID> you’ll find the Winre.wim image file. This is the Windows RE image that has been loaded every time you’ve chosen to repair your computer from the F8 startup menu.
Creating the ERD Commander ISO Image
1. Install DaRT 6.5 from Microsoft Desktop Optimization Pack 2009 R2 (available to customers with active Software Assurance license) on your computer or on computer with DVD burner.
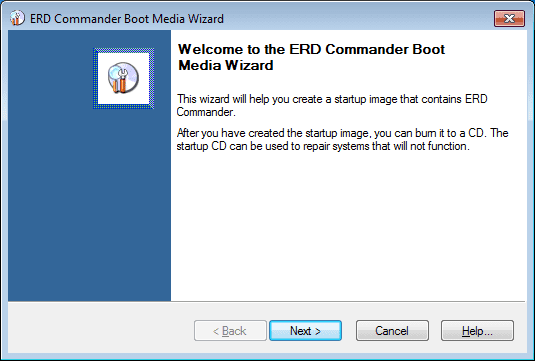
2. Open ERD Commander Boot Media Wizard from the Windows menu and follow these steps to create ERD ISO image:
2.1. On the welcome screen click “Next“.
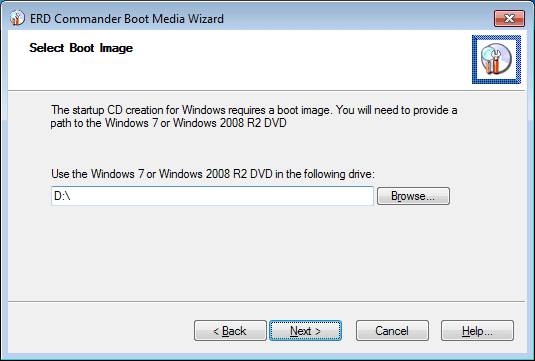
2.2. Insert and navigate to Windows 7/Server 2008 R2 media and click “Next“.
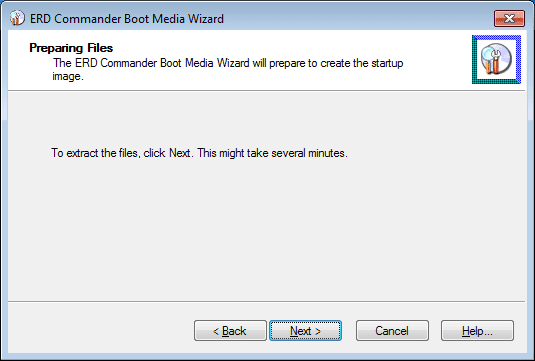
2.3. On the Preparing files screen click on “Next“.
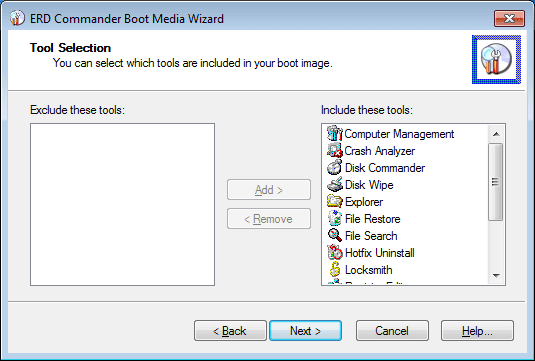
2.4. Select or exclude the tools that will be included in your ERD image and click on “Next“.
2.5. Locate the Windows Debugging tools and click on “Next“.
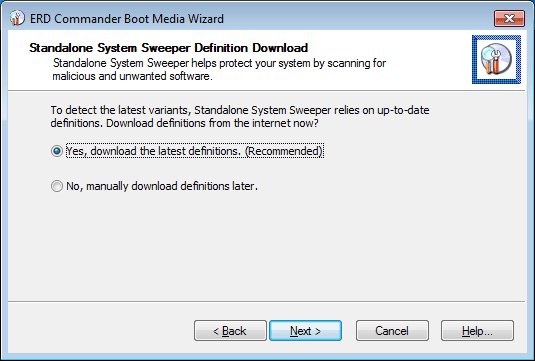
2.6. Choose if you want to update your ERD’s system sweeper and click on “Next“.
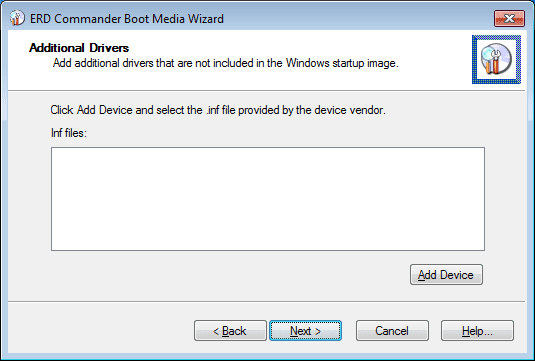
2.7. If you want to add additional drivers, click on Add. Then click on “Next“.
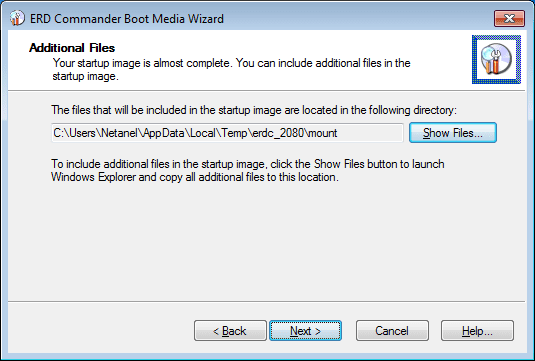
2.8. On the Additional Files click on “Next“.
Note: You can add useful applications and files to your ERD ISO image such as disk imaging utility, corporate antivirus, etc.
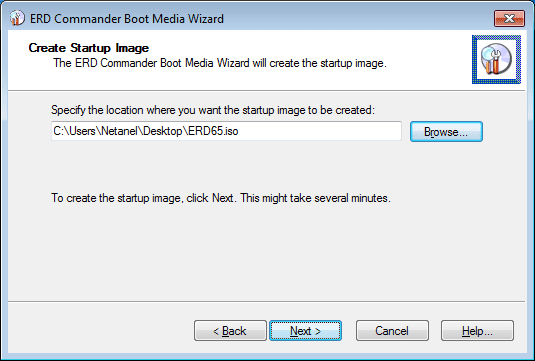
2.9. To create the ISO image click on “Next“.
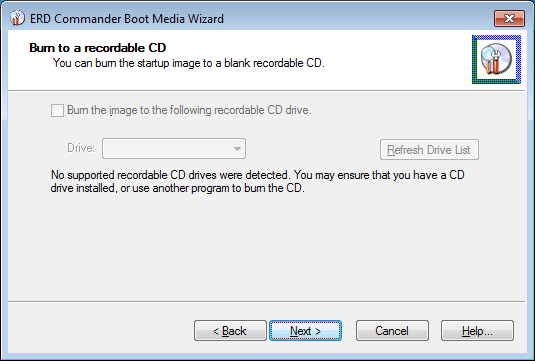
2.10. If you want to burn the ISO into a media set the wizard to your media burner. Click on “Next” to proceed.
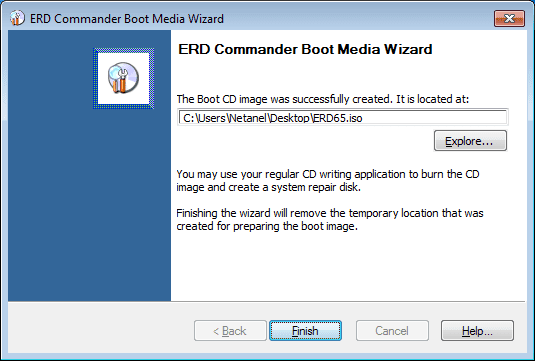
2.11. Click on “Finish“.
3. On the ISO navigate to the Sources directory; inside X:\Sources (when X: is the CD driver letter) you’ll find boot.wim image.
4. Copy boot.wim into C:\Recovery\<UID>\ and change the file name to Winre.wim.
Note: It’s recommended to rename the original Winre.wim file name to Winre.wim.old or delete it from the C:\Recovery directory.
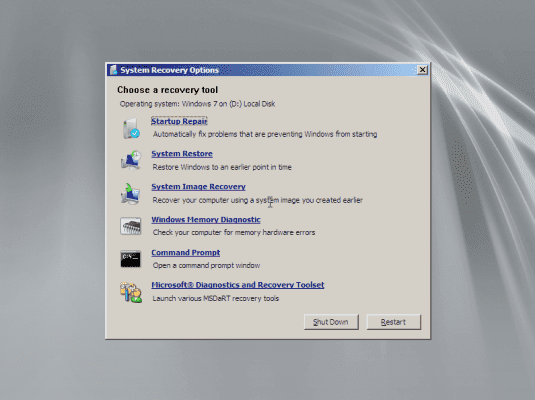
Next time you restart your computer and choose “Repair your computer” you’ll notice that DaRT has been added to the Windows RE menu (and there’s also network support at the start of Windows RE).
Note: My personal recommendation is to deploy Windows 7/Server 2008 R2 with a built-in DaRT recovery environment support.
Note that you will need an active Software Assurance (SA) license to each OS that deployed with DaRT.
Netanel Ben-Shushan is an IT Consultant & Trainer from Israel, who works mainly with Microsoft infrastructures, networking and information security systems. He’s the creator of www.ben-shushan.net, a personal website in Hebrew with technical guides, articles, tips and tricks from the IT field.


