Managing File Associations in Windows 10
In this Ask the Admin, I’ll explain the changes to how default app file associations are managed in Windows 10.
Windows 10 helps to prevent file associations being hijacked. In previous versions of Windows, when new applications are installed or run for the first time, it often checks to see if the new app is the default app for a given file type. For example, a browser might check to see if it is the default program for opening HTML files. If the developer followed best practices, the user would be asked to provide consent before the app was set as default. Some developers skipped this step and changed the file association settings in the registry without the user’s consent.
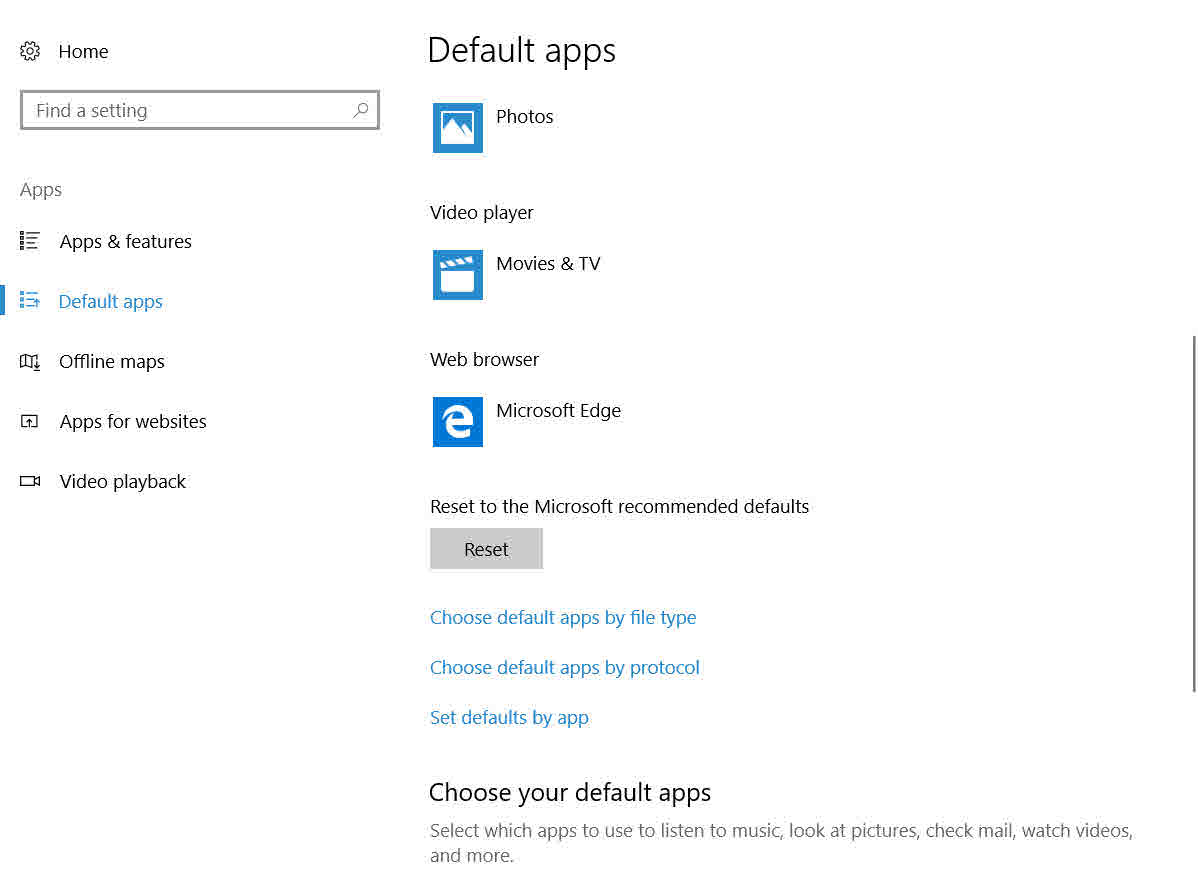
The UI for managing file associations in Windows 10 aims to put the user in control. Neither Store apps nor win32 apps can invoke a prompt asking for consent to change app defaults. Now in Windows 10, a notification is displayed when a user launches a file type that has multiple programs registered as handlers. When a new application registers an extension, unless the user previously checked the ‘Always use this app to open .doc files’ box, the notification will popup for the given file type. If a win32 app tries to invoke a consent prompt for changing app defaults in Windows 10, you will receive a warning that you’ll need to change the default settings in the Settings app under Apps > Default apps.

To protect against win32 apps that bypass the user-consent prompt when changing default apps settings, Windows 10 monitors the registry. It will reset the default app for the changed file association. So, if you use scripts to modify the default-app file associations in the registry in Windows 10, users will receive app reset notifications.
Programmatically Configure File Associations in Windows 10
Microsoft recommends using the dism command-line tool to export default file associations on a reference computer. There are three steps:
- Install your apps on a reference computer running Windows 10.
- Log in as a local administrator, open the Settings app, and set up your default apps under Apps > Default apps.
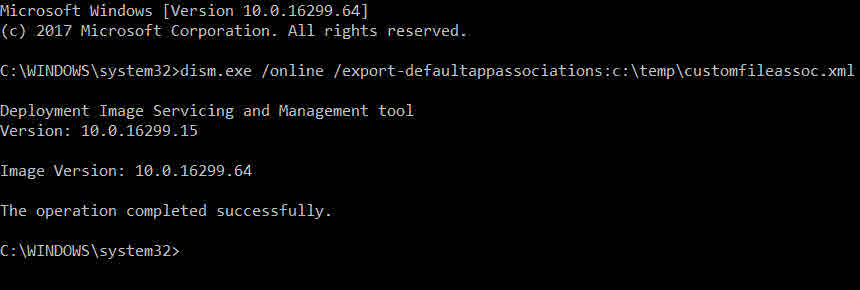
- Export the file associations using dism. Make sure that you are using the same local administrator account that was used to set the default apps.
dism.exe /online /export-defaultappassociations:c:\temp\customfileassoc.xml

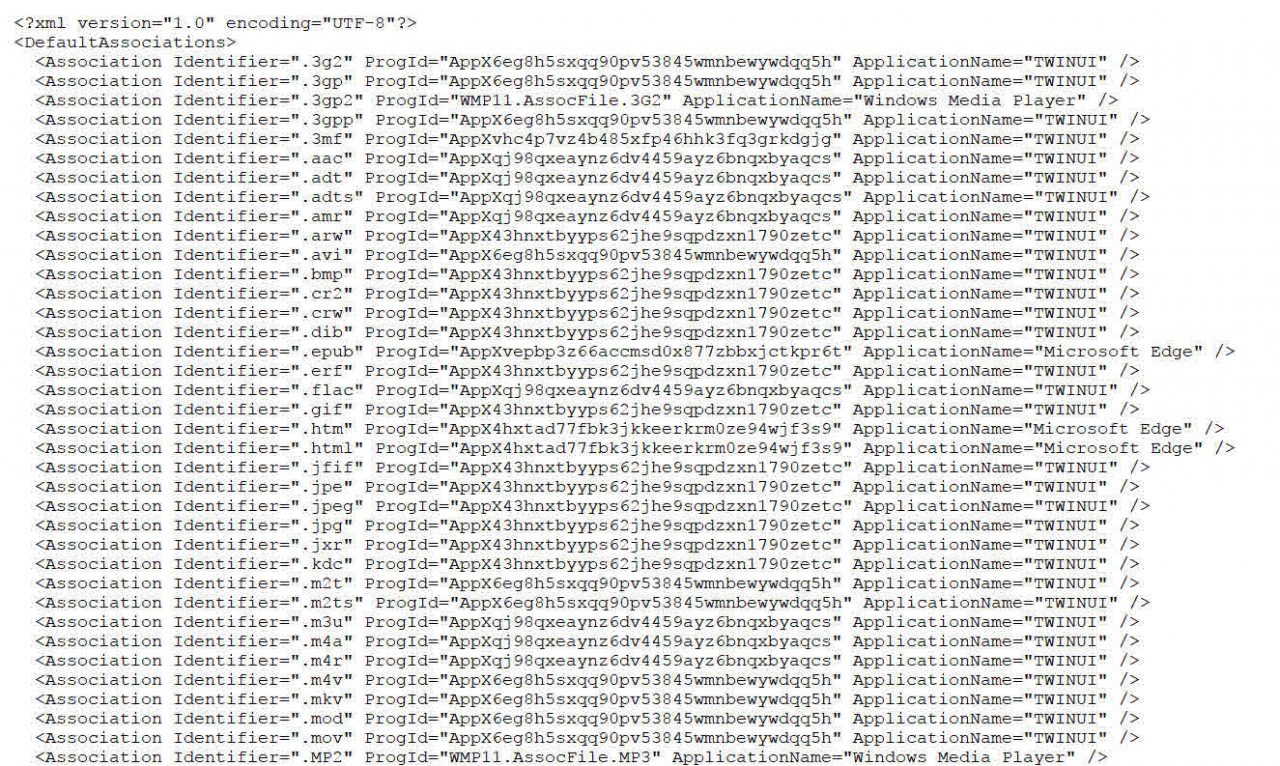
The file will contain default-app settings for all file associations configured on the device. It’s important not to remove these from the file, otherwise, users will receive reset notifications when they log on. When a new version of Windows is released, you should repeat the process above because the built-in applications might register new file associations.

The .xml file created above can be used to modify your Windows 10 reference image:
dism.exe /online /import-defaultappassociations:c:\temp\customfileassoc.xml
You can also use the same file to deploy the default apps settings using Group Policy. The required setting is Set a default associations configuration file under Computer Configuration > Administrative Templates > Windows Components > File Explorer.

If you use dism to change a Windows 10 image, file associations will only be applied to new user profiles and users can change the file associations. If you use Group Policy, the file association settings will be applied each time a user logs on. You can combine these two methods to force file associations for some file types by using Group Policy. This allows users to change others by importing file associations using dism.
In this Ask the Admin, I showed you how to manage file associations (default apps) in Windows 10. For more detailed instructions, see Microsoft’s website here.


