Windows Virtual PC is a feature of Windows 7 Professional, Windows 7 Ultimate, and Windows 7 Enterprise, that allows you to run multiple Windows environments such as Windows XP Mode from your Windows 7 desktop.
The list of features for the new version is impressive when compared to the old Virtual PC 2007 version (which had none of these). Finally, Microsoft is adding many features that are already long present in 3rd-party virtualization software like VMware Workstation and Sun Virtual Box. But I guess late is better than never. Some of the new features of Virtual PC include:
- Easy setup of Windows XP Mode – Once both the Windows Virtual PC and the virtual Windows XP environment are installed, Windows Virtual PC provides a simple wizard to set up Windows XP Mode with just a few clicks.
- USB support – Users can access USB devices attached to the host directly from virtual Windows XP. These devices include printers and scanners, flash memory/sticks and external hard disks, digital cameras, and more.
- Seamless applications – Publish and launch applications installed on virtual Windows XP directly from the Windows 7 desktop, as if they were installed on the Windows 7 host itself.
Folder integration between host and guest – Access your Windows 7 Known Folders: My Documents, Pictures, Desktop, Music, and Video, from inside the virtual Windows environment, such as Windows XP Mode. - Clipboard sharing – Cut and paste between your Windows 7 host and any virtual machine.
- Printer redirection – Print directly to your attached printer from your seamless application or virtual machine.
Unfortunately, Virtual PC only supports 32-bit virtual machines. If you want to run any 64-bit virtual machine you’ll need to either install Windows Server 2008 + Hyper-V, or use a 3rd-party virtualization program such as VMware Workstation or Sun Virtual Box (free).
Important: To run Windows Virtual PC (and with it, XPM), your computer has to have the Intel VT or AMD-V features enabled in the BIOS. To find out if your PC is virtualization capable, please visit the Windows Virtual PC support page:
www.microsoft.com/virtual-pc/support.aspx
Note: All screenshots and procedures are based on the RC version of Windows 7, and the beta version of Virtual PC. When Windows 7 and Virtual PC become RTM, file names and download locations might change.
Installation Instructions for Virtual PC
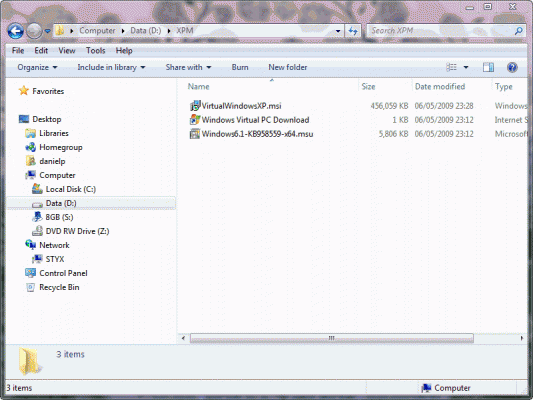
1. Download the Windows6.1-KB958559-x64.msu update from the following link:
Windows Virtual PC Download: http://www.microsoft.com/windows/virtual-pc/download.aspx
Installing this update will install Virtual PC (Beta) for Windows 7.
2. Double click on the Windows6.1-KB958559-x64.msu to launch the installation.
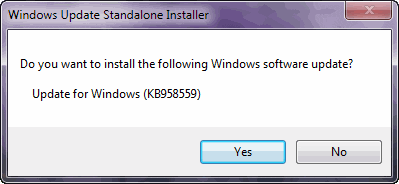
3. In the installer window, click “Yes“.
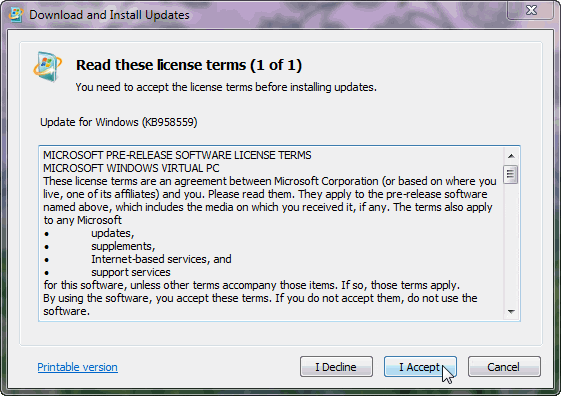
4. In the License Terms window, click “I Accept” (if you do accept) to begin the installation.
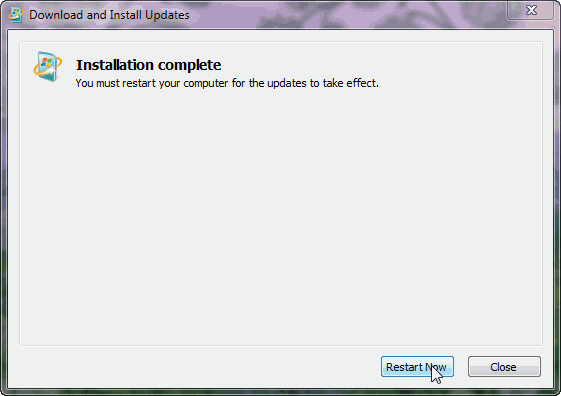
5. When done, reboot the computer.
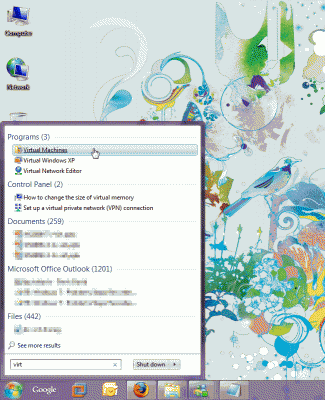
Now, when you type “virtual” in the Windows 7 Start menu, you’ll get a link to Virtual PC.
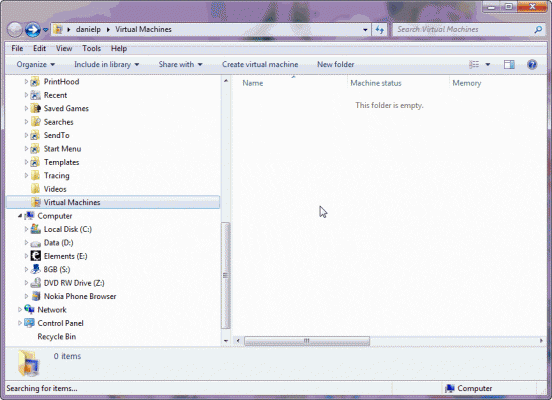
Clicking on it will bring you to the Virtual Machines folder (which can be configured to be at a location of your choice – more about this in a future article).
Next, we need to configure Windows XP Mode. So head on to the “Installing Windows XP Mode (XPM) on Windows 7” article.


