Installing Link Layer Topology Discovery (LLTD) on Windows Server 2003
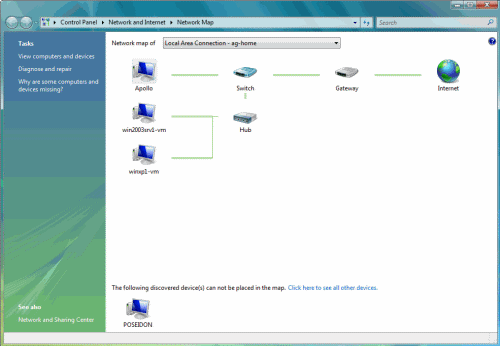
In one of my previous articles – “Hide your Vista Computer on the Network” I wrote about what the network map is in Vista.
The network map on a computer running Windows Vista shows a graphical view of the computers and devices on your network and how they are connected by using the LLTD protocol. Thing is, that in order to display Windows Vista/2008 computers in the network map you need not do anything special. However, in order to make Windows XP computers appear in it, you will need to download and install the LLTD responder before it can be detected and appear on the network map. You can read more about this issue in my “Installing Link Layer Topology Discovery (LLTD) on Windows XP” article.
You can download the update from the following link:
Link Layer Topology Discovery (LLTD) Responder (KB922120)
All this is good and well, however there’s one little catch. By default, you can’t run the LLTD responder update under Windows 2003. If you try to run the update you’ll get this error:
However, you can try to force the update to run by performing these steps:
Note: Installing LLTD on Windows Server 2003 is NOT SUPPORTED by Microsoft, and has mixed results. Do NOT do it if you don’t know what you’re doing, and if something breaks, don’t expect anyone to help you.
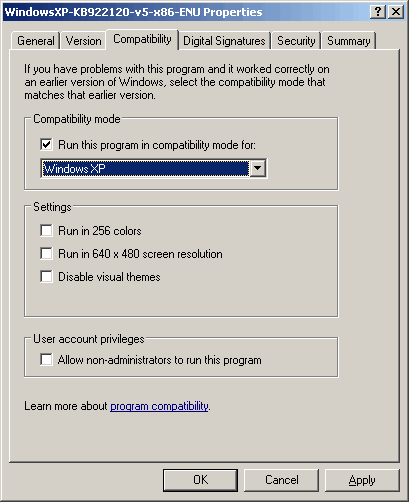
- After downloading the update, navigate to the folder where you’ve saved the file and right-click it. Select Properties.
- Next, in the Compatibility tab, click to select the Run This Program in Compatibility Mode for, and in the drop-down list select Windows XP. Click Ok.
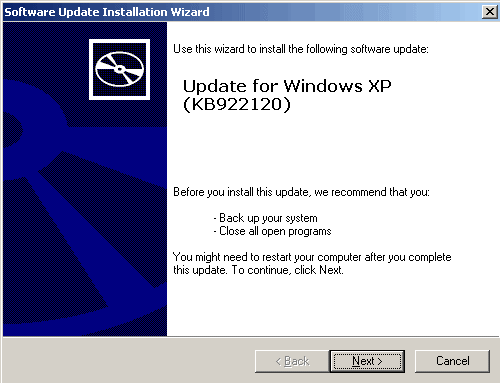
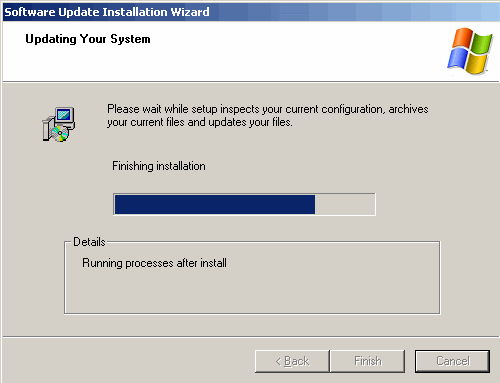
- You can now install the update. You will not be prompted for a reboot, but you might want to reboot anyway.
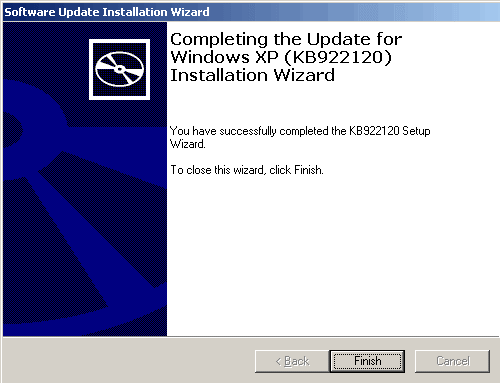
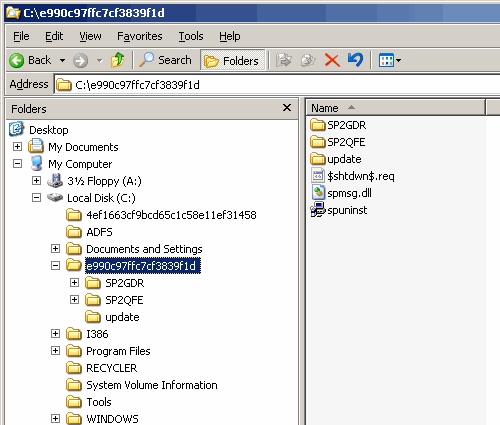
- Next, you need to install the LLTD protocol in the network adapter’s properties. Go to the downloaded file from step 1, and double-click on it as if to install it. Do NOT proceed with the installation, just leave the welcome screen open. Now go to your hard disk, and on the partition with the largest available free space you’ll find a folder which’s name is made of many letters and numbers (name varies, so there’s no point in typing it here).
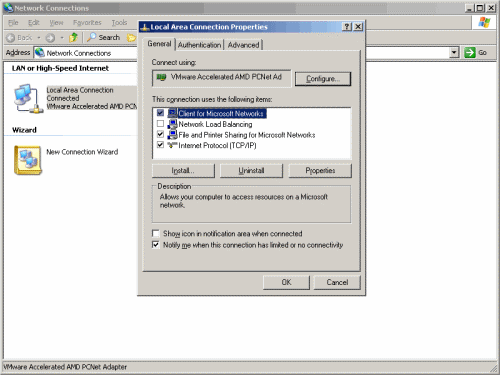
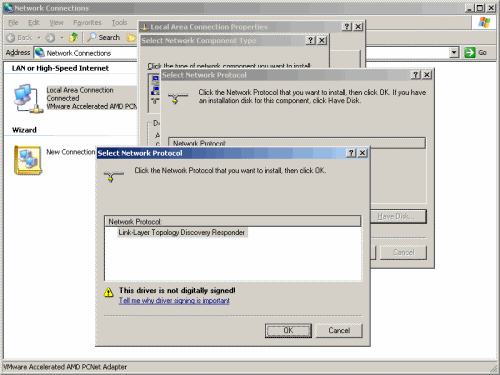
- Open the network interface’s properties screen, and click install.
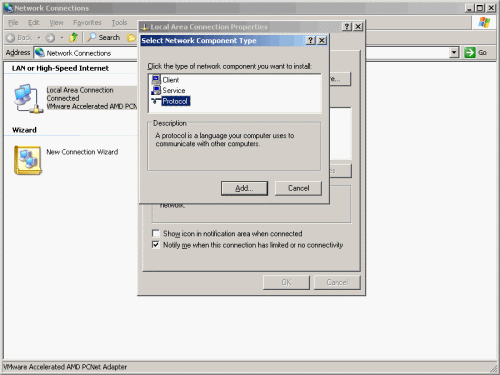
- In the network component type click Protocol and the click on the Add button.
- In the Select Protocol window click Have Disk, and browse to the folder from step 4. In that path, look for the file called rspndr.inf. Click Ok.
- In the Select Network Protocol window click the Link-Layer Topology Discovery Responder and click Ok. After a short installation, the new protocol should be available in the network interface’s properties screen.
- To be safe, reboot the computer. It should now be visible on the network map.
As noted above, this procedure is not supported in any way. Use at your own risk.
Related Articles
- Hide your Vista Computer on the Network
- Installing Link Layer Topology Discovery (LLTD) on Windows XP
Recent Windows Server 2008 Forum threads
Got a question? Post it on our Windows Server 2008 forums!


