The tuning of VMware View and many policy settings can be accomplished via Active Directory group policy. These settings are not in Active Directory by default and must be loaded. In today’s post, I will walk through the steps to load the VMware View administrative template (ADM) files into AD.
Locate the View ADM Files
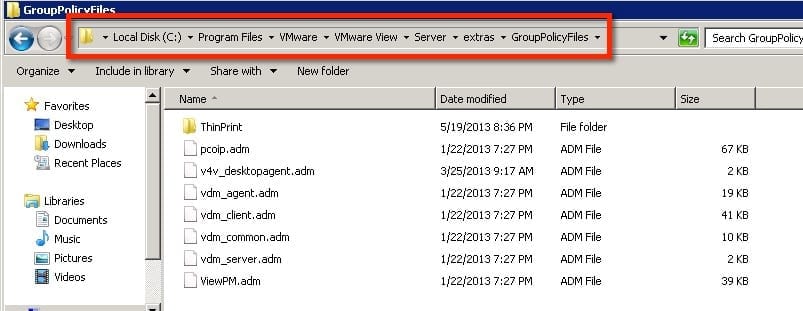
To get the process started, find the ADM templates on one of the View connection servers already installed. The files are stored in the following folder location: c:\install directory\VMware\Vmware View\Server\extras\GroupPolicyFiles
Once you have located the files, copy them to a server that you will use for editing Group Policy. For the purpose of this walkthrough, I have copied to one of my lab domain controllers.
Install View ADM Templates
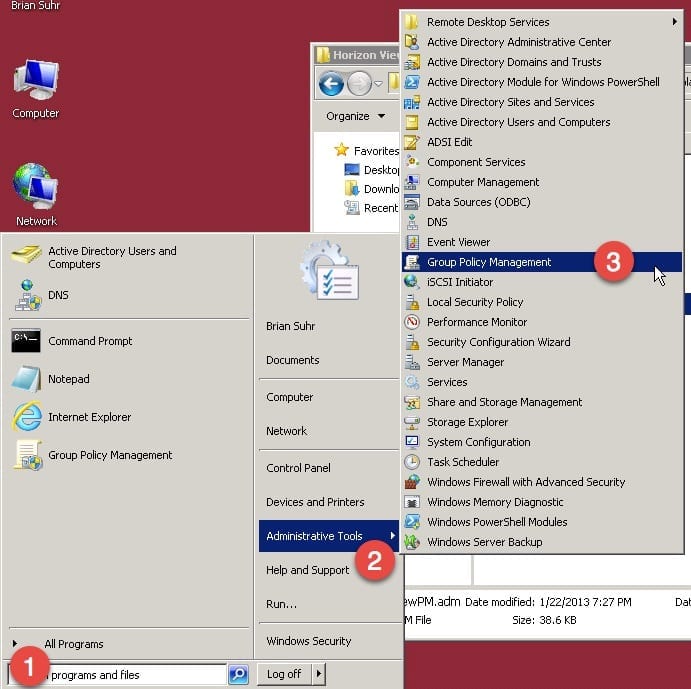
- After you’ve logged into the server that will be used to edit the Group Policy and install the ADM templates, click on the Start button.
- Select the Administrative Tools menu and click on Group Policy Management.
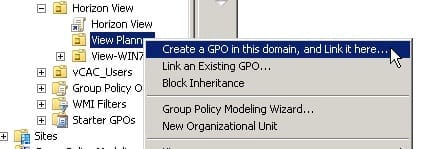
- This will open the management plugin for group policy. Select and right-click on the Organizational Unit (OU) in which my View desktops will be located. From the context menu, select Create a GPO as shown below.
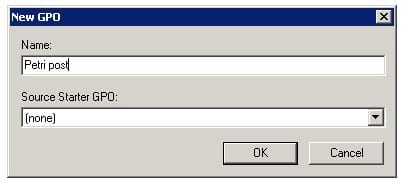
- You will now be prompted to name the new GPO that you are creating. Enter the name and click OK, since we are creating something new there will not be a source GPO from which to start.
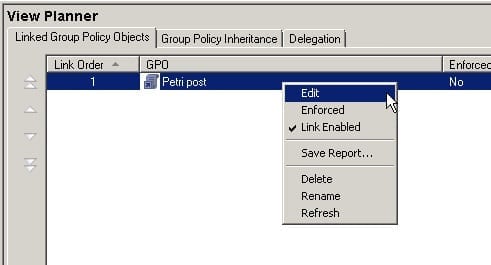
- The newly created GPO will now show in the window as illustrated below. We now want to edit the new policy that was created. This can be done by right-clicking on the policy and choosing Edit.
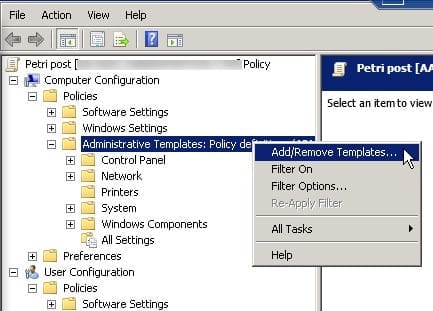
- We now need to load the ADM templates that we copied earlier. Expand the Policies folder and click on the Administrative Templates folder. Right-click and choose the Add/Remove Templates selection.
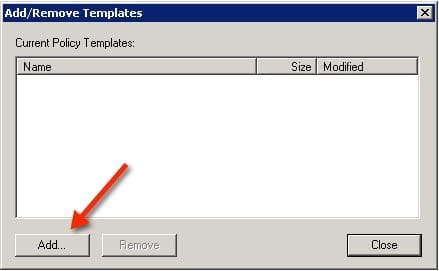
- The Add/Remove window will now be open, so go ahead and click on the Add button.
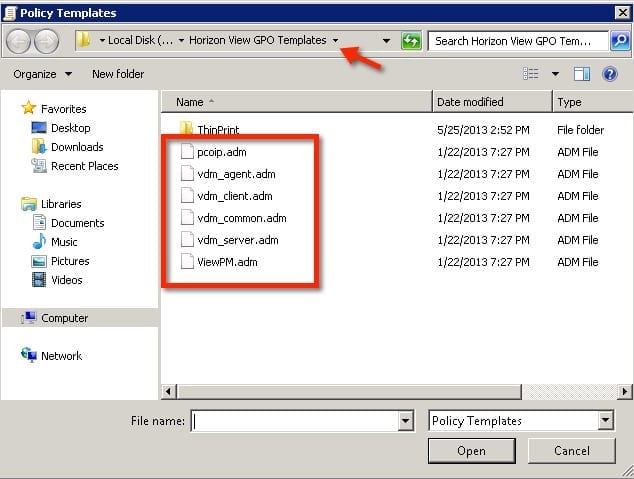
- This will open a Policy Templates window, which is really an Explorer window that you will use to navigate to the folder that the .adm templates were copied to. Click on the template(s) you want to import and click Open. This will prepare the templates to be imported.
- Select all the templates that you want to import and they should be listed in the window. Click the Close button and the templates will be loaded into AD.
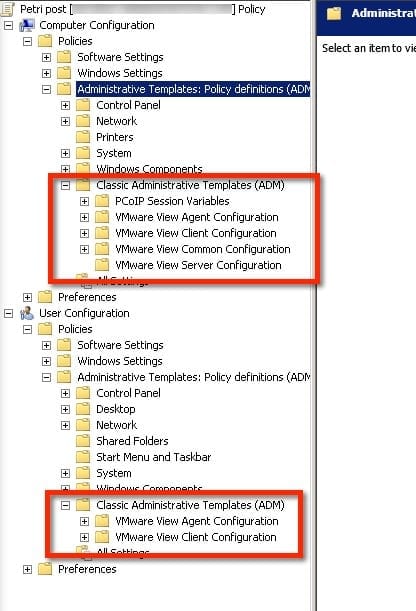
To confirm that the new templates are loaded, I have expanded the sections that they are imported into. You can now see in the Computer Configuration we have several new templates loaded that will allow for customized settings. There is also two templates loaded into the User Configuration section.
Once these templates are loaded you are ready to begin to adjust any setting necessary for your View install. Note that if you require multiple View pools with different settings you will need to create separate AD OUs and apply the templates to them for customization.


