How to Install and Upgrade Azure PowerShell

In this post I’ll show how you can install and upgrade the Azure PowerShell modules. I’ll also show you how you can log into Azure and select a subscription to work with.
Service Management in Classic Azure
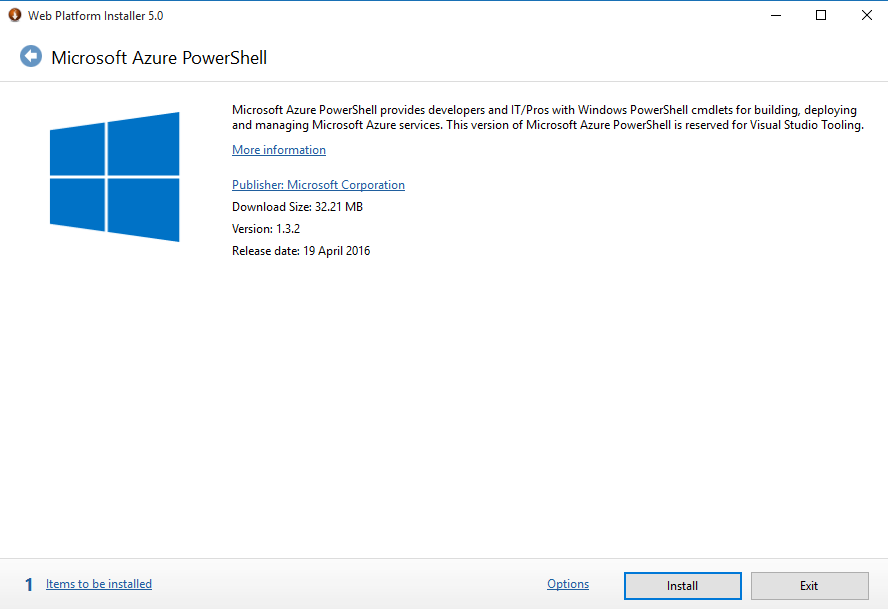
If you are still working with classic Azure, then these are the instructions to follow. There are two ways to install the Azure PowerShell module. The first is to use the Web Platform Installer. This GUI-based tool will download and install the necessary components. Yes, it gives you a UI, but it is a slower method for installing the module.
The second method is to use PowerShell. You can run this quick one-liner, using an elevated PowerShell prompt, to download and install the latest version of the PowerShell module:
Install-Module Azure
Microsoft updates Azure quite frequently, and this has an impact on PowerShell. You should consider checking for an update very frequently, and if you do notice strange behaviour, then check for an update.
The Install-Module Azure cmdlet is the quickest way to download the latest version of the module.
Tip: Microsoft suggests that sometimes a PC will have report that Azure PowerShell cmdlets cannot be found after a new installation. In my experience, I always tell people to reboot their PC to upgrade their module search paths after a new installation.
Once you are ready, launch the Azure console. You can log into Azure V1 or Service Management using Add-AzureAccount. A pop-up window will appear; sign in to Azure using your credentials.
If you have access to more than one Azure subscription (you should check just in case), then run the following cmdlet. This is also a good way to verify that:
- You are signed in OK; sometimes your cached credentials get messed up and you have to clean things up with Remove-AzureAccount.
- That you have access to the Azure cmdlets.
Get-AzureSubscription
Note the Current value of the returned subscription(s); one subscription will have this set as “True”; this is the subscription that your cmdlets are currently targeting. If you need to switch Azure subscriptions, then identify the subscription ID of the subscription and run the following cmdlet:
Select-AzureSubscription -SubscriptionId <ID>
I prefer to use the SubscriptionID flag instead of the SubscriptionName because subscriptions can have identical names, but they cannot have identical GUIDs.
Now you can start working with your subscription using Azure V1 cmdlets.
Azure Resource Manager (ARM)
Managing Azure via ARM requires a different ARM module. If you do an online search, you will find lots of outdated instructions on how to install this module and log in. Microsoft simplified the process after general availability, and it’s now similar to what you do with Azure V1.
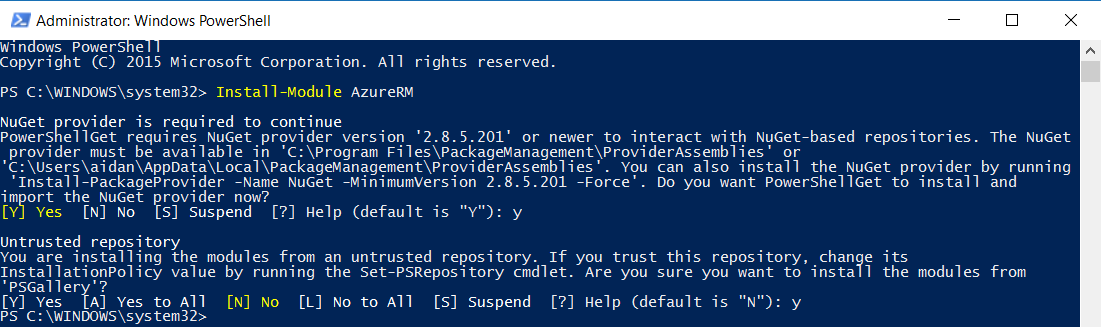
You can install the ARM module using the following from an elevated PowerShell prompt. This is also how you will check for updates and upgrade the module:
Install-Module AzureRM
ARM and Service Management are separate engines so logging into one system doesn’t carry over to the other. Log in by running:
Login-AzureRmAccount
If you are familiar with Service Management cmdlets, then you can probably guess their ARM equivalent. You stick an RM after Azure. So Get-AzureSubscription becomes:
Get-AzureRmSubscription
And by using that method, Select-AzureSubscription becomes:
Select-AzureSubscription -SubscriptionId <ID>
Using Azure Active Directory
If you are working with Azure AD, then you’ll have a little bit more work to do.

Aidan Finn, Microsoft Most Valuable Professional (MVP), has been working in IT since 1996. He has worked as a consultant and administrator for the likes of Innofactor Norway, Amdahl DMR, Fujitsu, Barclays and Hypo Real Estate Bank International where...

