How to Install Git on Ubuntu 20.04

In this guide, we’ll explain how to install Git on Ubuntu 20.04 step by step so that you can manage your repositories quickly and easily from the command line! You can then go on to learn the Git commands, which will allow you to automate common tasks, like the ability to create, check out, and merge repositories.
To quickly install Git on Ubuntu using the apt package manager, run the following two commands. For more details, keep reading!
sudo apt update
sudo apt install git
Git is an open-source version control system that developers and DevOps engineers can use with online code repositories such as Bitbucket or GitLab. There’s nothing to stop you from creating and managing your cloud-based repos directly in the browser on platforms like GitLab and GitHub. But the constant ‘click here, click there’ monotony gets tiresome quickly.
Git allows you to manage many projects and repositories stored on GitLab, GitHub, and other SaaS-based platforms. To manage your repositories efficiently, you’ll need to install the Git client on your local machine or server. You can install the client on any Unix-based operating system and Windows, but this tutorial will focus on Ubuntu 20.04.
Meet these prerequisites before you install Git on Ubuntu
To follow our step-by-step tutorial, here’s what you need:
- This tutorial uses Ubuntu 20.04.3 LTS with a root user, but any Ubuntu version above 14 should work.
- A GitHub account with one private and one public repository containing a hello.py Python file.
Install Git on Ubuntu using the APT package manager
There are different ways to install the Git client on Ubuntu, and the first is to use the APT package manager. Here’s how to do it step by step:
- First, connect to Ubuntu with OpenSSH or your favorite SSH client.
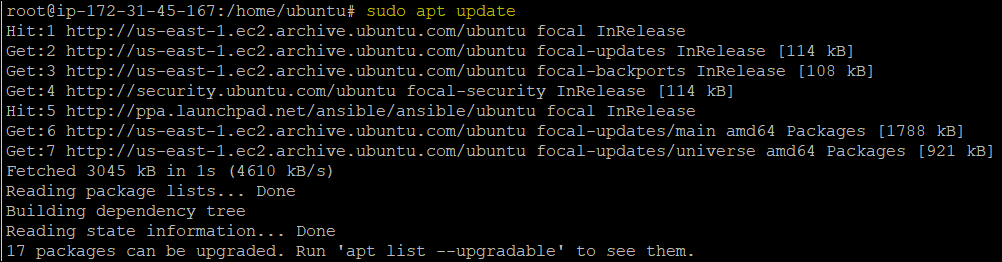
- Git is stored as a package that can be downloaded and installed via the APT package manager. To ensure that the APT package manager can find the proper source for Git and any dependent packages, you first need to run the apt update command to update all your existing packages:
sudo apt update
Callout: The APT package manager can manage Ubuntu or Debian-based packages, update them to the latest version, and install multiple packages on a remote node.
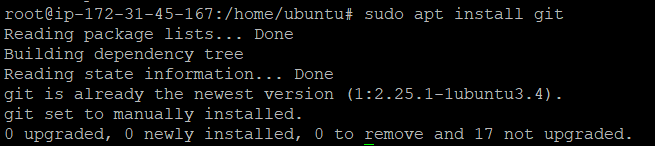
Finally, install the Git package on your machine using the apt install command. The apt or apt-get commands will install the packages from the software repositories configured in Ubuntu.
sudo apt install git
To verify if Git has been successfully installed on Ubuntu, check your Git version by running the git –version command. The output should confirm the successful installation of Git.
git --version

Installing the latest version of Git from the source
You can also directly install Git from the original source code. This method lets you download the latest release and choose the options you want to include. However, installing the client this way means that you won’t be able to maintain your installation through the APT package manager.
To install the client from the source code, first, run the apt update command to get the latest packages in the local repository on Ubuntu.
sudo apt update
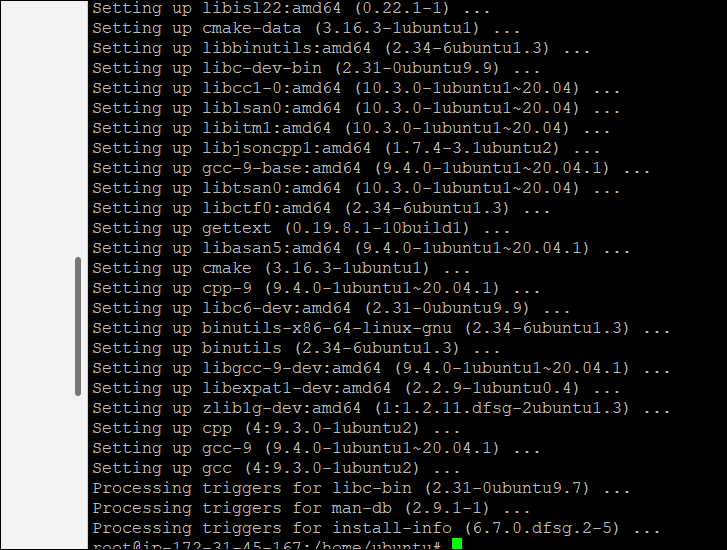
Next, run the following command to install the required dependencies for Git on Ubuntu:
sudo apt install libz-dev libssl-dev libcurl4-gnutls-dev libexpat1-dev gettext cmake gcc
Now, run the curl command below to download the Git archive to the /opt/git directory:
curl -o git.tar.gz https://mirrors.edge.kernel.org/pub/software/scm/git/git-2.26.2.tar.gz

Next, decompress the tar file you downloaded in the previous step by running the following command:
sudo tar –zxf git.tar.gz

You now need to move to the new Git directory, which was created after we extracted the tar file. Use the following command to do that:
cd git-*
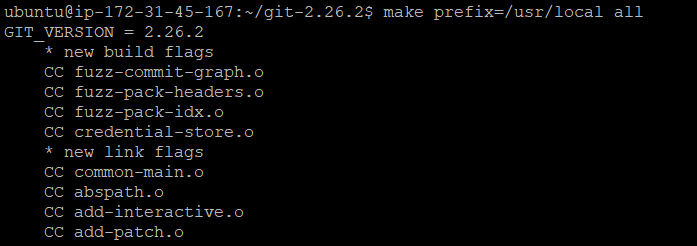
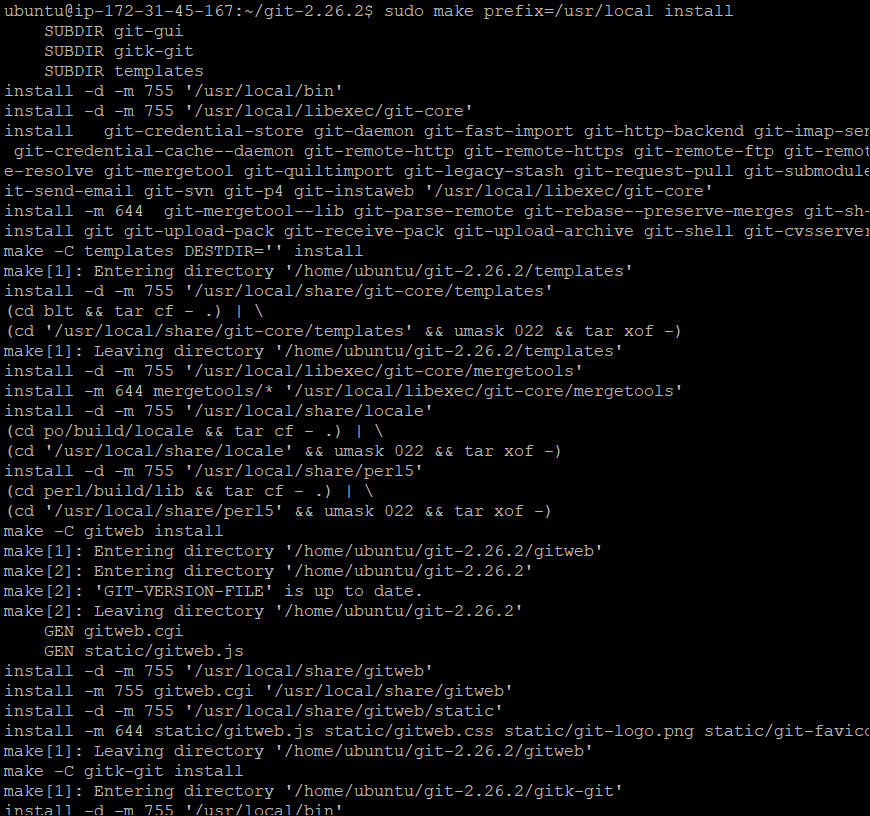
Next, run the two following commands to compile and install Git:
make prefix=/usr/local all
sudo make prefix=/usr/local install
Finally, execute the git –version command to verify that Git has been successfully installed. And you’ll see which version of Git you have in the output.
git –version

How to configure Git on Ubuntu 20.04
Now that you have successfully installed Git on Ubuntu, it’s time to configure it. Let’s learn how you can configure Git with a username and an email ID. By setting your username, Git will allow other people to identify you on each of your commits in a repository.
Assuming you are still logged into your Ubuntu machine, use the command below to set your username in Git.
git config --global user.name "yourusername"
Similarly, if you need to set an email ID in Git, you can use the command below where you replace the email address between brackets with the one you want to use:
git config --global user.email "[email protected]"
Next, verify whether the username and email you specified are appropriately set up with the following command:
git config –list

That’s it, you’re now ready to get started with Git on Ubuntu.
Conclusion
In this tutorial, you learned how to install Git on Ubuntu using the APT package manager and the original source code located in Git. Also, you learned how to set a username and email address in Git and how to get started with it on Ubuntu. Now that you have Git set up on Ubuntu, what do you plan to do with it?

Sagar is a DevOps consultant and the founder of automateinfra.com. Sagar brings DevOps technology expertise to Petri.com, writing about Terraform, AWS Cloud, Microsoft Azure, Ansible, Kubernetes, Docker, Jenkins, Linux, and Windows.