Install Folder Management Add-In for Visual Studio Team Services
In today’s Ask the Admin, I will show you how to add support for folder management in Visual Studio Team Services (VSTS).
For those of you that have been following my Infrastructure-as-Code articles, including What Is Visual Studio Team Services? and Deploy an Azure Application Using Visual Studio Team Services on Petri, here is a tip to help you manage files. If you have uploaded files to a project, you might have noticed that it is not possible to upload or create folders. You can clone, check out a repository to your PC, create a folder, make any necessary changes, and then commit it back to VSTS but that is a bit of a pain.
Git is the default version control used for new projects in VSTS. Git does not retain empty folders without files, so there is not an option to create new folders by default in VSTS. There is a handy add-on that adds this functionality.
Install Folder Management for VSTS
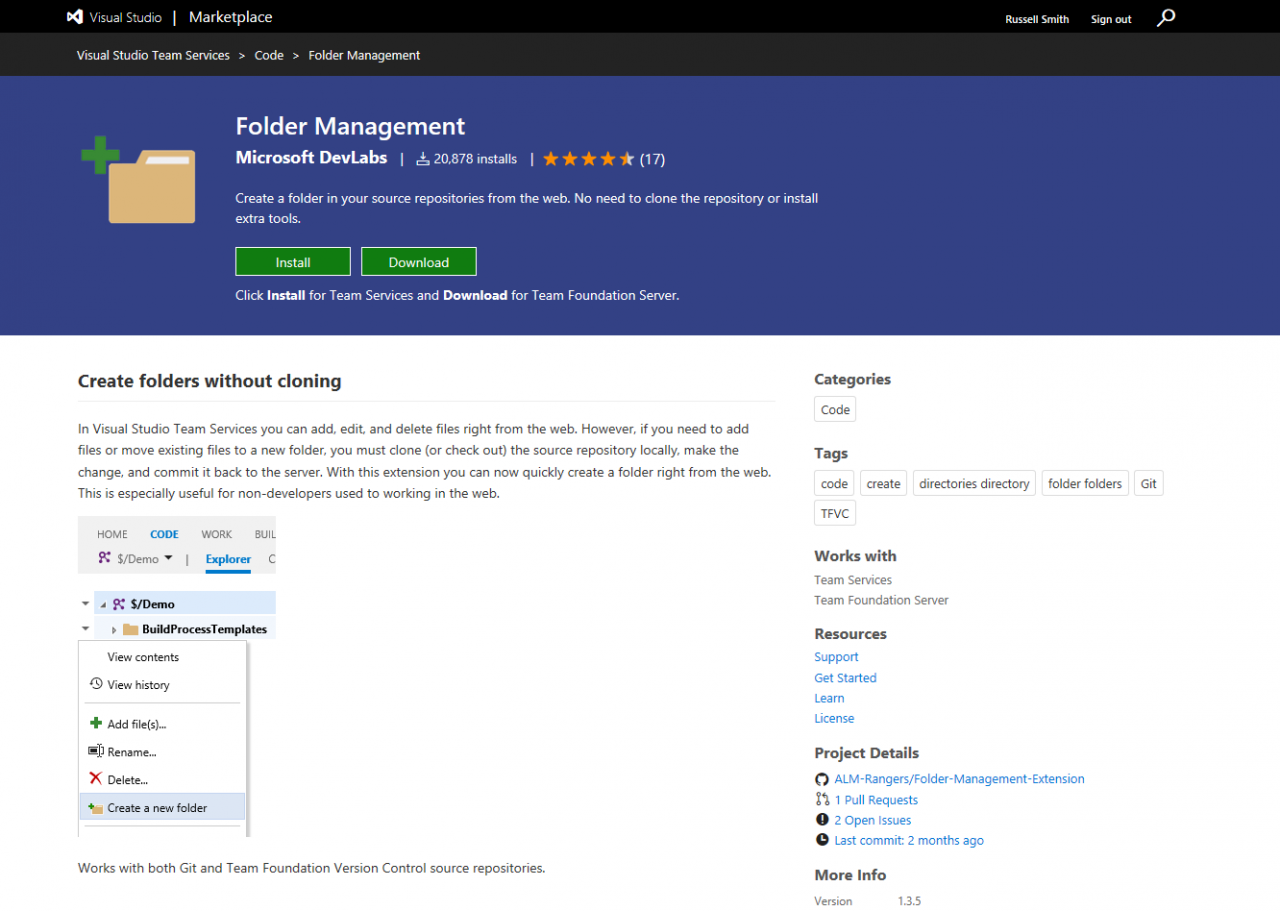
The first step is to install the Folder Management add-on from the Visual Studio Marketplace.
- Go to the folder management add-on in the Visual Studio Marketplace.
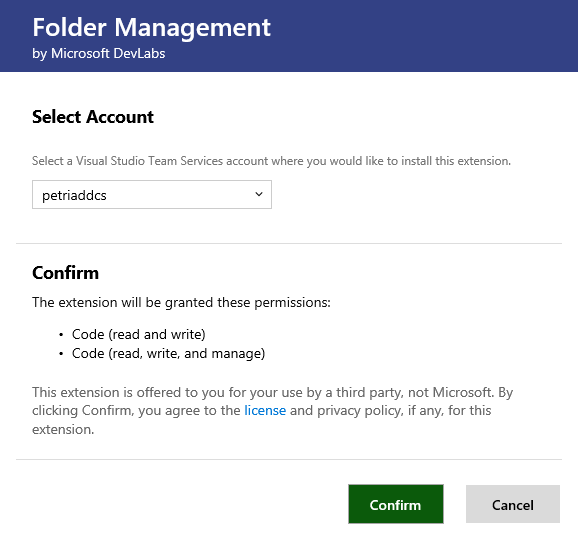
- Click Install to add folder management to VSTS. If you are not already logged into VSTS, you will be prompted to do so. If your Microsoft account is associated with more than one VSTS, you can choose the account from the drop-down menu on the Select Account.

- On the Select Account dialogue, click Confirm.
- Click Close on the You are good to go!

Note that if you do not have administrative permissions to VSTS, you will have to wait for an administrator to approve the install request.
Create a New Folder in VSTS
Let’s create a new folder in a VSTS repository:
- Switch to your VSTS project.
- Once the add-on is installed, click Code at the top of VSTS and Files from the menu.
- In the pane on the left that shows the existing file hierarchy, right-click on the top-level project name or an existing folder and select Create a new folder from the menu.
- In the Create a new folder dialogue, enter a name for the folder and then click Create.
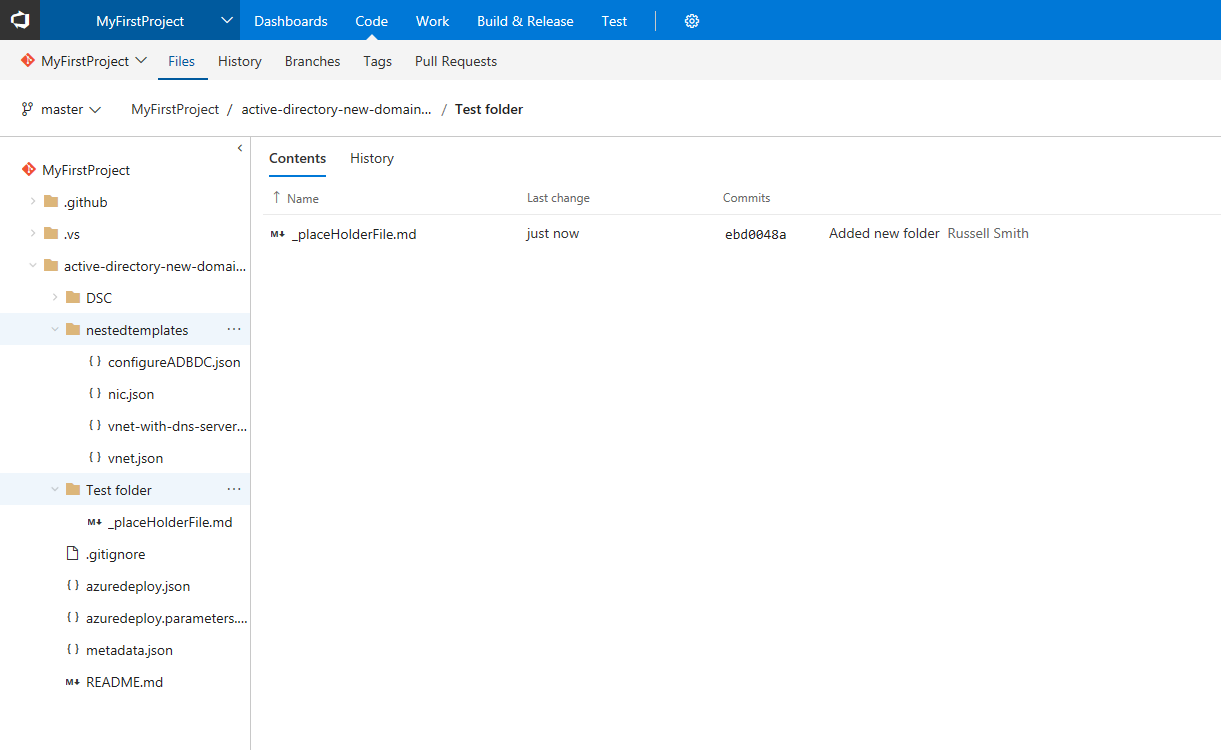
- The new folder will appear in the left pane.

If you click the folder in the left pane, you will notice on the right that the folder already contains a file. Once you add files to your new folder, you can safely remove the placeholder file.
In this article, I showed you how to create new folders in VSTS.


