If you’ve recently upgraded to a PC running Windows 7, or are considering it, there are some subtle changes to Desktop that you should be aware of.
This article takes a brief look the Windows 7 Desktop and the changes in the basic functions of it and how you can perform some customizations for personalization and ease of use.
Taking a New Look at the “Old” Desktop
When you first log in to the Windows Operating system, the first place you arrive once the machine completely starts is the desktop.
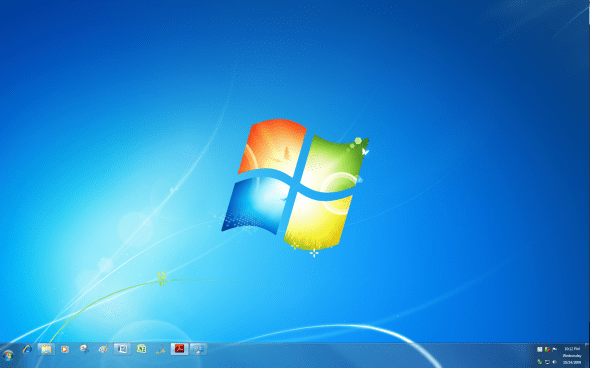
The default desktop will look (for the most part) as shown in the image below.
[NOTES FROM THE FIELD] – You may notice I have a couple more items that are pinned to my Taskbar than what you might see on a standard installation.
With a standard installation you’d see just Internet Explorer, Windows Explorer and Windows Media Player.
The default Windows 7 wallpaper / desktop background is shown and unless you have a system that was installed and built by an OEM (Original Equipment Manufacturer) then this is what you’d see.
You will find program icons on the desktop that are available to launch when you double click on them and by default on a clean install you’ll have only the Recycle Bin there.
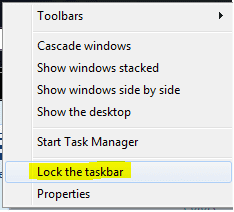
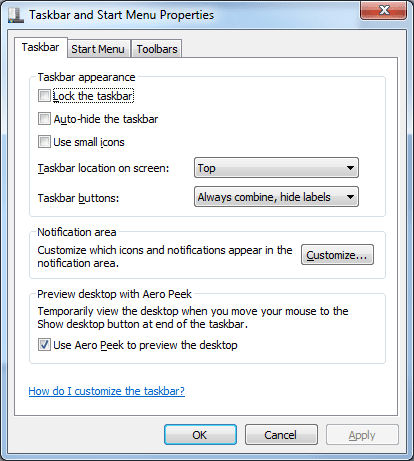
The Windows Taskbar will be at the bottom of the page in the locked position and you can unlock it by right clicking on it and clearing the Lock the Taskbar checkmark. Once you do that you can grab the Task bar and drag it to any side of the screen, top, left or right.
[NOTES FROM THE FIELD] – The defaults have always been to set the taskbar on the bottom all the way back to Windows 95 if I am remembering the defaults correctly.
What I do know is I always move it from the bottom to the top of the screen. Just a personal preference of mine and you’ll probably notice that fact from most of my screen shots.
Every application I use has the menu options and information along the top of the given window – word processor, Windows Explorer, web browser – you name it and yet for some reason the default for the Taskbar is the bottom of the screen.
I’ve never understood that…
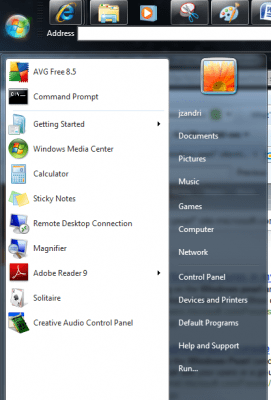
At the far left of the Windows Taskbar is the old Start Menu. The word START was last seen in Windows XP; in Vista and now Windows 7 it is simply the Windows Logo.
[NOTES FROM THE FIELD] – I do not know if the formal name for this is now “Windows Pearl” or “The Pearl” but if you take a look at the search results at you can see that the use of it is there.
The function is still the same as it was all the way back to Windows 95 and is currently most similar in use as it was recently in Windows Vista – to provide the quick and easy access to system tools and applications.
In a recent article Getting Familiar with the Windows 7 Start Menu I reviewed some additional details/changes of the Start Menu so I won’t go into additional details here on it.
Focusing on the Notification Area
The Notification Area is on the right side of the taskbar by default near the time and date information. This part of the Taskbar contains icons for installed program that can provide status for things such as the existence (or lack) of network connectivity, volume control, action center notifications and so forth. When you install a new program it will sometimes add a program icon to the notification area.
You can customize how icons and notifications behave in the taskbar by changing their default behavior.
This is done by right-clicking an empty area on the taskbar, and then selecting Properties.
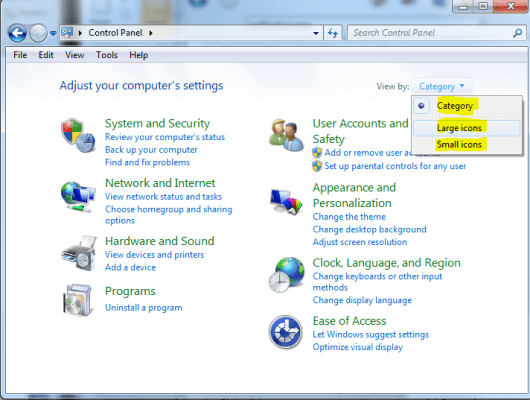
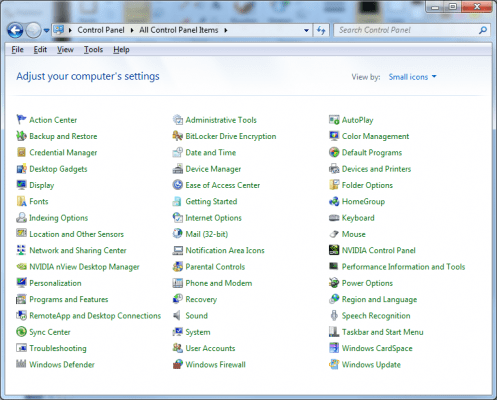
[NOTES FROM THE FIELD] – You can also get there by going in to the Control Panel and going to All Control Panel Items and choosing Notification Area Icons.
To find that easier you may need to change the view from CATEGORY to the SMALL or LARGE ICON view
On the Taskbar and Start Menu Properties page you’ll be on Taskbar tab by default and you would want to go to the Notification area section and click the Customize button.
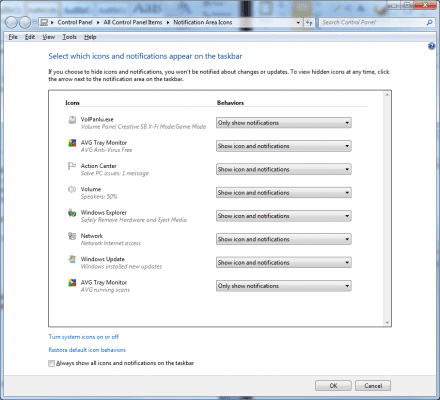
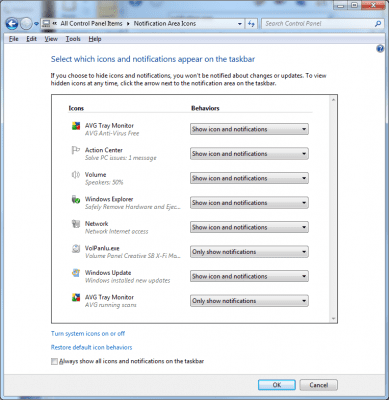
Once you do this you’ll be on the Notification Area Icons page and you can set all the icons to the same setting at the bottom of the options page by checking the Always show all icons and notifications on the Taskbar checkbox if that’s what you want to do.
Otherwise you would leave that clear (or remove the check in the box if it is already there) and make the settings for each item from one of the three available settings:
Show icon and notifications. The icon always remains visible on the taskbar in the notification area and any notifications are displayed.
Hide icon and notifications. The icon is hidden and notifications aren’t displayed.
Only show notifications. The icon is hidden, but if the program triggers a notification balloon, it’s displayed on the taskbar.
Once you are done making your changes you’d click OK to close out the window.
Customizing the System Icons
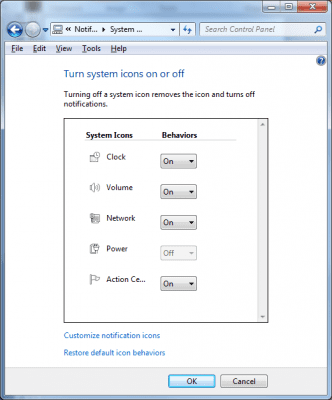
You also have the option to customize the System icons, including Clock, Volume, Network, Power, and Solution.
These special icons are part of the Windows 7 operating system and you can change how the icons and notifications appear or whether they appear at all.
To do this you would right-click an empty area on the taskbar, and then selecting Properties.
On the Taskbar and Start Menu Properties page you’ll be on Taskbar tab by default and you would want to go to the Notification area section and click the Customize button.
Once you do this you’ll be on the Notification Area Icons page and you can choose the Turn system icons on or off option at the bottom left part of the window as shown below.
Once you do that you are in the System Icons area and you can change those default behaviors by toggling them ON or OFF.
[NOTES FROM THE FIELD] – You can also get there by going in to the Control Panel and going to All Control Panel Items and choosing Notification Area Icons and from there choosing the Turn system icons on or off option at the bottom left part of the window; there is no other path right off the Control Panel to the option except through Notification Area Icons.
In this tutorial we reviewed the Windows 7 Desktop by taking a look at its basic make up and we took a look at the Notification Area and how we might customize some of those settings. We finished up with a review of how we can customize the System Icon settings.
Thanks for investing your time in my Getting Started with the Windows 7 Desktop article and I am always looking forward to any feedback you have on this or any of the articles I have written so feel free to offer your feedback.
Additionally, I would welcome any suggestions topics of interest that you would like to see and based on demand and column space I’ll do what I can to deliver them to you.


