It’s been several months now since VMware vSphere 5.5 was released to the public. The product has had some time on the market, and I’m now seeing more and more people upgrading from earlier versions of vSphere to it. For the sake of this walkthrough, I’m already running vSphere 5.1 so I have single sign on (SSO) and the web client already installed. This post will walk you through the steps to make your upgrade to vCenter 5.5 a success.
For this example I have all of the following components installed on a single Windows server. This is referred to as a simple install and is the recommend method unless you have additional requirements for higher availability.
- Single Sign On (SSO)
- vSphere Web Client
- vCenter Inventory Service
- vCenter Server
Preparing to Upgrade to vCenter 5.5
Before starting on the upgrade journey a few things should be done first to ensure a successful upgrade or recovery should something go wrong.
- Ensure you have backups of all databases affected in this upgrade.
- Confirm successful backups of the Windows server that you are using.
- If using a VM for vCenter server, snapshot it.
- Read VMware upgrade guides
Single Sign-On (SSO) Upgrade
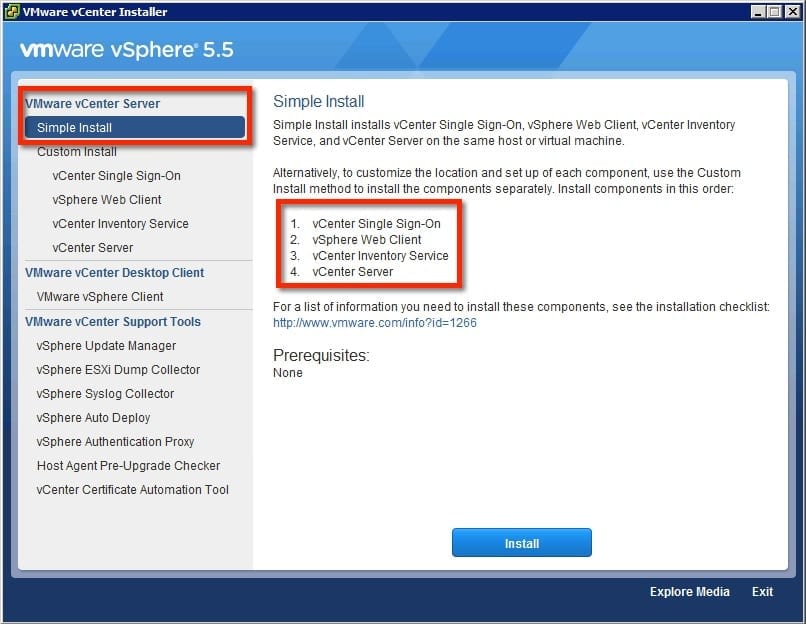
To get things rolling I have mounted the vCenter 5.5 ISO and started the installer app. The following image shows the welcome screen for the vCenter install. As mentioned earlier, we are going to choose the Simple Install, which will install the components listed on the right on our single server. Since we already have vSphere 5.1 installed those components will be upgraded to 5.5
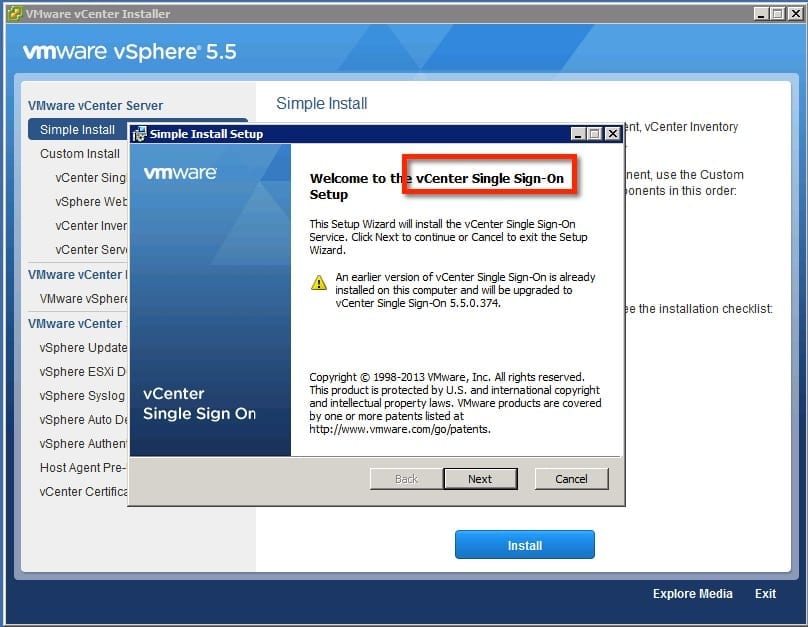
The different vCenter components will be installed or upgrade in the order listed in the previous image. This means that SSO will be the first part to be upgraded. The image below shows the installer starting and it has recognized that we have a previous version installed and will upgrade it.
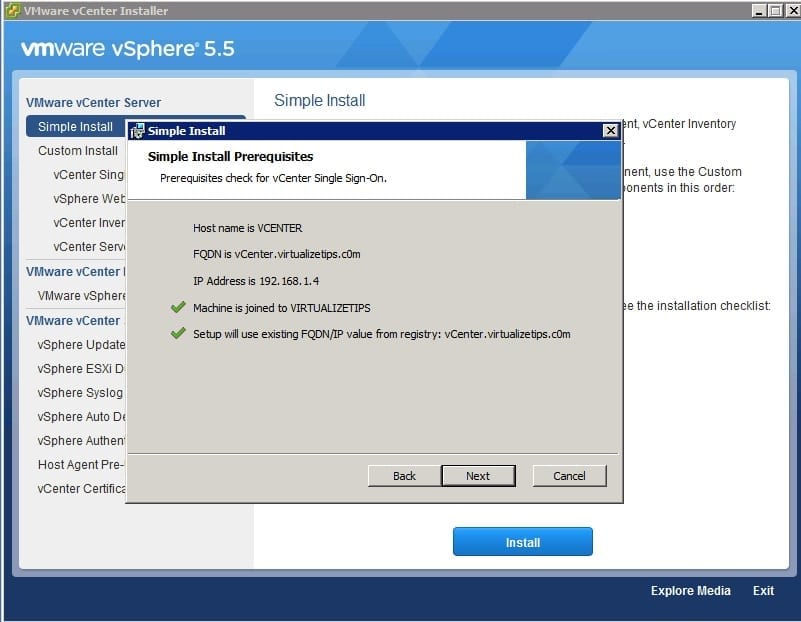
As the installer gets started with the SSO upgrade it will check the server name and make sure that it resolves properly in DNS.
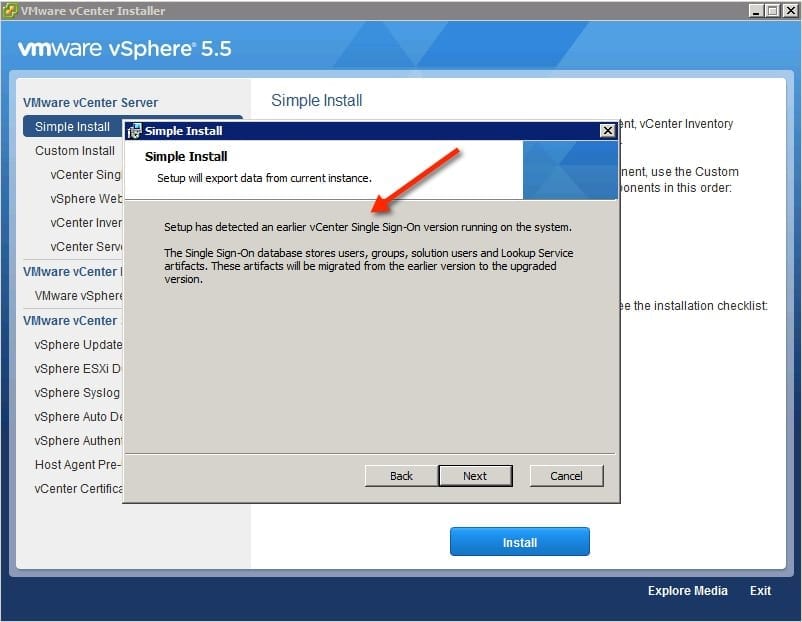
With the SSO install already detecting a previous version and preparing for the upgrade, it is now warning you that it will move forward all of the users and groups. This is important: Since SSO was a complete rewrite of code from 5.1, it needs to keep your data so that you don’t have to start all over.
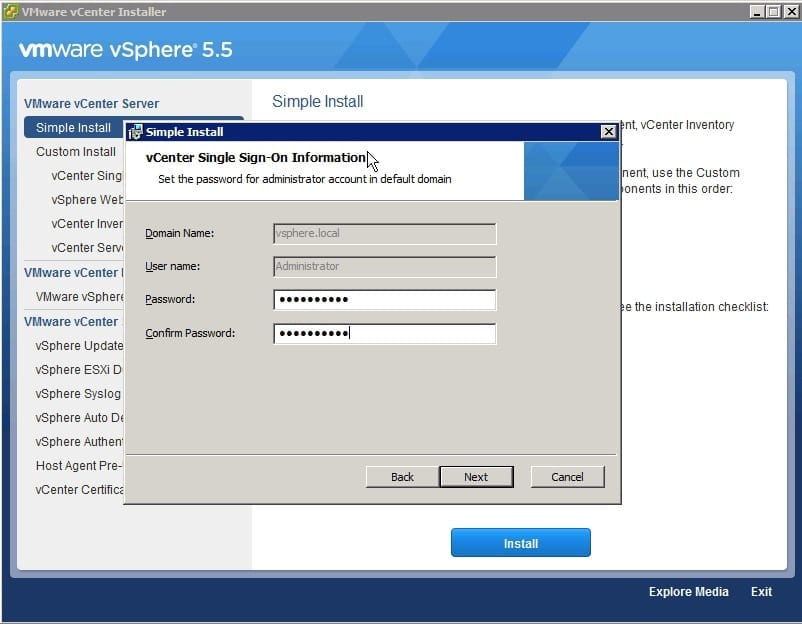
Next, enter the password for the administrator account.
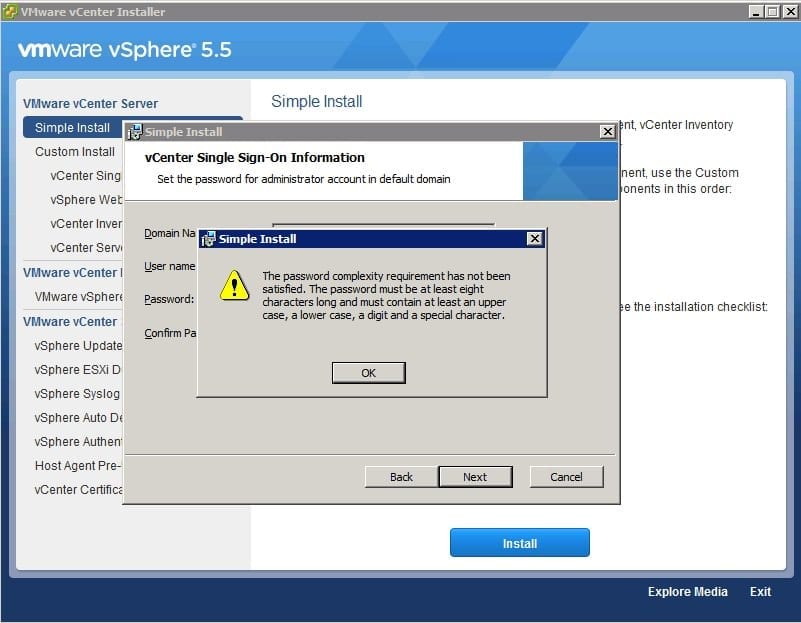
As an example, I entered a password that did not meet the minimum requirements. The image below shows that the password must be at least eight characters and contain an upper case character, a lower case character, and a special character. Upon putting in a proper password I was able to move forward.
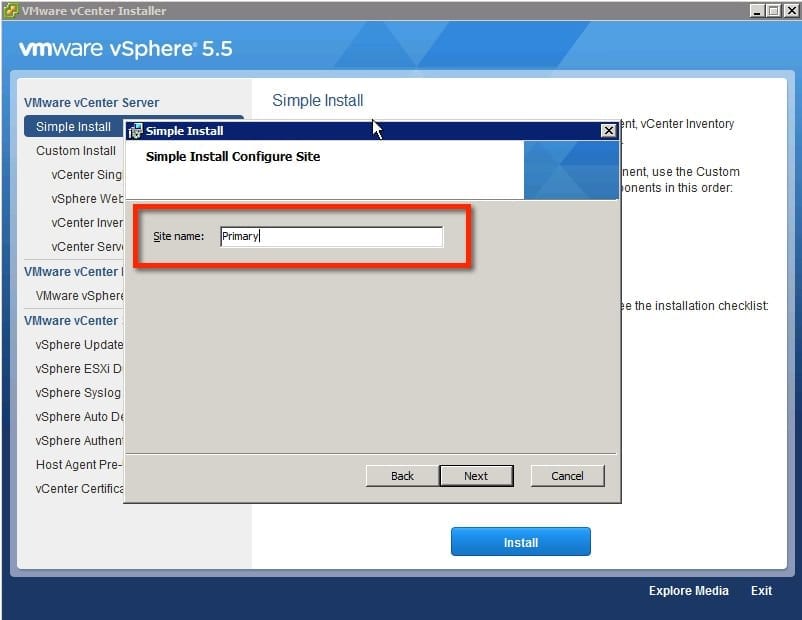
In the last part of the SSO upgrade, we are required to put in a site name. In the latest version of SSO it has the ability to use site names for use with identifying physically separate locations. This is good for different data centers. This allows SSO to keep all sites in sync but not allow any single failure to bring down the SSO service in other sites.
vCenter Inventory Service Upgrade
The next phase of the upgrade is starting the process of upgrading the vCenter Inventory Service. It is asking whether it should upgrade the existing database or whether a new one was created for it. Since we want to upgrade in place and maintain all of our data, choose the option to keep the existing database.
The last step in this phase is to let it take off and perform the upgrade of Inventory Service. This is a pretty boring part: just click Install to get the upgrade rolling.
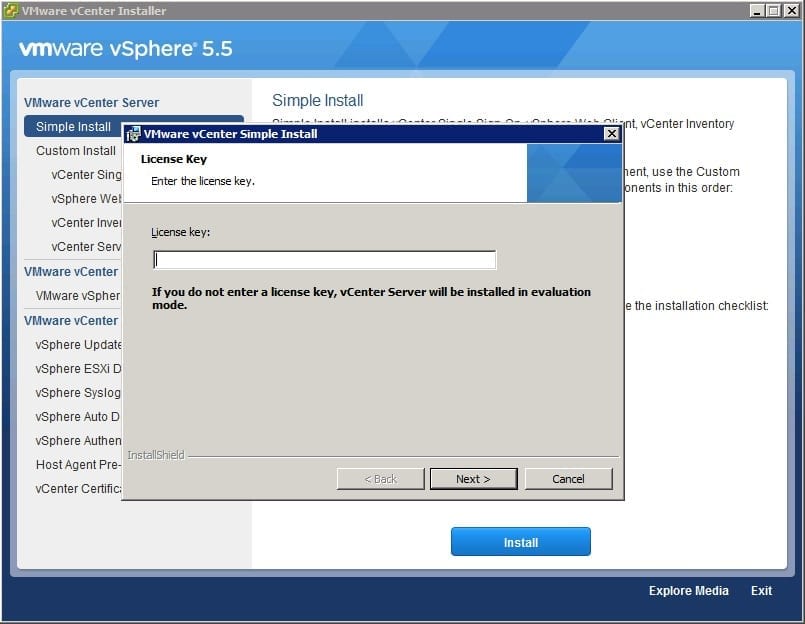
Now the vCenter Server upgrade phase starts. The installer first prompts for the vCenter license key, or it can proceed with an empty field and it will run in a 60-day trial mode.
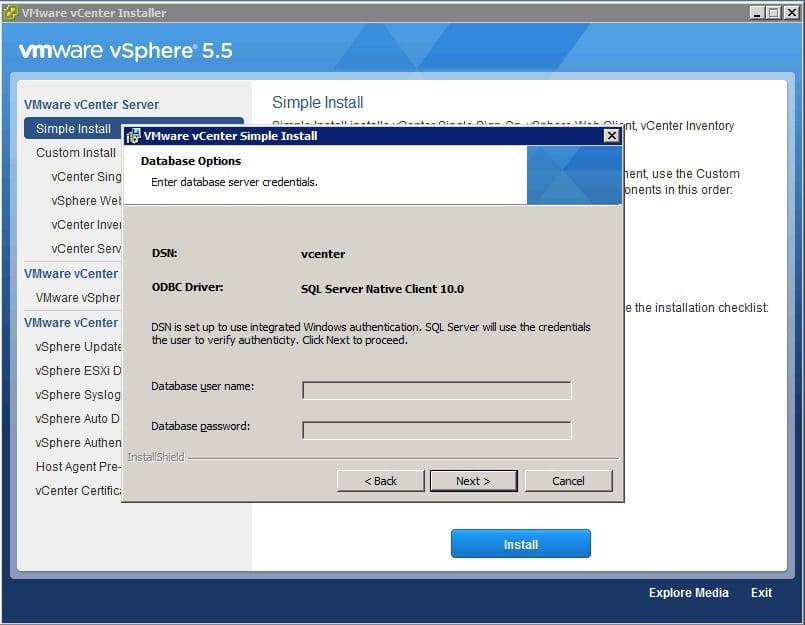
In this step the installer is showing the DSN settings for the connection to the vCenter database. If they are correct and no changes are needed, you can go ahead and proceed.
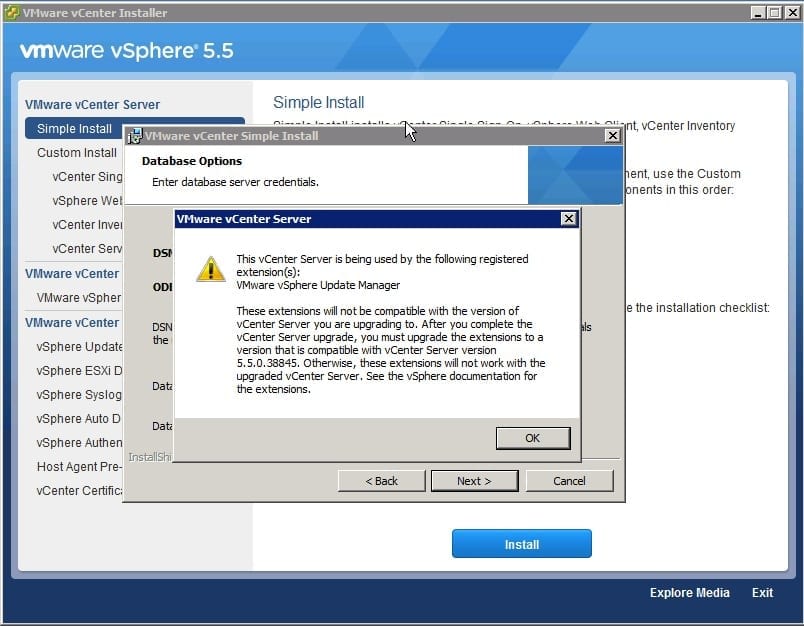
In my sample install that I’m upgrading, Update Manager is also installed on the server. The installer application warns that we will also need to upgrade Update Manager once these upgrades have completed.
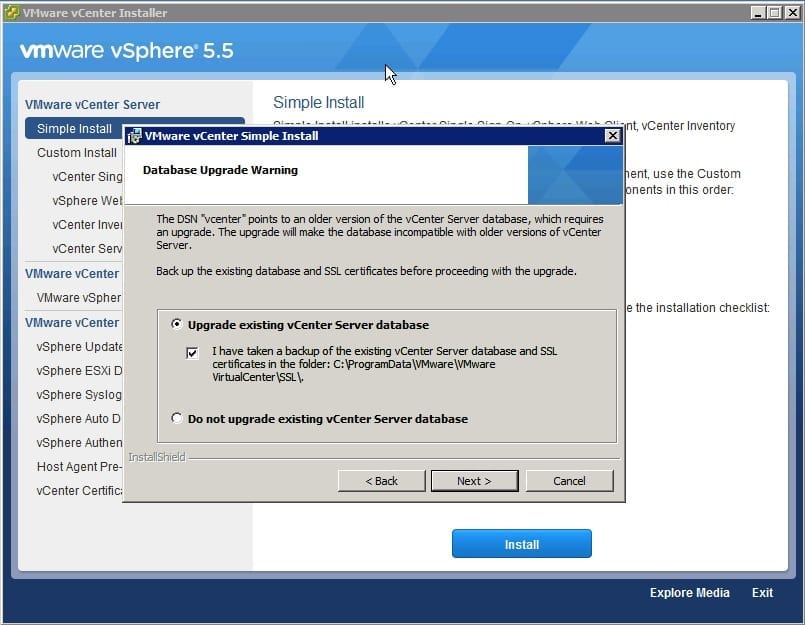
Now the application is asking us about the vCenter database. We wish to reuse the same database, so an upgrade will be necessary.
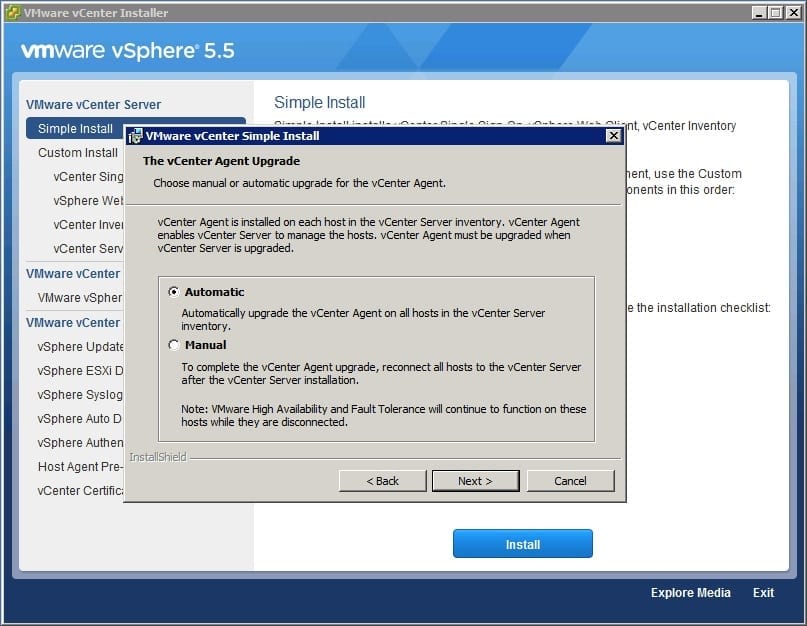
Next, you’ll be asked whether the installer should auto-upgrade the vCenter agent on the ESXi hosts that are managed by this vCenter. If you do not do this now you will have to do them manually later. I’m all about saving time, so we are choosing the Automatic method.
Before things can get rolling the installer must have the password entered for the account used for the application install. This will be used as the service account for vCenter.
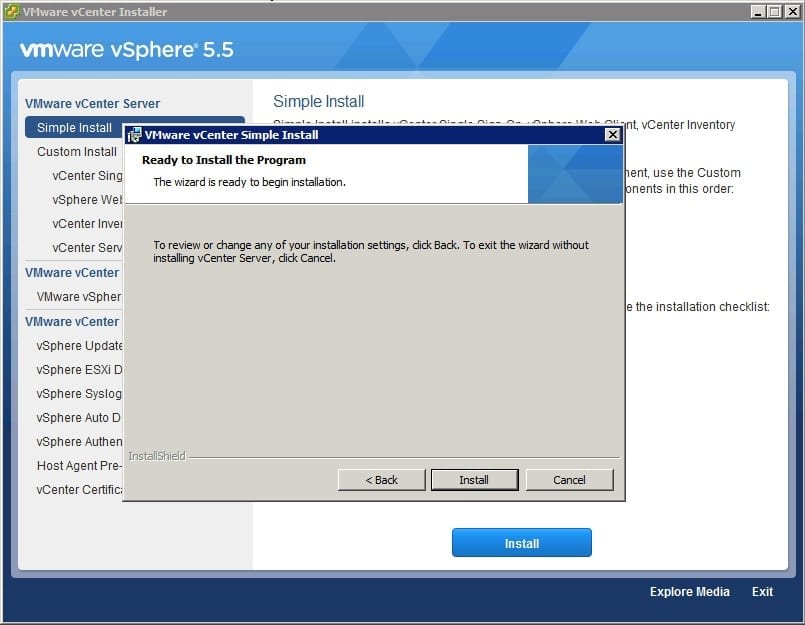
This upgrade is now ready to rock, so lets click Install and get the vCenter Server upgraded to vCenter 5.5.
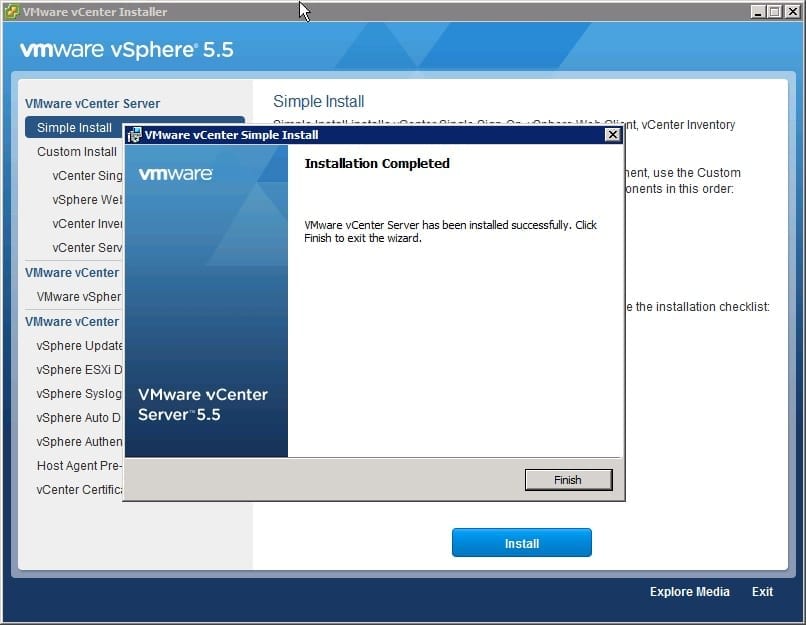
So we have finished out the long and fairly easy process. The installer shows our completed confirmation, and the newly minted vCenter 5.5 server is ready for action.
Hopefully this will help you with your pending upgrade – or just calm your nerves with what you can expect when you go through the process yourself. Best of luck to you, and don’t forget your backups before starting the upgrade!


