Installing Exchange 2010 Management Tools on Windows 8
Even though Exchange 2010 is built on top of PowerShell, you can’t simply use PowerShell remoting from your management desktop to manage the server. You will need to install the Exchange Client Management tools. Fortunately, this isn’t difficult, especially if you are already running Windows 8. There are still a few things to watch out for, and I’ll cover those in this article.
Note: Even though this article covers Windows 8, almost everything here will also apply to Windows 7.
Exchange 2010 Requirements and Getting Started
To begin, you will need to download the Microsoft Exchange Server 2010 Service Pack 3 (SP3), which is a self-extracting executable. Extract the contents to a folder on your desktop or a network share.
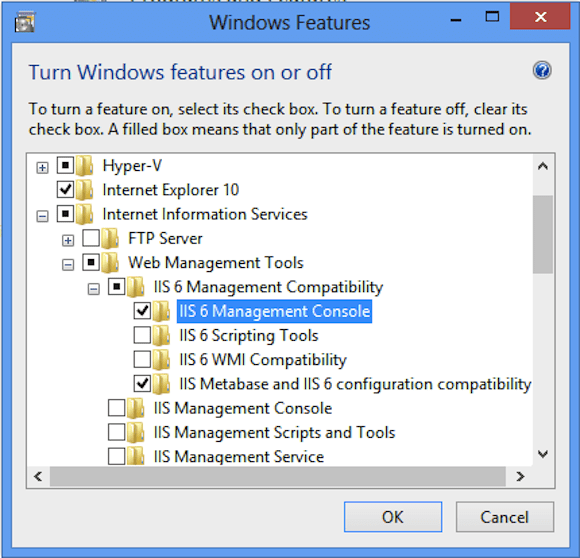
Now, I’m assuming that the account with which you’ll be installing has admin rights on your desktop and the necessary Exchange permissions to manage the mail server. There are some software requirements, most noticeably PowerShell 2.0 and the .NET Framework, which most likely you already have. You will also need to install the IIS 6 Metabase Compatibility and IIS 6 Management Console features.
Go to Control Panel – Programs. Click the link that says Turn Windows Features on or Off.
Expand Internet Information Services and check the boxes for the IIS 6 Management Console and IIS Metabase, as shown below.
Finally, make sure your computer doesn’t have any pending restarts, say, from a Windows update. You may want to reboot your computer just in case and then launch the setup process.
Exchange 2010 Management Tools Setup
First, open the folder with the SP 3 extracted files and run setup.exe. You may need to allow the setup program to display blocked content.
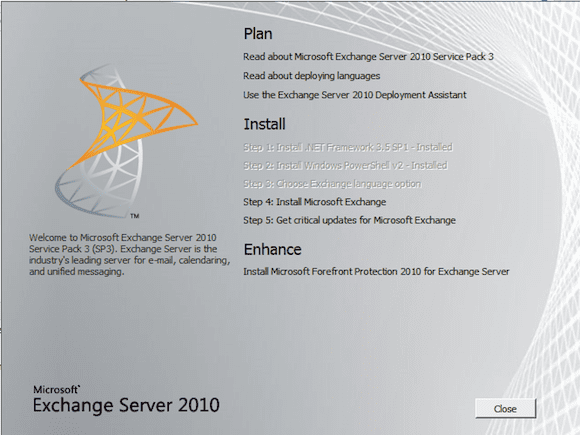
Because you are already running Windows 8, you should automatically have PowerShell and the .NET Framework installed. Click on Step 4 to Install, then click Next to get past the introduction. You should end up with Figure 3, shown below.
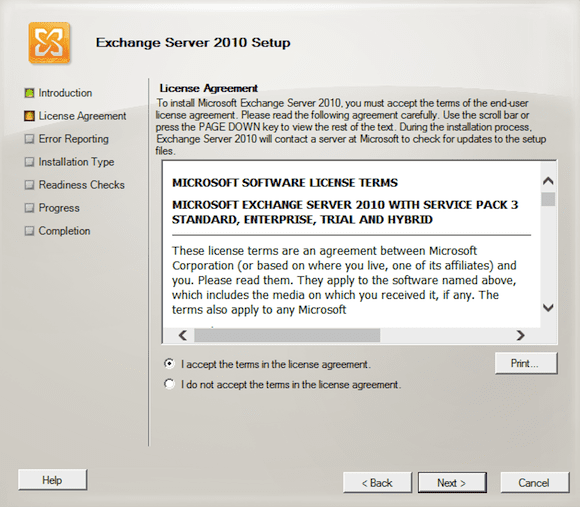
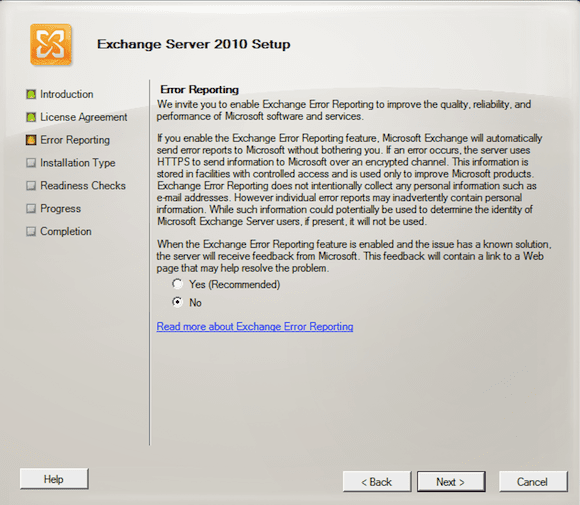
Go ahead and accept the license agreement. You can decide if you want to participate in Exchange Error Reporting.
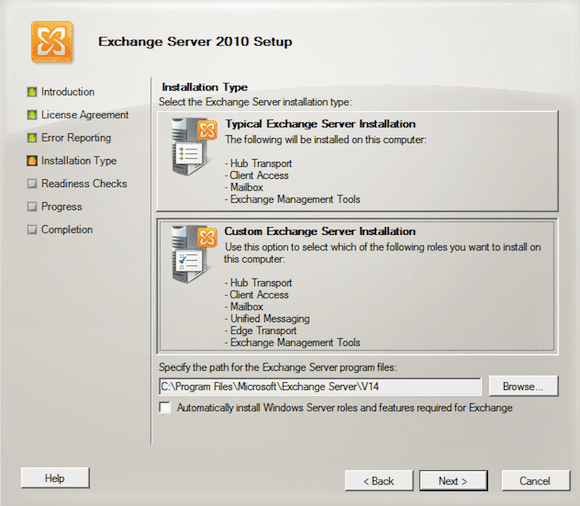
The next screen is the most important, so don’t rush it. Be sure to select the custom installation option, as shown below.
If you want to adjust the path, go ahead and do so. I would not check the box for automatic installations. Click Next.
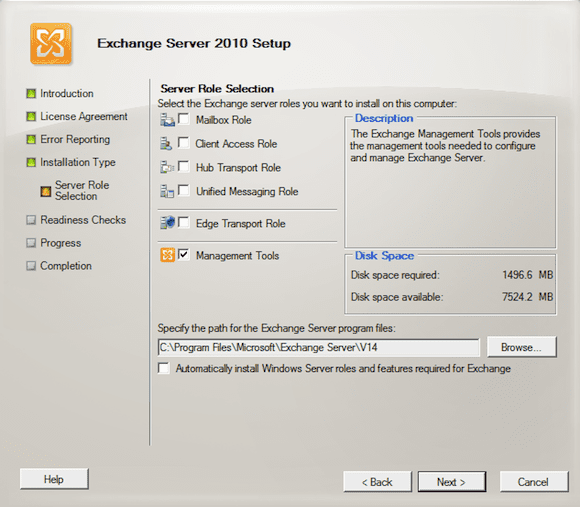
Check the box for Management Tools as I’ve done here.
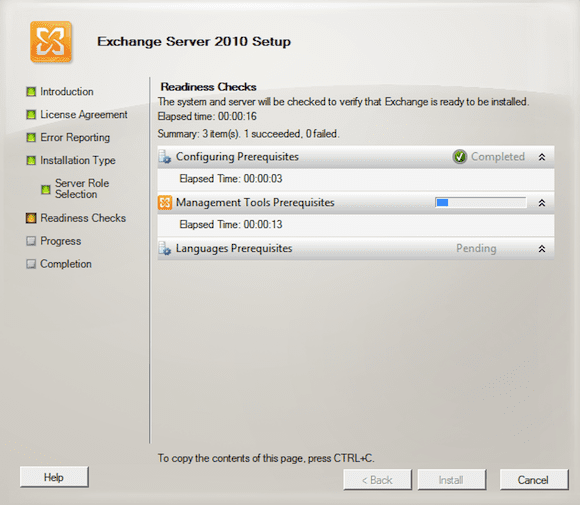
Click Next. The setup wizard will handle any other prerequisites during the Readiness Check phase (Figure 7).
This may take several minutes. If for some reason you’ve missed a requirement, you’ll find out here. You can fix the requirement and click Retry, or you can click Cancel to cancel the installation, address the requirements, and rerun the setup. If you happen to restart the setup, it will detect it and you can resume where you left off. Very nice.
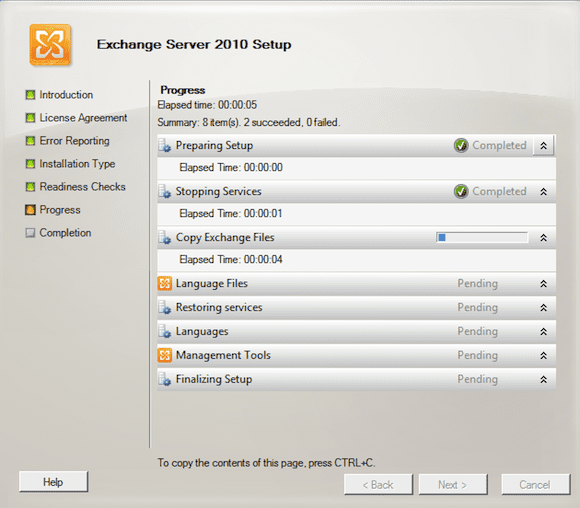
If all goes well you should be able to click Install, which gets you to Figure 8 (shown below).
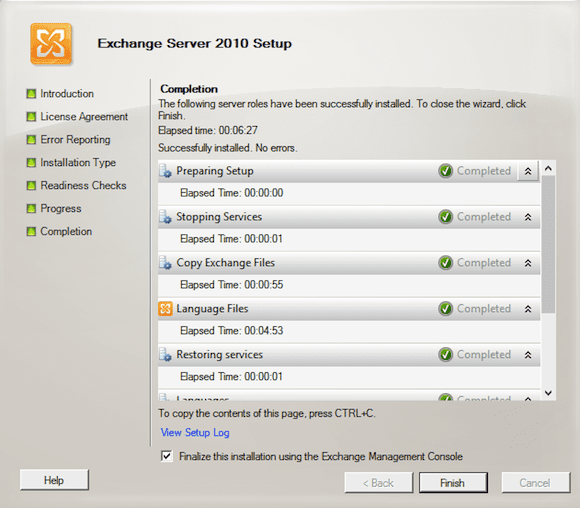
Go ahead and refill your coffee cup, because this will take several minutes. Eventually you should be rewarded with something like Figure 9.
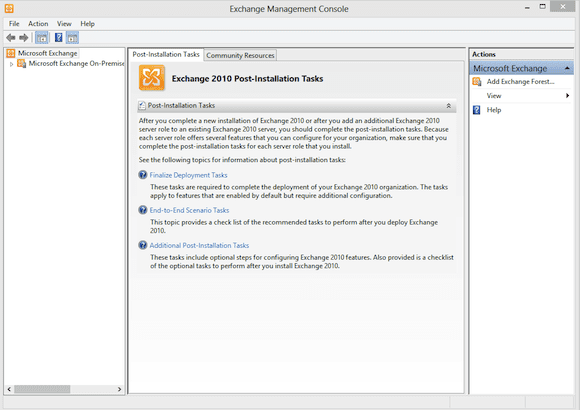
Click Finish. Because the check box is marked for “Finalize this installation using the Exchange Management Console,” it will automatically open (Figure 10).
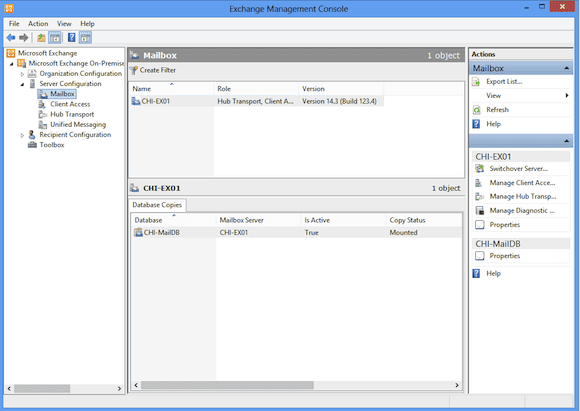
There’s really not much else to do. Because I installed this on a domain member, it automatically connected to my Exchange server, which I can verify by expanding the management tree in the left-side panel.
Of course, you can uncheck the Finalize box and skip this last check, but I like verifying that the setup worked and that I can connect to the Exchange server. Close the console and setup screen. Installation is complete!
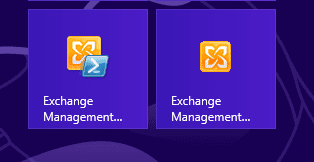
Once installed, you are now ready to manage Exchange from a PowerShell prompt on your desktop. You should have shortcuts to the Exchange Management Console, which is actually the graphical interface and the Exchange Management Shell, which is the PowerShell console.
You may want to pin these to your task bar for easy access. The goal is to never have to interactively logon to the Exchange server. Everything we need to do we can accomplish from here.


