Configuring Work Folders in Windows Server 2012 R2
Work Folders is a new feature of Windows Server 2012 R2 that allows users to have access to individual corporate data folders, no matter where the users are and from what device they are connecting. At present, only Windows 8.1 is supported, but iOS and Android clients are reportedly in the making.
This functionality may sound a bit familiar to cloud-based file-sharing solutions like Microsoft OneDrive, DropBox, and Google Drive. The Work Folders option tends to give administrators a bit more control over what data is accessible, and they can have improved control over user connections enforcing device connection policies.
Work Folders: Prerequisites
In order to install Work Folders, you need the following configured (as a minimum):
- Windows Server 2012 R2 Standard or Enterprise
- Windows 8.1 (Any versions) or Windows 8.1 RT
For external and production solutions, you also need the following:
- Public CA issued SSL certificate (internally generated SSL cert will do for domain-joined clients or in demo scenarios)
- Automatic server discovery DNS settings
- Reverse Proxy (preferred, but not required)
Installing Work Folders Server Role
No matter if the Work Folders will be used only internally or both internally and externally, the first step is installing the Work Folders Server Role.
- From the Server Manager, choose Add Roles and Features.
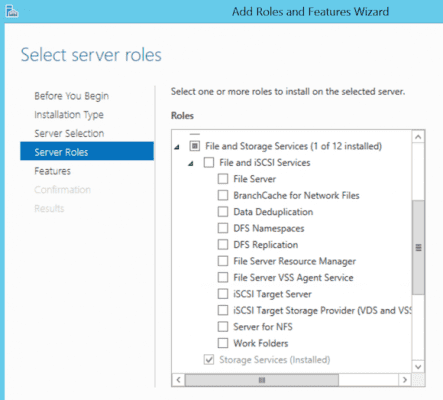
- From the Select Server Roles, go to File and Storage Services / File and iSCSI Services, then select Work Folders.
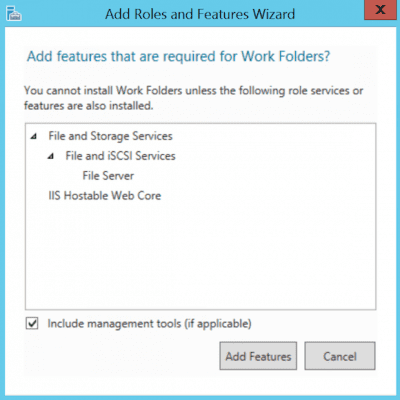
A pop-up will inform you about the additional IIS Hostable Web Core component that will be installed as well.
Creating Work Folders Security Groups
Work Folders are working much like regular NTFS folders from a security perspective. To grant/deny access, you rely on global security groups within Active Directory.
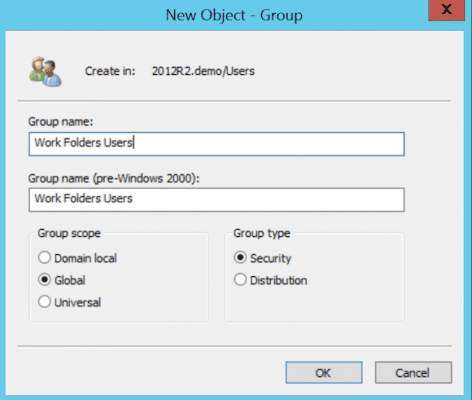
In this example, I’m going to create an Active Directory group called “Work Folders Users,” that is allowed full access rights to the Work Folders directories. Remember, these groups can be anything, or maybe you already have a full set of AD security groups in your organization than can be used for this, such as Sales, HR, Production, IT, etc.
- Logon to your Server 2012 R2 domain controller, go to the Active Directory Users and Computers console, and choose Create new group by using icon in toolbar or right-click / new / group).
- Select Global and Security as options and give it a name and description (Work Folders Users).
Create and Configure Work Folders Data Folders
In this last step, we will create and configure a sync share for work folders, granting access rights to the earlier created AD security group.
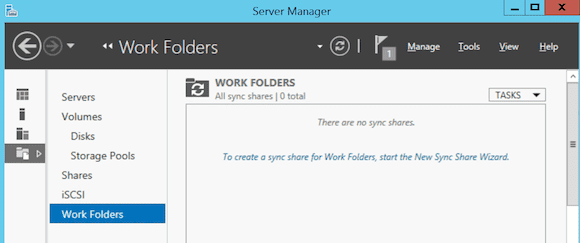
- From the Server 2012 R2 member server in the domain, go to Server Manager / File and Storage Services / Work Folders.
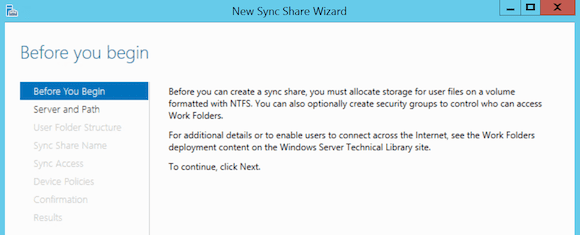
- Start the New Sync Share Wizard or click Task / New Sync Share.
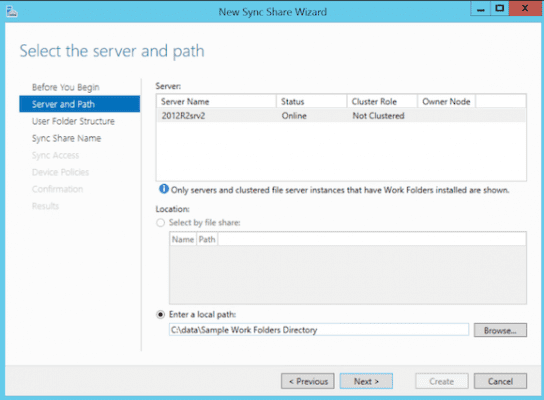
- Select your 2012 R2 server and select Enter a local path. Browse to the directory you want to make available as sync share (c:\data\sample work folders directory, in my example).
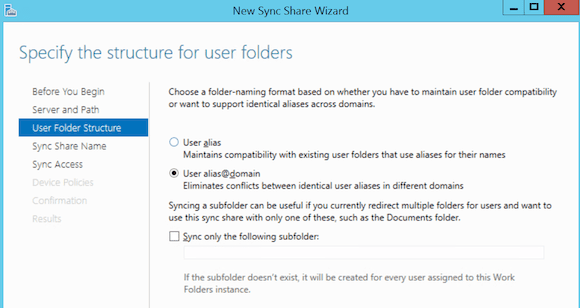
- Select user alias@domain as the structure for user folders. With this option selected, if a domain user logs on, his folder structure is created as user@domain. In the other case, only the username would be visible, making it more difficult to distinguish users from different domains.
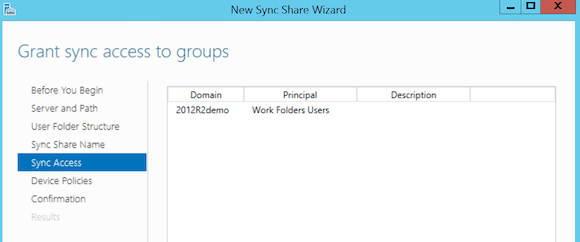
- In the Sync Access step of the configuration wizard, click Add… and select Work Folders Users from the Active Directory list of groups. Make sure the Disable inherited permissions and grant users exclusive access to their files is enabled.
- In the Device Policies window, check Encrypt Work Folders and automatically lock screen, and require a password. Encrypt work folders makes sure the synced folders to the local device will be encrypted. The latter sets certain additional security parameters for the device from which you want to use work folders sync.
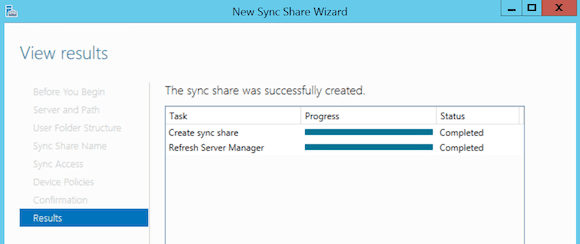
- Click Next to complete the Work Folders Sync Share creation.
Configuring SSL Certificate
As the main idea of the Work Folders feature is to allow connections from outside of your network to internal file shares, security is very important. That’s why we need to present the web service with an SSL certificate. You have a few options here:
- Fulfill a certificate request from this machine to an internal Certificate Authority. Where this will work fine for internal / domain-joined clients, the internal CA won’t be trusted on non-domain joined clients.
- Import a public CA-generated certificate on the work folders server; this can be a single name, SAN (multi-name certificate) or wildcard certificate. I suggest you use “workfolders.company.com”, as this is the default naming convention.
In this example, I’ll use a wildcard certificate for my domain “*.2012R2.demo”, which is installed in my computer personal certificate store (MMC / Certificates / Computer Account / Personal / Import).
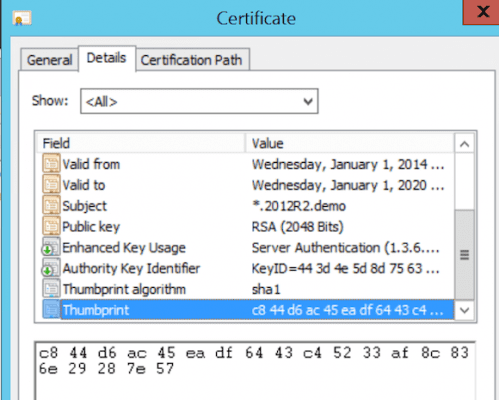
Once your SSL certificate is installed on the work folders server, you have to “bind” this certificate. As you don’t have the IIS Admin Tools installed on the server, we have to use a netsh command to do this. To make sure we enter the Thumbprint of the certificate correctly, let’s open up this certificate from the MMC again.
The netsh command looks like this (Note: This isn’t a Powershell cmdlet, so run this in an elevated command prompt).
netsh http add sslcert ipport=0.0.0.0:443 certhash= c844d6ac45eadf6443c45233af8c836e29287e57 appid={CE66697B-3AA0-49D1-BDBD-A25C8359FD5D} certstorename=MY
This completes the configuration of the Work Folders sync share from the server side. Now let’s move over to the Windows 8.1 client machine.
Configuring Work Folders from a Windows 8.1 Device
In this example, the Windows 8.1 client is domain-joined. However, it’ll also work if your SSL certificate is trusted on a non-domain-joined client.
- From your Windows 8.1 client, go to Control Panel / Work Folders option / Setup Work Folders or type work folders in the Charm Bar / Search. The Manage Work Folders option comes up.
- Click Set up work folders.
- The work folders have an “autodetect” mechanism built in, which will look for an entry “workfolders.company.com” (make sure you have this entry as a host name in your internal and public DNS zone namespace). You have the option to use this autodetect or enter the connection URL yourself. In my situation, I chose autodetect by entering my email address.
- This will bring me to the configuration wizard for Work Folders on my client. I keep the default location for the synced folder on my client as c:\users\peter.2012R2.demo\work folders.
- Now I must accept the security policies for my client device, which were specified earlier on my server. Click I accept these policies on my PC.
- Click Next, and the configuration is completed in a few seconds. If all goes well, data from the server location will get synchronized to the specified folder on my client. Again, this data will be stored in an encrypted way (hence the green color in file explorer when viewing the folder).
That’s all! Enjoy having your corporate users’ data folders synchronized to your end-user’s client device in a safe, secure, and simple but effective way. Happy Work Folder-ing!


