


Windows Firewall under the Windows 7 operating system offers many new features and operational enhancements over prior versions. Where did the Windows Firewall begin? Windows XP offers the first iteration of a firewall service as part of the operating system. Additional changes were introduced as a part of the release of Windows Vista until the full evolution of what we have today under Windows 7.
This article will cover some of the background and evolution of the Windows Firewall, starting with Windows XP. In the other 3 parts of this series, I will show you how the Windows Firewall changed, over time, to be what it is today in Windows 7.
- Related: Windows XP End of Support Guide
Enabling Internet Connection Firewall
Internet Connection Firewall (ICF) under Windows XP and Windows XP with Service Pack 1 (SP1) provided Windows users with a baseline level of security from within services that the operating system natively managed through Stateful Packet Filtering.
Stateful packet filtering will derive decisions on a packets state and the context information of a session whereas a static packet filter decides whether or not to drop a packet based solely on packet addressing information only.
The service was designed to protect systems that were directly connected to the Internet as well as other systems connected to in via Internet Connection Sharing in a home network setup.
To review or make changes to the Internet Connection Firewall you would need to open Network Connections from the Control Panel and highlight the network connection that is in use.

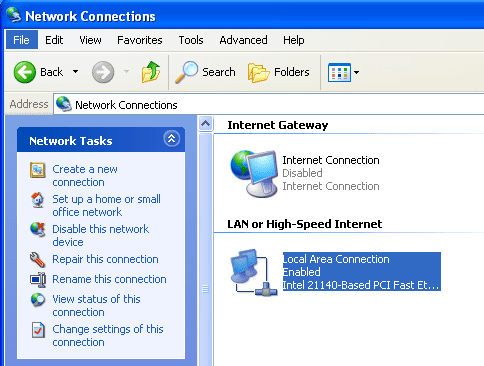
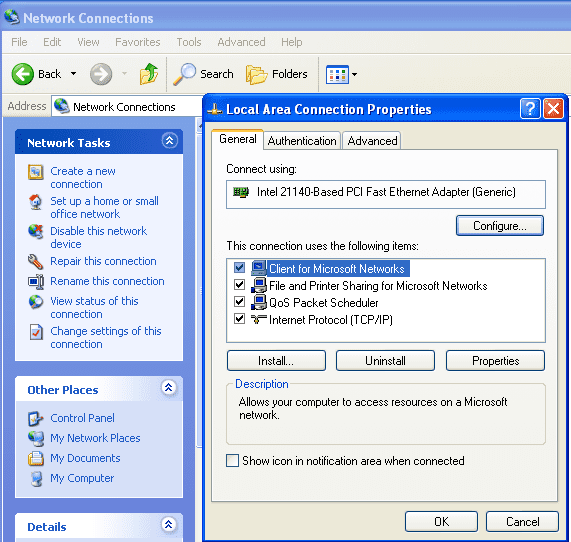
From there you would either choose the Change settings of this connection option from the Network Tasks listed to bring up the properties page of the adapter or you could just right click the adapter and choose properties from the context menu.
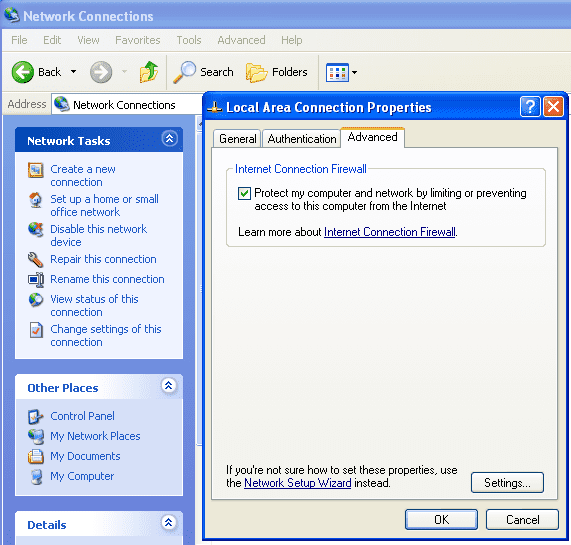
On the Advanced Tab you would select the checkbox in the Internet Connection Firewall section titled Protect my computer and network by limiting or preventing access to this computer from the Internet.
Once this was done the Settings box becomes enabled so that you could go and make changes to the Advanced Settings.
Running the Network Setup Wizard
If you were unsure of how to go about managing the advance settings manually you could launch the Network Setup Wizard from the link on the bottom of the Advanced tab.
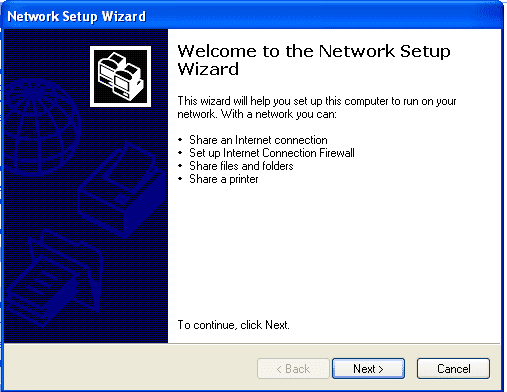
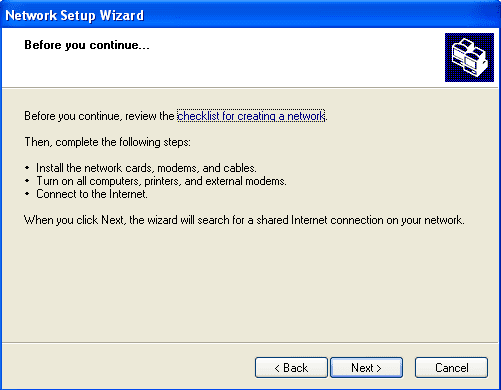
When you do this the wizard opens and outlines the set of tasks to complete on the overview page.
After you choose NEXT to continue the wizard brings you to review page of things to check before continuing.
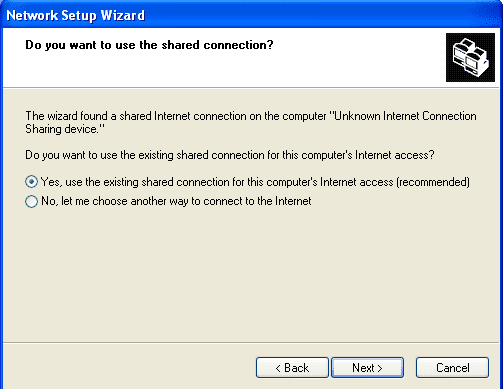
If the wizard finds a shared Internet connection as it has as part of our simulation it will offer you one of two options before continuing:
Do you want to use the existing shared connection for this computer’s Internet access
When this is the situation encountered the default YES option is preselected:
Yes, use the existing shared connection for this computer’s Internet access (recommended).
The other option is No, let me choose another way to connect to the Internet.
For our walkthrough we’ll just leave the defaults (YES) and choose NEXT to continue.
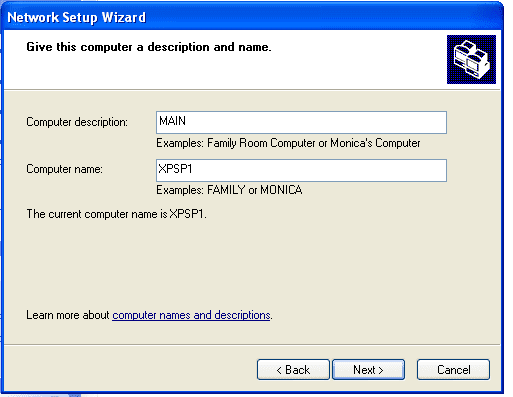
On the next page of the Network Setup Wizard you need to enter a Computer description and then choose NEXT to continue.
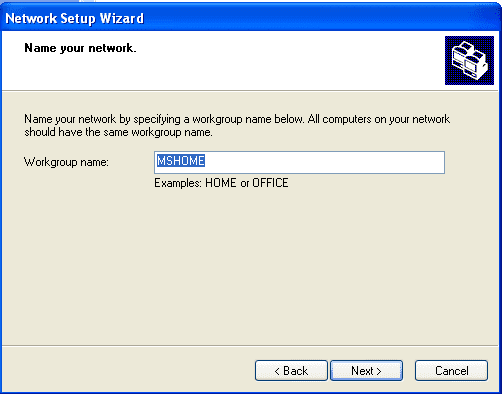
On the next screen of the wizard you will need to create a name for your network. The wizard provided me with MSHOME as a default so I will accept it and click NEXT to continue.
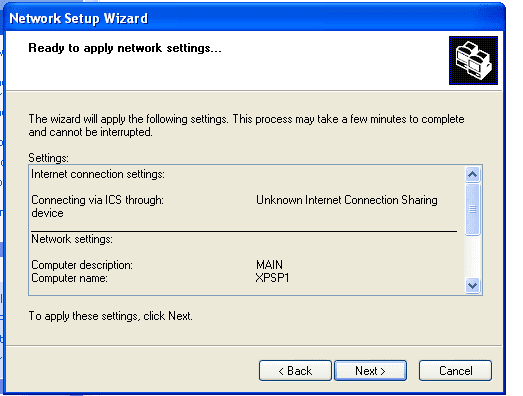
The final page of the wizard offers you a review of the settings as you have outlined them before committing them – you can go back and change any of them that you need to or choose NEXT to complete the next step.
After this step completes you arrive a screen that provides you with some options for systems that do not run Windows XP
[NOTES FROM THE FIELD] – These options assumed down level clients being on the network such as Windows 2000 Professional and prior; you cannot use these options with newer operating systems such as Vista and Windows 7
The options you are provided on this screen with would allow you to create a Network Setup Disk or to use the Windows XP CD directly.
You need to run the Network Setup Wizard on each of the machines on the network that were going to be leveraging this connection and being protected under the Internet Connection Firewall
In order for your connection and configuration settings to work under the setup you would need to run the same wizard on computers and for those that were not running Windows XP already you would need to create this setup disk or leverage the Windows XP CD.
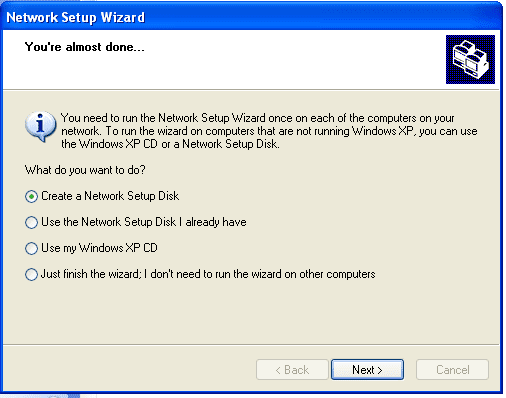
We will choose the Just finish the wizard; I don’t need to run the wizard on other computers radio button and select NEXT to continue.
Once that is done the completion page of the wizard is shown and you can choose FINISH to close it out.
You will be prompted to restart you computer for all the changes to take effect.
Working Manually with Advanced Settings
If you preferred to just work with the advanced firewall settings directly you could just select the SETTINGS button to open the Advanced settings property page.
The page opens on the default Services tab which allows you to select the services that might be already running on your system that you want to allow to pass through the firewall so that Internet users could have the access to them as needed.
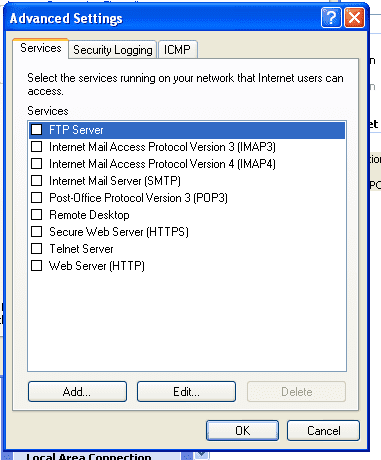
You are also able to select a listed service on this page and choose the EDIT option to make changes to the settings as well as ADD services that are not already listed.
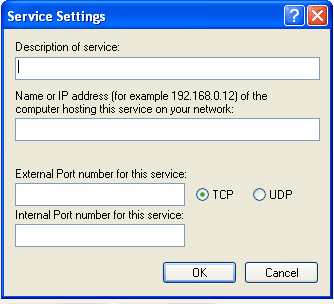
When you choose these options you are able to list a description of the service, the name or the IP address of the machine hosting the service and the TCP or the UDP ports that the service uses by default so that the firewall knows to expect this traffic for the service and allow it through.
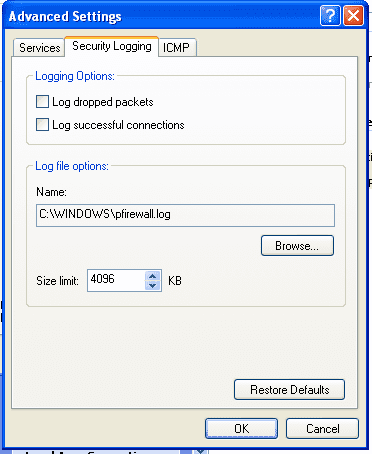
On the security logging tab you are able to set the logging options for the pfirewall.log file.
You can elect to log dropped packets and / or successful connections.
You are also able to rename the default log file and change its location if you wish from here as well.
The ICMP tab allows you to set which network and status information that you wish the firewalled system to respond to when network calls are made to it.
For example – in order to ping the machine from a remote system you need to set the check box for Allow incoming echo request.
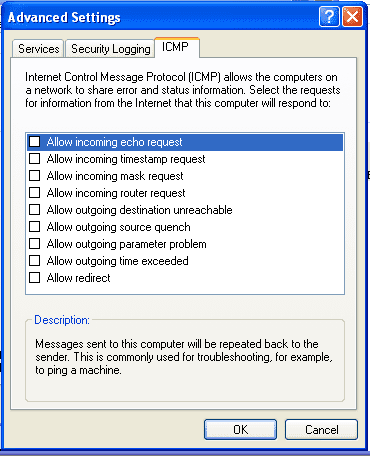
When each of these line items is highlighted a short description is provided at the bottom of the property page.
Summary
While the Internet Connection Firewall was really limited in scope of what it could do it is important to understand that this was a first effort by Microsoft to include a firewall service with the operating system.
It supported a number of connection types including the local network (LAN), wireless network connections, PPP over Ethernet connections, Dial-up connections as well as Virtual Private Network connections.
Internet Connection Firewall did have the limitation that it could not be enabled on the Internet Connection Sharing (ICS) private adapter or any connections that were a Network Bridge or members of a Network Bridge.
Internet Connection Firewall supported FTP, H.323, LDAP, T.120, and PPTP protocols and it filtered on IPv4 traffic only; it was not supported on NetBEUI, IPX/SPX and IPv6.
Internet Connection Firewall did not offer the wide range of features and controls of other firewall applications developed at the time by third party builders.
Another big limitation was the fact that other than checking the source IP address of the network traffic being passed, Internet Connection Firewall did not inspect any packets destined for outbound network resources.
In this tutorial we reviewed how to go about Enabling Internet Connection Firewall on a Window XP SP1 system and we did a walkthrough of the Network Setup Wizard. We finished up the tutorial by walking through the steps of the Advanced Settings pages as part of a manual configuration.
Continue reading part two of this series at: Evolution of Windows Firewall: Windows XP with SP2.