VMware Site Recovery Manager: Preparing the VRM Database
Let’s say you’ve already deployed your VMware vCenter Site Recovery Manager 5 (VRM) server. The next step, obviously, would be to configure it. But before you can configure that VRM server, you will have to configure its database first. That’s what I’m going to show you in this post.
You may use any of these three databases: SQL Server, DB2, and Oracle. For this article, we’re going to focus on SQL Server because that’s the database that’s usually available for people who do this sort of thing.
We’ve broken this article into two parts: In this portion, we’ll discuss how to prepare the VRM server database. Later, in part two we’ll go over testing and configuring the VRM server.
Preparing the VMware Site Recovery Manager (VRM) Database
Configuring this database will be very similar to the way you configure a Site Recovery Manager (SRM) database. For simplicity, we’re going to create an identically named database, schema, and login. Then, we’re going to set the database we create as the default database for this login.
We’re going to proceed by creating a new user on that database and then map it to the login that we’ve created. We’ll then adjust a couple of login properties such as the schema and the database role membership.
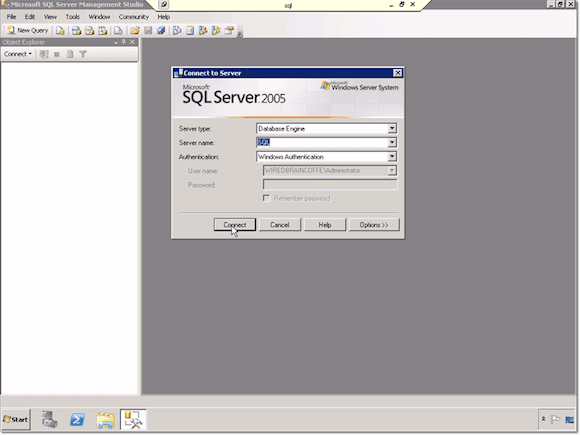
So now, let’s go to our SQL Server machine and get started. Launch your SQL Server Management Studio and login using an administrator account.
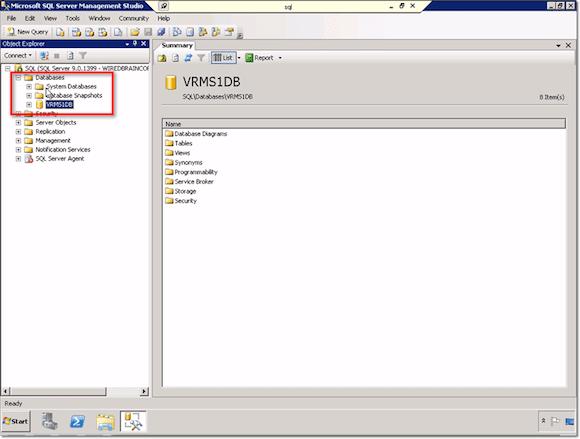
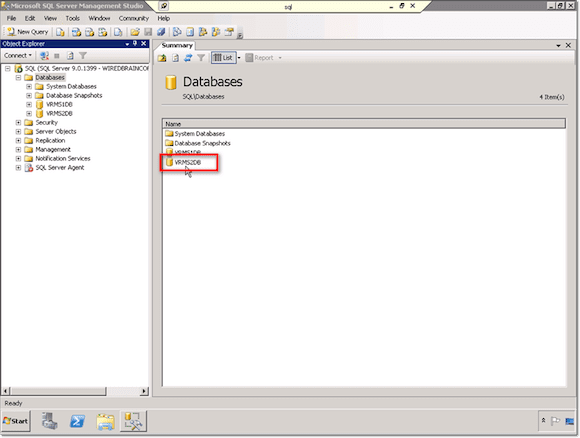
As you see, in my case, I already have a database set up for the other VRM Server. That’s for the protected site, but we’ll need another one for the recovery site.
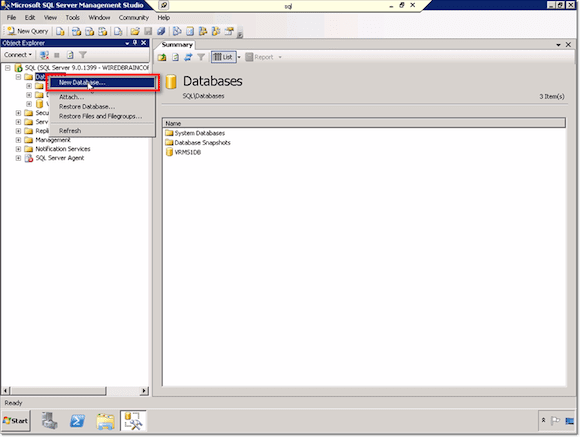
To add another database, right-click on the Databases node and select New Database from the context menu.
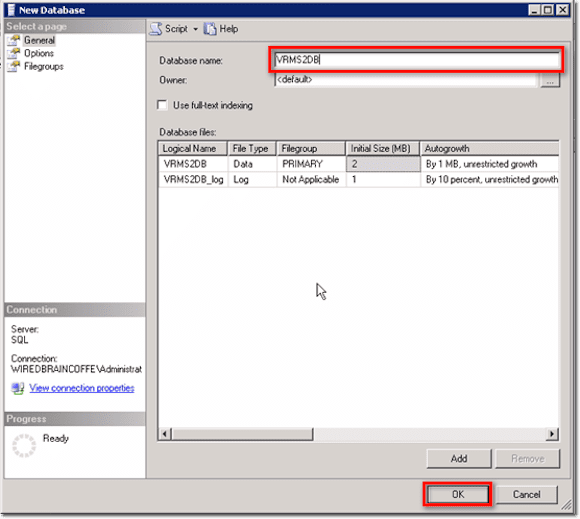
Name the database and click OK. This may take some time since the actual file structure and initial data will have to be created.
Once that’s done, you’ll see your newly created database in the list of databases.
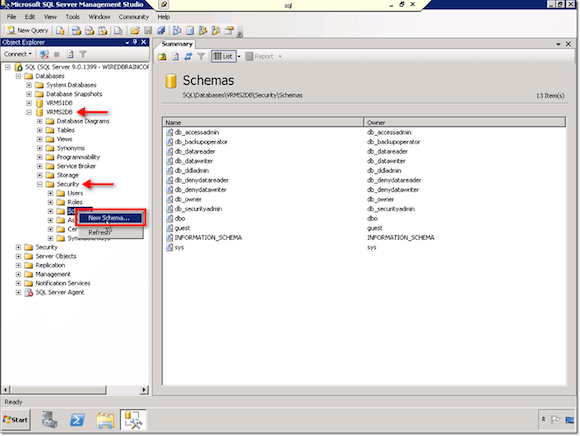
Proceed by first expanding that database’s node and then expanding its subsequent Security node. Create a new schema by right-clicking on the Schema folder and then selecting New Schema from the context menu.
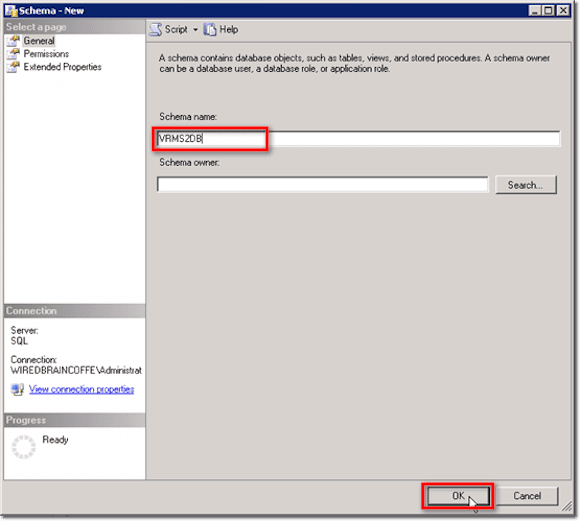
Give it a name. In our case, for the sake of simplicity, we’re going to give it the exact same name as the database itself.
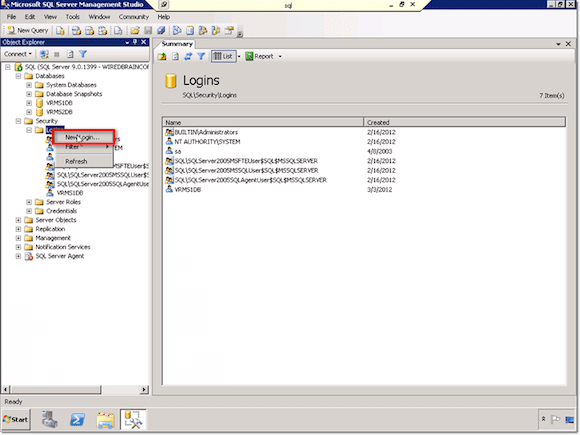
Next, navigate to the Security folder of the SQL Server itself (This is different from the one for your database). Right-click on the Logins folder and then select New Login.
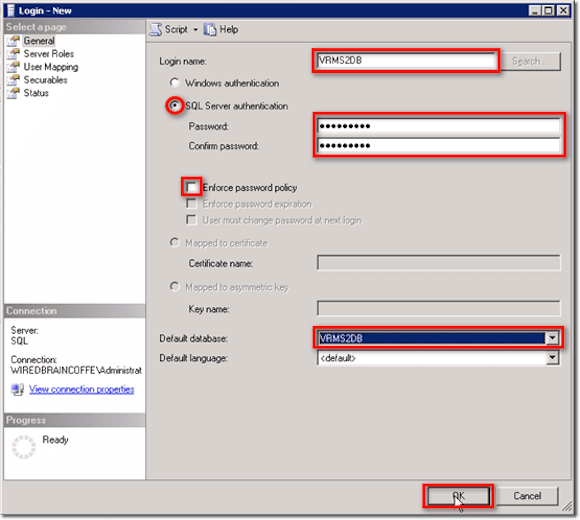
This will be a SQL Server authentication, so select the appropriate option and then assign a Login name. Again, for simplicity, we use the same name as the one we assigned for the schema and the database. Give it a password.
Next, because this is just a POC and we want the process to go as smoothly as possible, we uncheck the Enforce password policy check box.
For the Default database, select the database you just created. After that, go ahead and click OK.
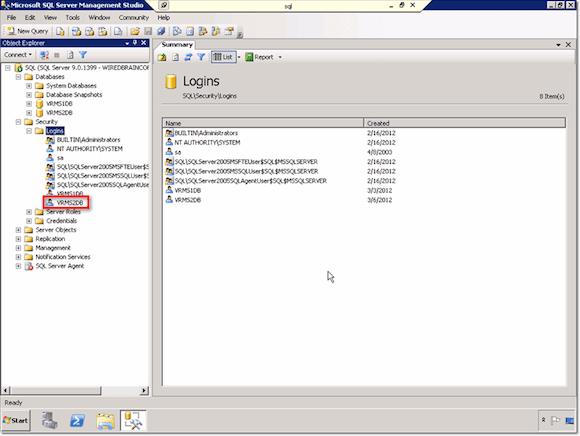
That should create a new database login with its default database selected.
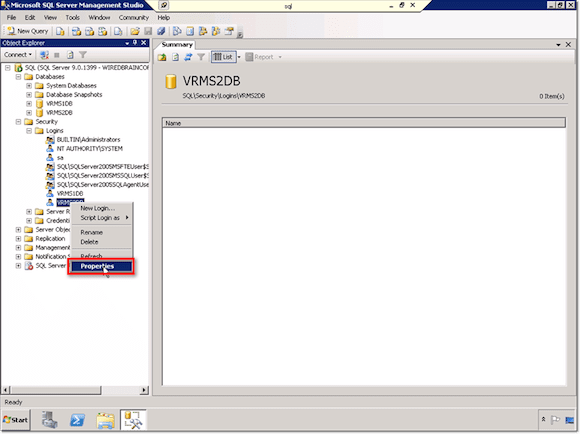
You need to adjust a few things on that login, so right-click on it and select Properties from the context menu.
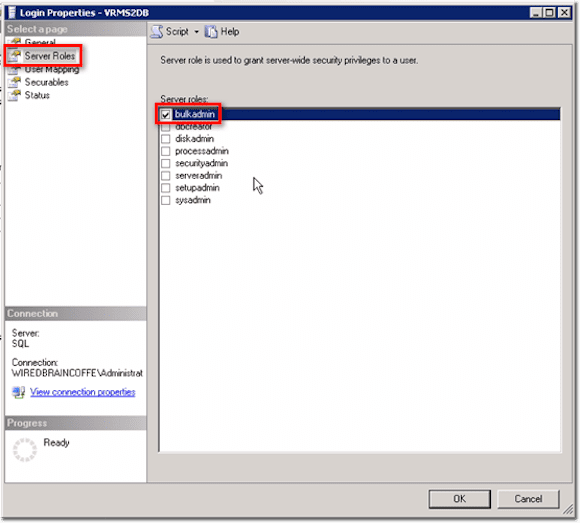
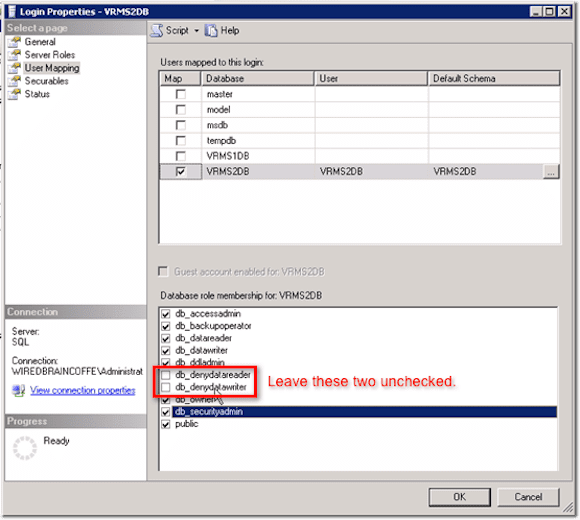
Once the Login Properties window pops up, navigate to the Server Roles section and check the bulkadmin server role.
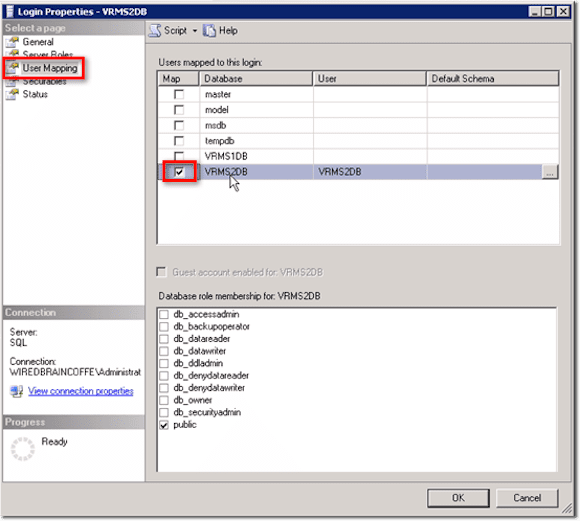
Next, go to the User Mapping section. We want to map that user to the database you just created, so select that particular database from the list.
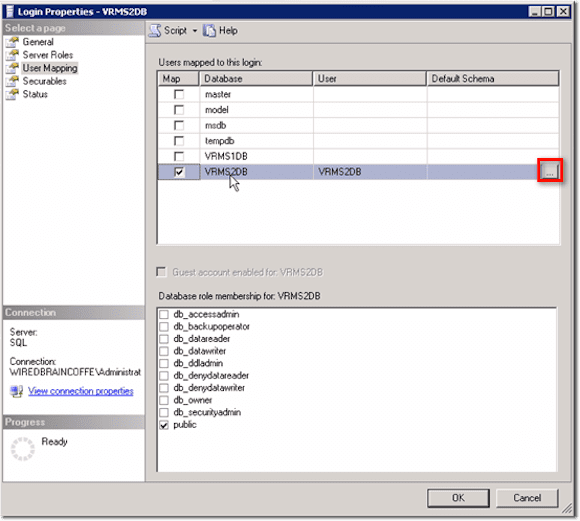
Likewise, we want to set the schema you’ve just created as the default schema. To do that, start by clicking the button to the right of the database you just selected.
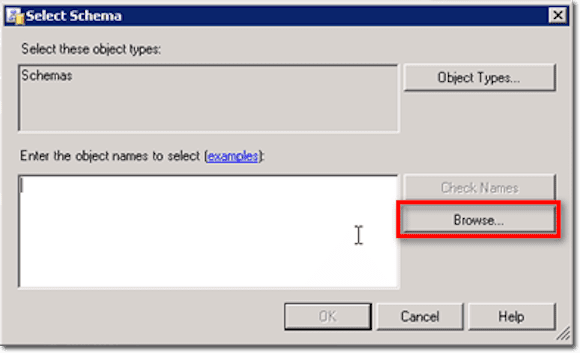
After that, click Browse.
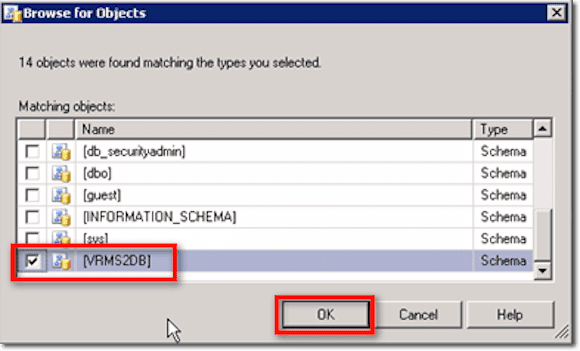
Look for that particular schema and select it. Click OK. Also click OK on the next screen.
When you’re back in the Login Properties window, make sure you check every single check box under the Database role membership list except:
- db_denydatareader and
- db_denydatawriter
Click OK. Once that’s done, you should be back on the main screen.
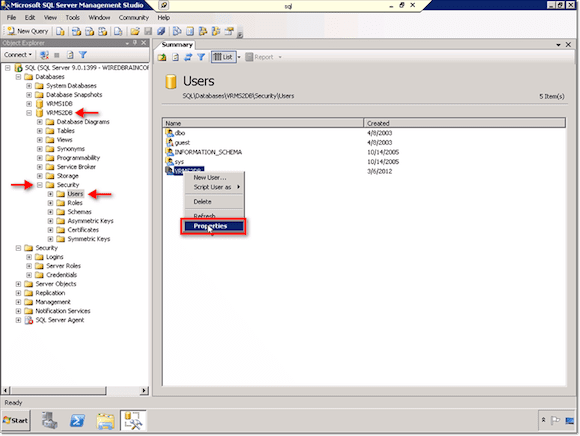
There’s one step left: You need to go into the database and map a user to that login. Expand the node of your newly created database, go into the Security folder, and select the Users folder. In the Users box, right-click the user you want to map and then select Properties.
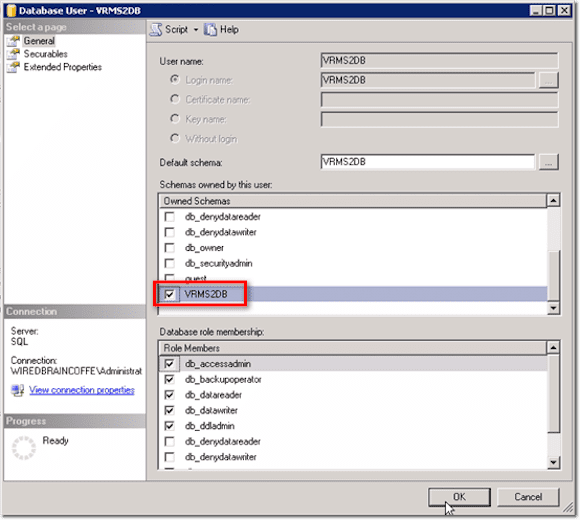
Navigate to the list of Schemas owned by this user and select the schema you created. Click OK.
That’s about it for this part. But before you can start testing it out, make sure that your firewall is off or port 1433 is open. Otherwise, you can run into some problems. Check back for part two, in which I’ll go over testing the database and configuring the VRM server.


