Upgrading Configuration Manager 2012 SP1 to R2
In the previous post, we covered the steps necessary as we prepared Configuration Manager 2012 SP1 for upgrade to Configuration Manager 2012 R2. In this post we will continue this work, and focus on the actual update, and remind ourselves of some of the points we may encounter in our production upgrade.
System Center 2012 R2 Configuration Manager (SCCM 2012 R2): Setup
The upgrade does not really care about the roll-up or patch level of the SP1 environment you are upgrading from, so there is no need to deploy any missing roll-ups prior to the upgrade.
Installation
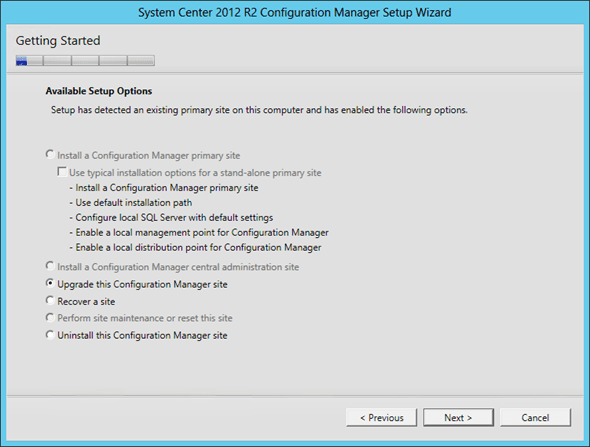
From the SCCM 2012 R2 installation media, we simply need to launch on our primary server the installation wizard, and select the option to Install SCCM. After a few moments, the main setup wizard will be presented and should have automatically selected the option to Upgrade this Configuration Manager Site.
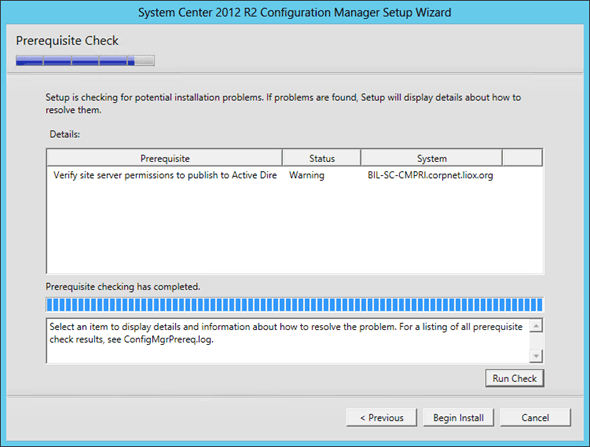
After passing the initial pages of the wizard, agreeing to licences, downloading components, and so on, you will finally reach the Prerequisite Check page, which will validate that everything is correctly in place for the upgrade to proceed. This check will take a little time to complete, as it will connect to every server in your environment that hosts an SCCM role.
Assuming that your WAN is fully operational and the environment is healthy, we can finally proceed with the upgrade, by clicking on Begin Install.
Now, you can go for a dozen or so coffees. In one of my production environments, I have four management servers, and just over 40 deployment points. With the SCCM log monitor open, I saw that the upgrade wizard required more than 80 minutes to reach out to all servers and actually stop the control managers.
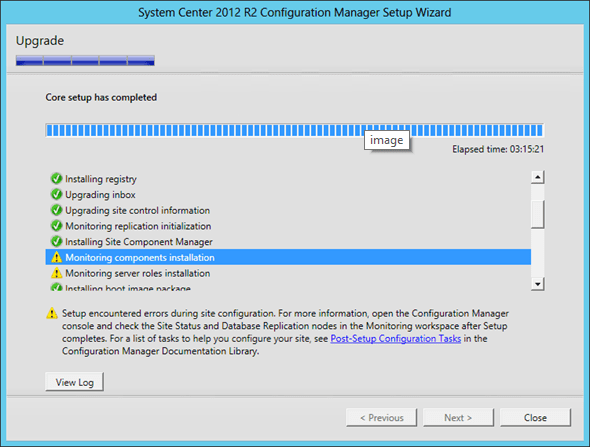
The wizard suggests that the upgrade itself lasted 3 hours and 20 minutes, which does not account for restarting the control managers and getting the all the dependent services started. For a better presentation of the actual work duration, referring back to the ConfigMgrSetup.log the final monitoring completed some 7 hours and 35 minutes after the upgrade was started.
You can expect some issues to be reported. Most of these will be trivial, but before you proceed to the next steps, you really should take 20 minutes and read the ConfigMgrSetup.log to see exactly what has occurred on your system. If some problems were reported, you will be be able to determine if these are serious enough to be concerned with.
For example, the worst issues I found in the log for this particular upgrade referred to some missing .resx files. When I checked the file systems I clearly saw that they are truly missing, but I don’t think it’s currently a critical problem for my environment. As a sanity check, I will open a low priority case with Microsoft Support to get their comments and suggestions on these issues, but for now, I am happy to proceed.
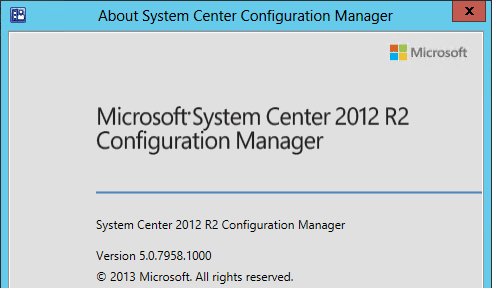
At this stage I am now happy to relaunch my SCCM console, to check that it is working correctly, and to see what new options are been presented with this new version of SCCM. I can also check the About dialog to confirm that my environment is indeed running SCCM 2012 R2, and represented by the latest build number
Deployment Toolkit
Assuming you are leveraging the Operating System Deployment functions of SCCM, then we will also want to upgrade the version of the Microsoft Deployment toolkit that is deployed to our primary server, so that it also is ready for Windows 8.1 and the new version of the ADK we have installed.
MDT 2012 SP1
As with the upgrade of our ADK earlier, we can now close out of the SCCM console again, and reopen the Add-Remove programs page, this time locating the currently installed version of the Microsoft Deployment Toolkit, and selecting to uninstall it. The wizard will then do its task, removing the binaries from the server. If you have some deployment shares configured on this installation, don’t worry, as these will remain unharmed and ready for us to upgrade after we deploy the new version of the toolkit.
MDT 2013
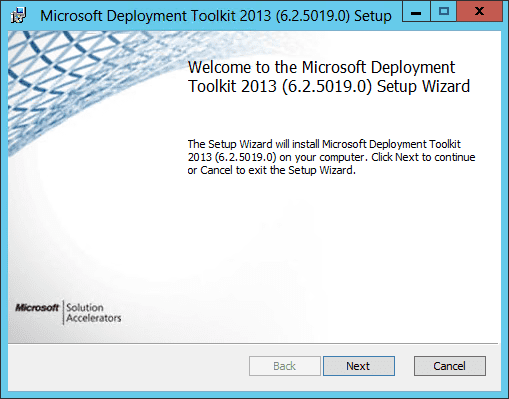
Still working from our primary server, we now just need to launch the installation wizard for the Microsoft Deployment Toolkit 2013, and tell it to install this new Windows 8.1 compatible version of the utility.
The installation will be quite fast. Assuming you have some deployment shares that were in use from the previous version of the toolkit, you can launch the Deployment Workbench and reconnect to your respective deployment shares.
Upgrade Deployment Share
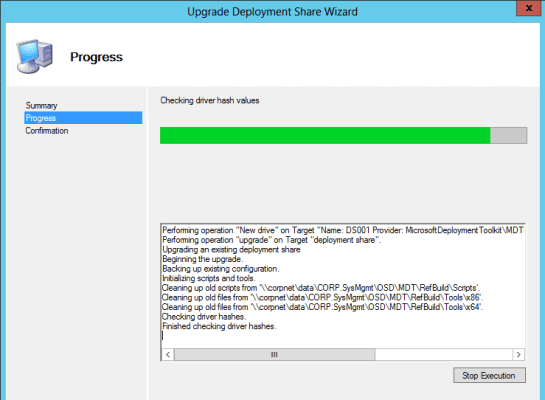
On first connection, you’ll see a yellow warning icon. You’ll not see the content of the shares until you select the option from the context menu, or action pane to upgrade the deployment share. The upgrade procedure may take a little time depending on the size of the share.
It is not uncommon to see the Deployment Workbench to report in its title bar that it is not responding. Just let it continue with its work, and normally this will remediate itself once the share has been upgraded. If it is any consolation, the update has taken over two hours on some of my shares, which I would not consider to be terribly large, so you can focus on other work and come back later to see how the deployment workbench is getting on.
SCCM Integration
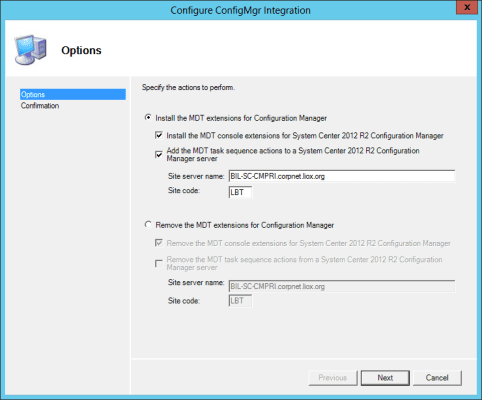
Once the shares have been upgraded and you satisfied that the new version of MDT is working correctly, you can proceed with the the integration of MDT with SCCM. This is a 15-second process, simply launching the Configure Configuration Manager Integration tool, and selecting the options to Install the extensions.
Operating System Deployment
After all the updates have been completed, you can now return to the SCCM console and prepare your Operating System Deployment settings to leverage the new functions you have just enabled. This is a topic for another post, but for now, you will simply need to create a new set of boot images to leverage the new Windows PE 5.0 environment, create an updated package for the MDT Toolkit functions for your deployments, and recreate new versions of your task sequences referencing these new boot images, and toolkit packages.
Of course you will also want to start building Windows 8.1 test images for deployment with you cool new SCCM 2012 R2 infrastructure.
SCCM Clients
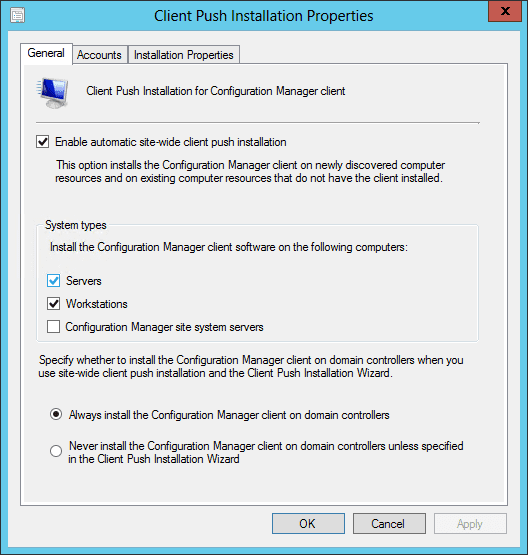
The main work is now complete. All that remains is that we update the SCCM clients to the current version. This is very simple to accomplish, with SCCM capable of doing all the work for us with no extra effort if we configure the Click Push Installation settings for the site to be enabled.
Then all we need to do is wait,; over time SCCM will manage the work to have all our agents updated for us.
Important Hotfix
While we have a cool new version of SCCM 2012 R2 deployed, there is a reason we sometimes wait a little before we take the leap and upgrade our environments. As experience will confirm, nothing is perfect and issues are clearly going to be found – and in this case SCCM 2012 R2 RTM is no different.
A set of problems were quickly discovered involving deploying operating systems taking an exaggerated amount of time, and problems using the PXE deployment as an option. However, Microsoft has a somewhat mandatory Hotfix that you will want to deploy to any SCCM 2012 R2 RTM environment you may have.
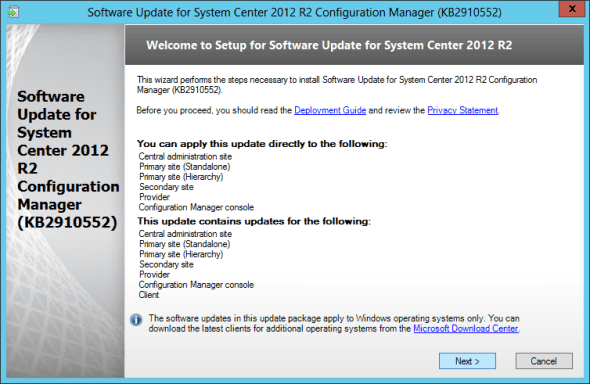
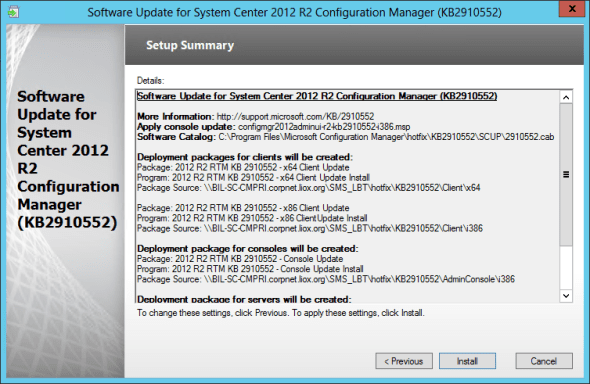
Available from the normal places, including support.microsoft.com and premier.microsoft.com, you can read the release notes and download Hotfix KB2910552, ready for installation on your new primary server.
Following the procedure we described in an earlier post for applying Cumulative Roll Ups for SCCM 2012, the same procedure is applicable for this hotfix, which is deployable to clients, servers and consoles in your new environment.
Do not forget to update the collections that we have previously used for targeting our cumulative updates to ensure that they work correctly with the latest build number of SCCM 2012 R2. For reference, the build number of the 2012 R2 RTM release is 5.00.7958.1000
Reestablish SQL Replicas
With the upgrade complete, we can now turn our attention back to the SQL replica configuration, which we originally disabled so that we could execute the upgrade process. As the upgrade is now complete, we know that any remaining copies of old replicas on each local SQL instance is no longer valid. Therefore all we need to do is reestablish the replication partners once more. This will be a lot easier than the first time we setup our replicas – for that procedure we needed to be concerned with the shares and permissions necessary to enable this functionality. Now we just focus on the store procedure to recreate and reseed each of our desired replicas. As the replicas do not grow to be very large, the initial replications will not take much time to complete.
Once the replicas are working as expected, we can go back to the management point database configuration settings again and set these to the original design utilizing the local SQL replicas for their respective database work.
Good Luck
Prepare carefully, and I am sure your update will also run without issues. Also don’t forget the backups, and ensure that you give yourself lots of time for the procedures to complete.


