


In the past year notebooks have outsold desktop computers for the first time. If you have Outlook both on your Desktop computer and on your notebook (or netbook), then you’ll want to have the same e-mails, contacts and calendars and both machines. This article provides a step-by-step tutorial on how to do exactly that with the Outlook synchronization software Easy2Sync for Outlook.
Quick Outlook Sync Setup: Creating a New Task
First Step: Grab the Easy2Sync download here and install per the setup screens.
In Easy2Sync’s terms, a task stores the information what you want to synchronize. To create a new task, click the “New” button and choose “New task”.
 Click “Next”. You’ll see this screen:
 Normally you’ll want to use the “Synchronize”, so you can just click “Next”. The other modes can be useful if you want to create a backup or merge multiple calendars into one. In the next step, you can specify which data you want to synchronize:
 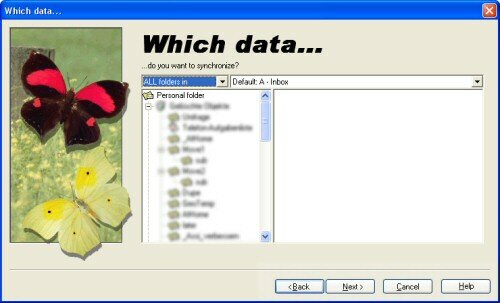 If you want to synchronize your entire default PST file, just click “Next”. To sync a different PST file, click on the drop-down menu in the upper right corner and choose the right one. If you want to synchronize only a part of the file (like the contacts folder), then simply click on that folder in the tree view. The next step depends on how your computers are connected. The most convenient way is to use your local network, so let’s choose that:
 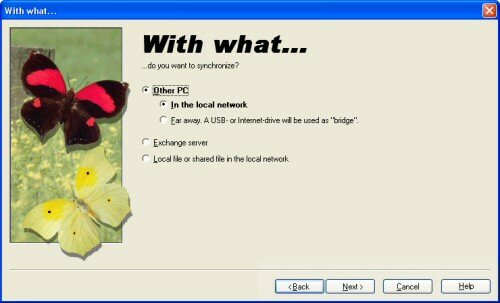 The next step has to be done on the other computer, like the dialog says:
 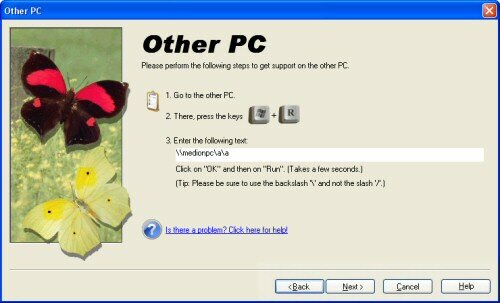 So, connect to second computer, press the keys “Win+R” and enter the text shown in the dialog (something like ”computername\a\a) and click on the “OK” button. Windows may ask for a confirmation, just click on “OK” or “Run” in that dialog. This wizard dialog will appear on the second computer:
 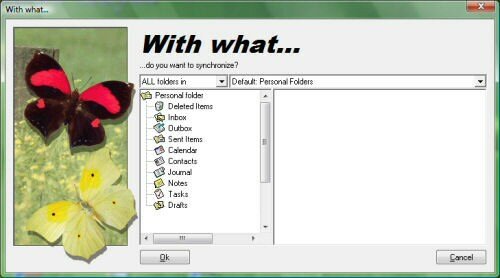 Just like the first time, you can simply confirm this dialog in most cases. If you want to synchronize a different PST file, you can choose that in the upper-right corner. You can now go back to the first PC, where the wizard has already changed to the last page:
 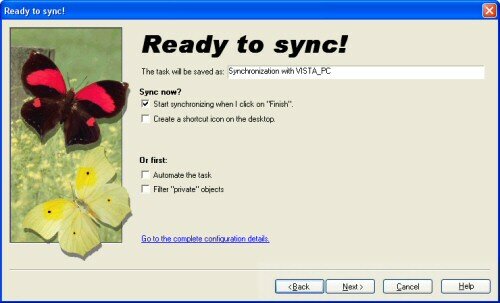 Your task is all set up now. You can simply confirm this dialog and the synchronization will be run.
If you haven’t yet had a chance to try Easy2Sync, we highly recommend you download a trial!