


Microsoft Azure: Prevent Accidental Deletion by Locking Resources

Azure has role-based access control (RBAC) to restrict access to resources and management features, and while an important feature, it can’t be used to quickly prevent all users from accidentally deleting a resource. There may be times when you want to protect a resource from accidental deletion, or prevent unwanted changes, even when users have high-level access to the resource.
For more information on Microsoft Azure, see What is Microsoft Azure? on the Petri IT Knowledgebase.
Azure Locks
Locks come in two forms: Read-only and Delete; and can only be created or deleted by users that are assigned Microsoft.Authorization/* or Microsoft.Authorization/locks/* actions, and this includes the Owner and User Access Administrator roles.
- Read-only: No changes can be made to a resource.
- Delete: Resource cannot be deleted.
Applying read-only locks should be done with care as they can have unpredictable results. For example, some resource types, such as storage accounts, require that users can write to them under normal operating circumstances. Locks can be applied to resource groups, and any child objects automatically inherit the lock from the parent. Additionally, the most restrictive lock always takes precedence.
Apply Locks to Resources
To complete the instructions below, you’ll need to have Owner or User Access Administrator access to an Azure subscription.
- Log in to the Azure management portal here with your Microsoft, or work or school account.
- In the list of options on the left of the portal window, click All resources.
- In the list of resources, click the resource you want to apply a lock to.
Alternatively, you can select Resource groups, select a resource group, and apply a lock to it. Not forgetting that any child objects will inherit the lock applied to the resource group.
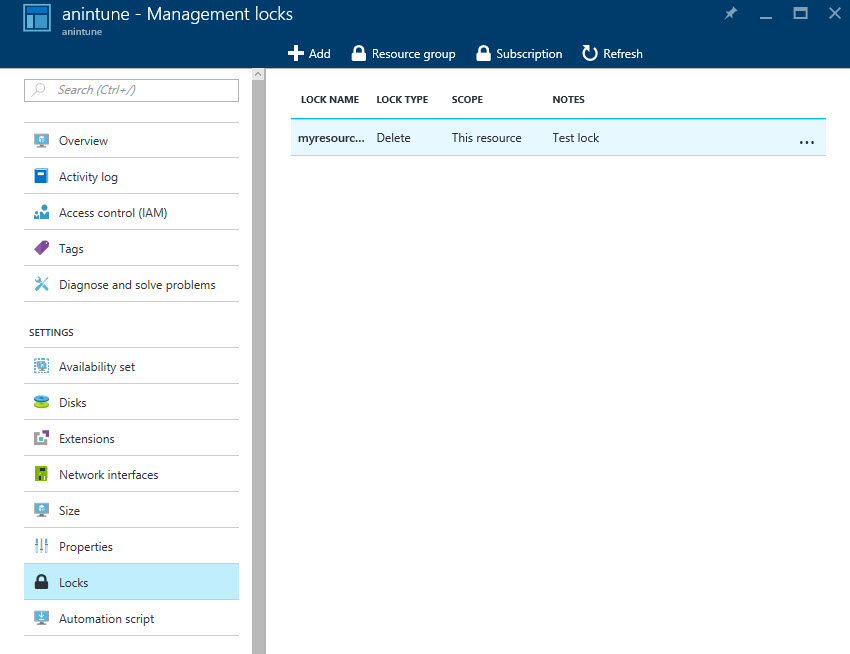
- In the resource panel under Settings, click Locks.
- In the Locks pane, click + Add.
- Give the lock a name, and then select Read-only or Delete from the Lock type menu.
- Optionally, give the lock a description in the Notes field.
- To complete the process, click OK.
The new lock will now appear in the list.

To see all the locks in your subscription, click Subscription at the top of the Locks pane. You can also see all the locks associated with a resource group by clicking Resource group at the top of the locks pane. To delete a lock, right click the three dots (…) to the right of the lock and select Delete from the menu.