


How to Use Adaptive Scopes for Retention Within Microsoft 365
- Blog
- Compliance
- Post

In this guide, we’re going to explain how IT admins can use adaptive scopes to make retention policies for Microsoft 365 more dynamic. Microsoft 365 provides retention capabilities to manage the data for your organization out of the box. These features allow you as an organization to control how long content is retained and then ultimately destroyed.
Most organizations rely on retention policies targeting specific locations and content types. The only way a policy could include or exclude locations or content is by manual modification. It meant that organizations needed to choose carefully what to include to limit the constant changes that can often happen.
A significant problem with this design is if content resides outside of the selected locations, it may never come under the required retention policy. Adaptive scopes are available to mitigate this issue and make retention policies more dynamic.
What is an adaptive scope?
An adaptive scope is a query selecting a subset of content within either single or multiple locations within Microsoft 365. Adaptive scopes use dynamic attributes and properties to determine the inclusion or exclusion list. The most important thing to understand is that these scopes are not policies, they are simply a sub-component of the procedure, and you do not have to use them.
Two types of policy scopes
There are two types of policy scopes to choose from when you want to create a retention policy: The first one is static, the current design, and the second one is the new adaptive scope. A static scope doesn’t use queries and is limited in its configuration. It means it can apply to specified locations and use inclusion and exclusions for that location.
An adaptive scope uses queries, so the membership isn’t static but dynamic by executing daily against the chosen attributes or properties for selected locations. You can use multiple adaptive scopes within a single policy.
The three types of adaptive scopes categories
Three types of adaptive scope categories are available to use:
- Users: Uses Azure Active Directory attributes
- Sites: Uses SharePoint site properties
- Microsoft 365 Groups: Uses Azure Active Directory attributes
The Users option applies to mailboxes, OneDrive for Business, Teams chats and conversations, and Yammer user messages. The Sites option allows you to use SharePoint Online and OneDrive for Business sites and accounts. Lastly, the Microsoft 365 Groups option covers Teams channels conversations and Yammer community messages. However, the key for some of the Teams and Yammer messages and conversations is that they have to be captured as compliance records within group mailboxes.
Having the ability to use both scope types provides an excellent experience for retention scenarios. There are advantages and disadvantages to using both static and adaptive scopes.
Advantages of using static scopes
Static scopes are the easiest option to use for many organizations and scenarios. They are great to use when creating fewer policies and do not need complex filtering or querying. Defining them is as simple as setting the “included” and “excluded” locations. You will also need to utilize static scopes if you need to use either Skype for Business or Exchange Public Folders within your retention policies, as adaptive scopes do not support them at the moment.
Advantages of using adaptive scopes
When using static scopes to create multiple complex retention policies or even simple ones with lots of locations, you will hit the limits of how many items per policy a static scope can include. Adaptive scopes, though still subject to limitations, are far more flexible than static scopes, resulting in having to create fewer retention policies.
Single retention policies using adaptive scopes can combine locations where static scopes would need separate policies to handle the same thing. The real advantage of adaptive scopes is assigning retention settings using attributes within Azure Active Directory instead of predefined security groups. Query-based membership protects against ad-hoc changes to security groups and is often more resilient than static groups.
Supported properties for adaptive scopes
When using adaptive scopes, you must understand the available and supported attributes and properties. Each adaptive scope type is different and supports various properties and attributes.
When using the “Users” scope type, you can utilize any of the following attributes or properties: First Name, Last name, Display Name, Job title, Department, Office, Street address, City, State or province, Postal code, Country or region, Email addresses, Alias, and Exchange custom attributes CustomAttribute1 to CustomAttribute15.
When using the “SharePoint sites” scope type, you can utilize any of the following attributes or properties: Site URL, Site Name, and SharePoint custom properties RefinableString00 to RefinableString99.
When using the “Microsoft 365 Groups” scope type, you can utilize any of the following attributes or properties: Name, Display Name, Description, Email addresses, Alias, and Exchange custom attributes CustomAttribute1 to CustomAttribute15.
The property names for the SharePoint sites scope type use SharePoint-managed properties, and the attribute names for the Users and Microsoft 365 Groups scope types use filterable recipient properties that map to Azure Active Directory (Azure AD) attributes.
How to configure an adaptive scope
You create adaptive scopes within the Microsoft 365 Compliance Center, either within Records Management or Information Governance. Either option works as both have a menu item named “Adaptive scopes.”
Click the “Adaptive scopes” menu within the chosen location and click “Create scope.”
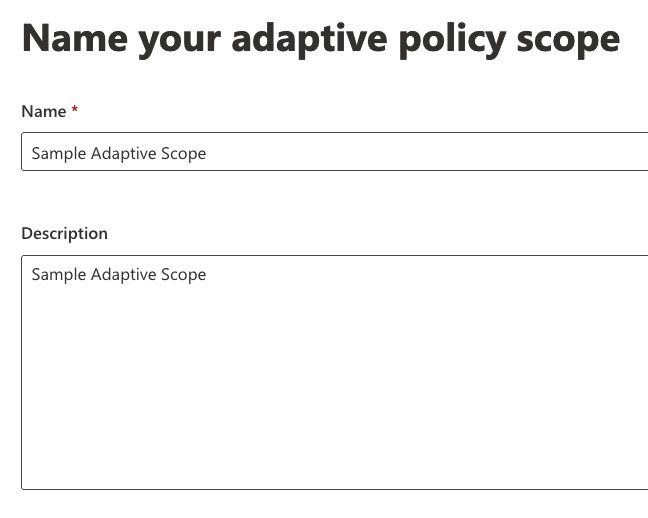
Firstly, set the name and description, then click “Next.” A suggestion is there to ensure the name and description explain what the scope contains, making it easier to understand without having to open it to figure out what it is doing.
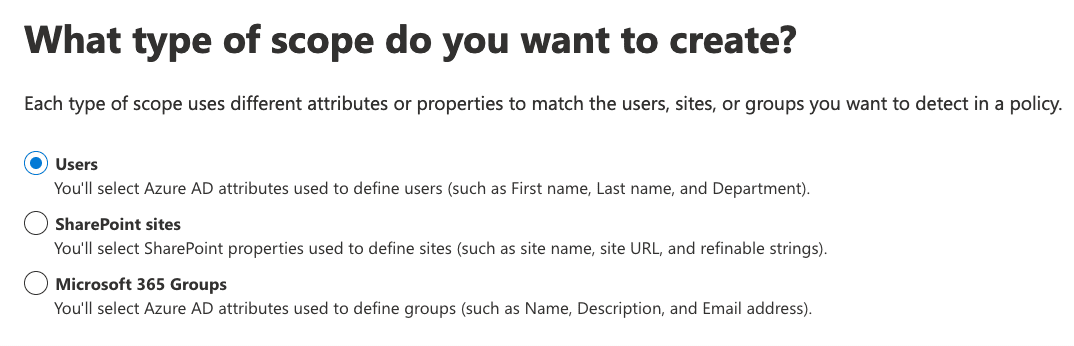
Now you need to select the scope category, which will either be “Users,” “SharePoint sites,” or “Microsoft 365 Groups.”
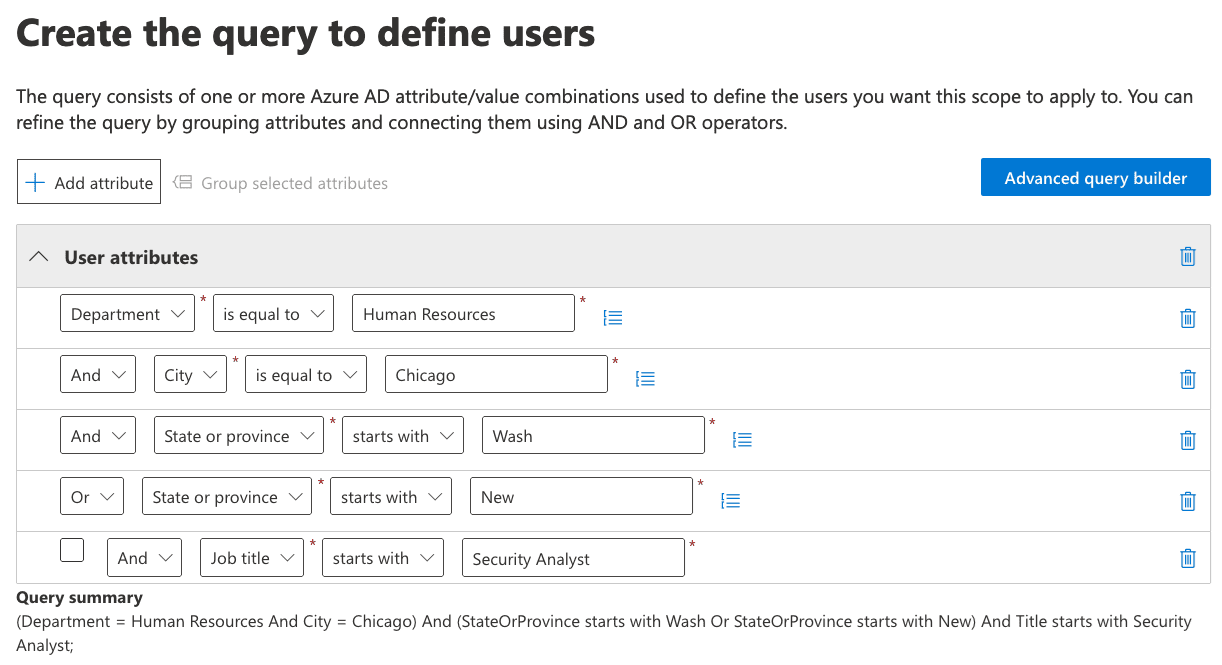
Lastly, you create the query either using the standard query builder or the advanced query builder. The typical builder uses dropdowns to ensure you have the correct attribute or property name, as well as a comparison dropdown plus a free-text value field.
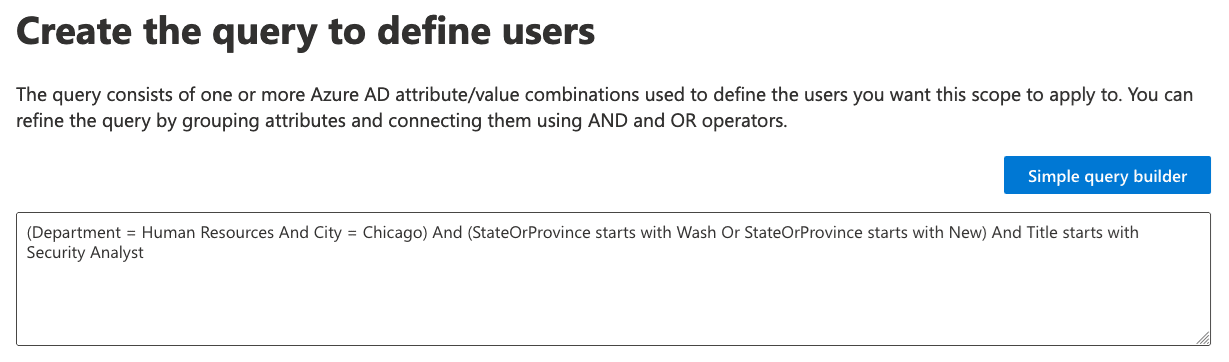
The advanced query builder is a simple free-text box allowing you to type what you need. The key here is to check that the query works. This can be done by creating it using the typical builder, and copying the value or using PowerShell to validate it first using a “-filter” property on specific PowerShell commands.
Once you complete the required query, click “Next” then “Submit” to enable the scope.
The most important thing to understand here is that it can take up to five days for the queries to populate, and the changes made to the scope will not be immediate. Wait a few days before adding the newly created scope to a retention policy.
How do you use adaptive scopes within retention policies?
An adaptive scope can take a few days to populate and return the content needed for the scope. Checking them is as simple as returning to the Microsoft 365 Compliance Center and choosing either Records Management or Information Governance. Once in the selected location, click on “Adaptive scopes” to list all created scopes. Select the desired scope, click on it, then click the “Scope details” button.
It will display results matching the scope query.
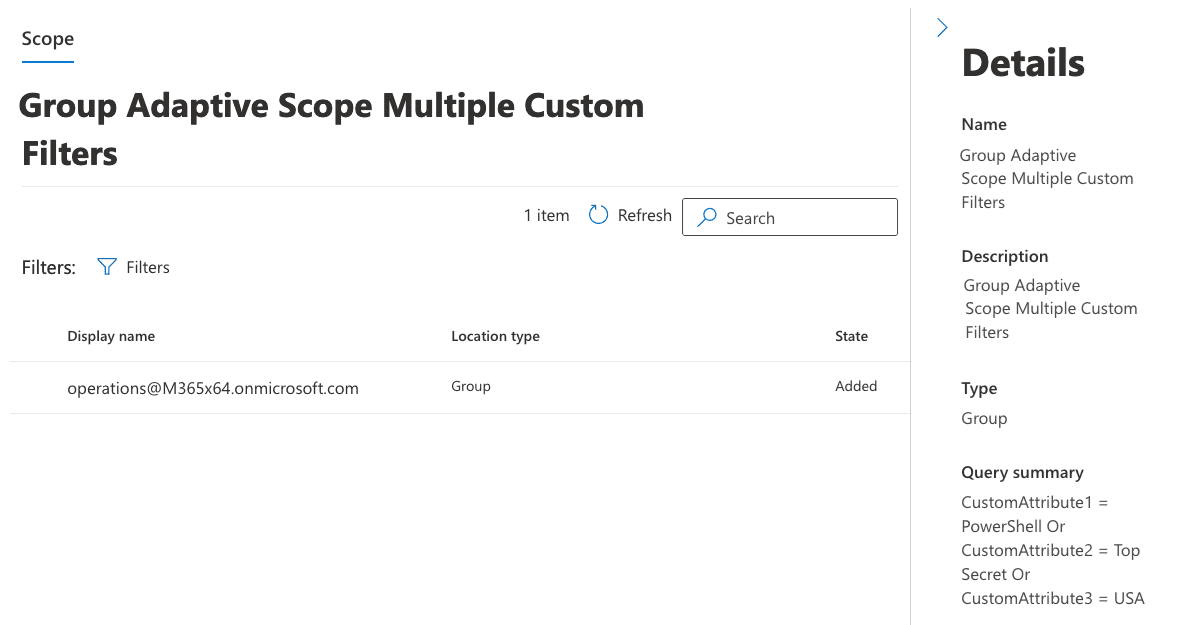
If no results return, wait a little longer. If there are no results after seven days, then adjust the query again as needed. Once results return, you can use the scope within a retention policy.
Firstly, to add an adaptive scope to a retention policy, create the retention policy as usual. However, when asked, select the “Adaptive” option.

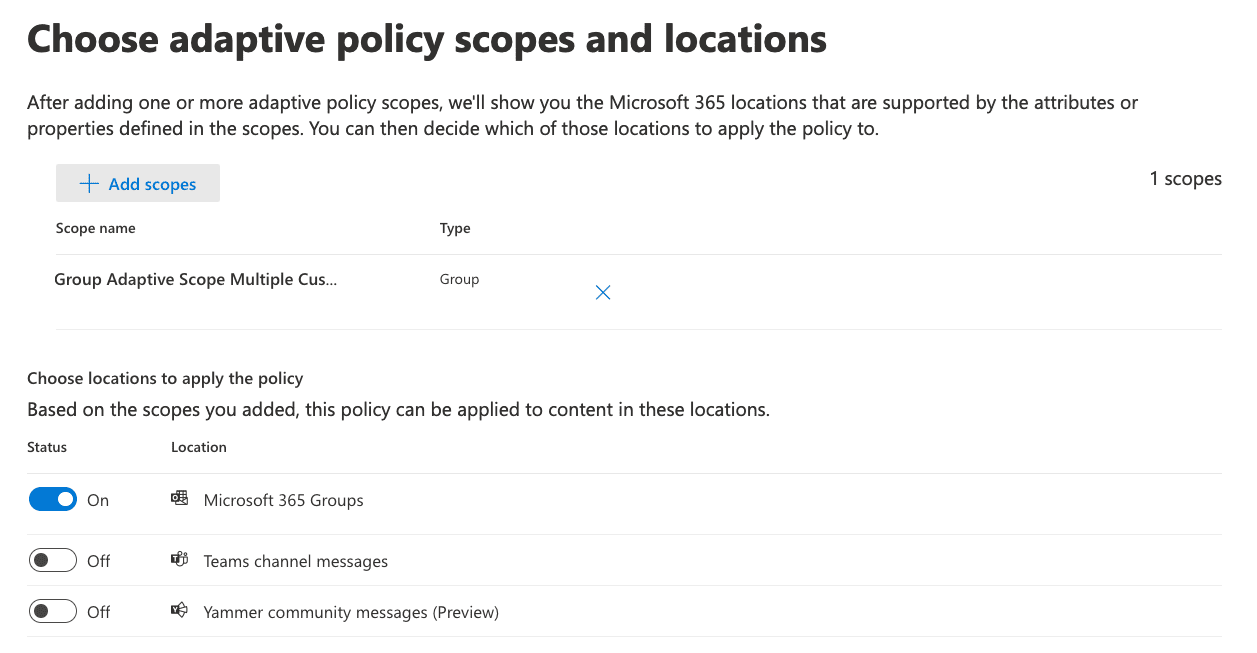
Now you can use the “Add scopes” button to add the desired adaptive scope to the new retention policy. You also can tweak the locations the adaptive scope applies to, based on the configuration of the selected scope.
You can complete the rest of the retention policy configuration as needed and save the policy. After saving the policy, as expected, you will need to wait for it to apply.
As you can see, the process is relatively straightforward but does require planning. You need to design the adaptive scopes and confirm that results return before using them within retention policies. Once assigned to policies, you can adjust the scope as needed, wait for it to repopulate, and then not worry about changing the retention policy as it will just adopt the new changes.
Adaptive scopes enhance the retention capabilities within Microsoft 365 and can help any organization control and manage their data much more easily. The only problem here is you must utilize an enterprise license, specifically the E5 license, which could stop organizations from using this feature based on cost. As always, perform an analysis of the costs and benefits of this feature and choose what you need. Remember also that you can use static scopes perfectly fine, albeit with more management.