


Guide: How to Install Windows Server 2019 in a Virtual Machine
Windows Server 2019 is almost as easy to install as Windows 10. And in this article, I’m going to take you step-by-step through the process for installing Windows Server 2019 in a Hyper-V virtual machine (VM). First, I will show you how to install Hyper-V in Windows 10 or Windows Server. Then we will move on to installing Windows Server 2019 in a VM.
Install Hyper-V (Windows 10)
If you want to run virtual machines (VM) on Windows 10, you’ll need to install Hyper-V. Hyper-V is a hardware-based hypervisor that lets you run VMs in their own isolated spaces. You can run multiple VMs at the same time, provided you have enough resources like disk space, RAM, and CPU capacity. Hyper-V supports Windows, Windows Server, and Linux guest operating systems.
Check your hardware meets the requirements
Most modern Windows 10 and Windows Server devices meet the hardware requirements for Hyper-V. 4GB is the minimum RAM required but depending on the guest operating systems you plan to install in your VMs, you will probably need much more.
- Windows 10 Enterprise, Pro, or Education
- A 64-bit processor with second-level address translation (SLAT)
- VM Monitor Mode extensions
- At least 4 GB of RAM
- Virtualization support enabled in the BIOS or UEFI:
- Hardware-assisted virtualization – Intel VT or AMD-V
- Hardware-enforced Data Execution Prevention (DEP) – XD bit (Intel) or NX bit (AMD)
The easiest way to check if your device supports Hyper-V is using the systeminfo command line tool. Open a command prompt and run the tool.
- Type cmd in the search box in the bottom left of the taskbar and then click Command Prompt in the list of results.
- In the command prompt window, type systeminfo and press ENTER.
- Scroll down the list of results to the very end and you’ll see Hyper-V Requirements. There are four requirements for Hyper-V compatibility and to the right of each you will see ‘Yes’ if your hardware meets them.
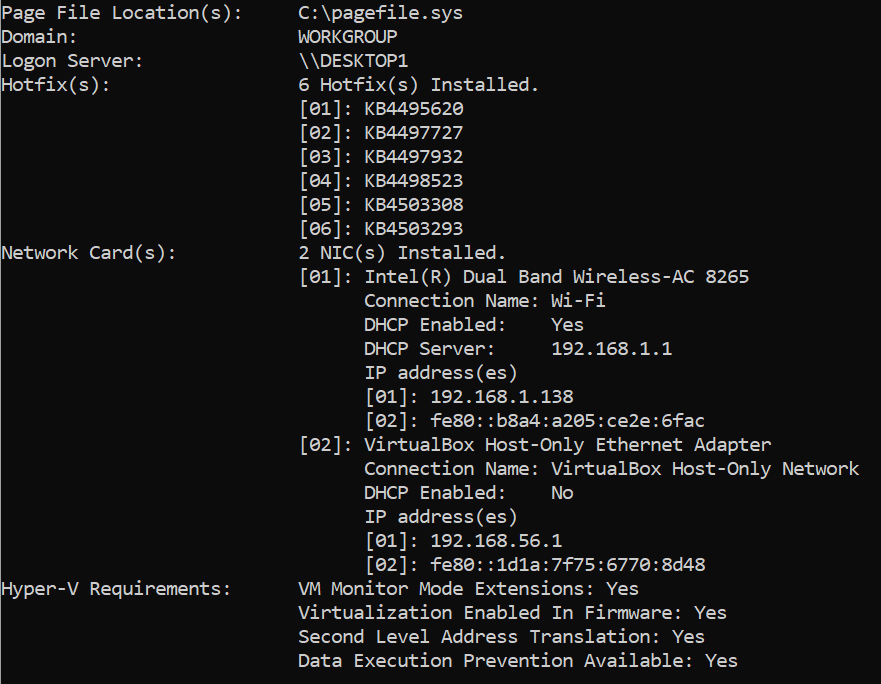
- If you see ‘Virtualization Enabled in Firmware: No’ but all the other Hyper-V requirements are set to ‘Yes’, then you’ll need to refer to your device’s instruction manual to enter the BIOS/UEFI and enable hardware virtualization. Entering the BIOS/UEFI usually involves rebooting the device and pressing a designated key, like F2, as the device starts.
- If you see “Hyper-V Requirements: A hypervisor has been detected. Features for Hyper-V will not be displayed.”, then Hyper-V is already installed on your device.
- Shut the command prompt window.
Install the Hyper-V feature on Windows 10
Once you’ve checked your device’s hardware, you are ready to install Hyper-V.
Install Hyper-V using PowerShell
The easiest way is to install Hyper-V is using PowerShell.
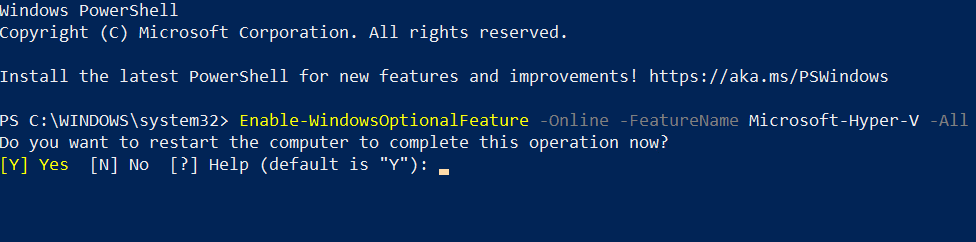
- Type powershell in the search box in the bottom left of the taskbar. Make sure Windows PowerShell is highlighted in the list of results on the left and then click Run as Administrator on the right. You may be required to give consent or enter an administrator username and password to continue.
- In the PowerShell window, type the command below and press ENTER.
Enable-WindowsOptionalFeature -Online -FeatureName Microsoft-Hyper-V -All
- Once the installation has completed, you’ll be prompted to reboot Windows. Type y and press ENTER to reboot.
And that is it. Once Windows has rebooted, you will be able to use Hyper-V to run virtual machines on Windows 10.
Install Hyper-V (Windows Server 2016/2019)
If you want to install Hyper-V on an existing physical device that is running Windows Server 2016 or 2019, first check that your server hardware meets the requirements as stated above in the section on installing Hyper-V in Windows 10.
The easiest way is to install Hyper-V is using PowerShell. The instructions here assume you are running Windows Server with the Desktop Experience installed. If you are running Server Core, you can still install Hyper-V, but you will have to run Hyper-V Manager on a remote computer.
- Type powershell in the search box in the bottom left of the taskbar. Make sure Windows PowerShell is highlighted in the list of results on the left and then click Run as Administrator on the right. You may be required to give consent or enter an administrator username and password to continue.
- In the PowerShell window, type the command below and press ENTER.
Install-WindowsFeature -Name Hyper-V -IncludeManagementTools -Restart
- Once the installation has completed, you’ll be prompted to reboot Windows Server. Type y and press ENTER to reboot.
Windows Server 2019 installation media
If you don’t have access to the Windows Server 2019 .iso directly from Microsoft or a partner, you can download an evaluation version from Microsoft’s website here. Regardless of where you obtain your installation media, save the .iso file to C:\Users\Public\Downloads.
Install Windows Server 2019 in a virtual machine
Now that we have Hyper-V installed, the next step is to create a VM and install Windows Server in the VM. Hyper-V is managed using a console called Hyper-V Manager. Hyper-V Quick Create is a separate app for creating VMs and installing operating system images, or installing your own operating system from provided media, in a few quick steps. By default, both Hyper-V Manager and Hyper-V Quick Create require administrator privileges on your server.
- Launch Hyper-V Manager. You’ll find it on the Start menu under Windows Administrative Tools. Right click Hyper-V Manager in the list of tools. In the context menu, click More > and then Run as administrator. You’ll be required to give consent or provide an administrator username and password.
Note: In Windows 10 21H2, Windows Server 2022, and newer versions of Windows, Windows Administrative Tools is renamed Windows Tools. It opens in a separate folder. You can still right click on Hyper-V Manager and use Run as administrator in the Windows Tools folder.
- In Hyper-V Manager, right click your PC or server name in the pane on the left and click Quick Create in the menu.
- In the Create a Virtual Machine dialog, to install Windows Server 2019 using your media, click Local installation source in the Create Virtual Machine dialog.
- On the right, click Change installation source. Find your .iso file, make sure the file is selected in the Open dialog, and then click Open.
- Click More options in the bottom right of the Create Virtual Machine dialog. In the Name box on the left, type a name for your new VM.
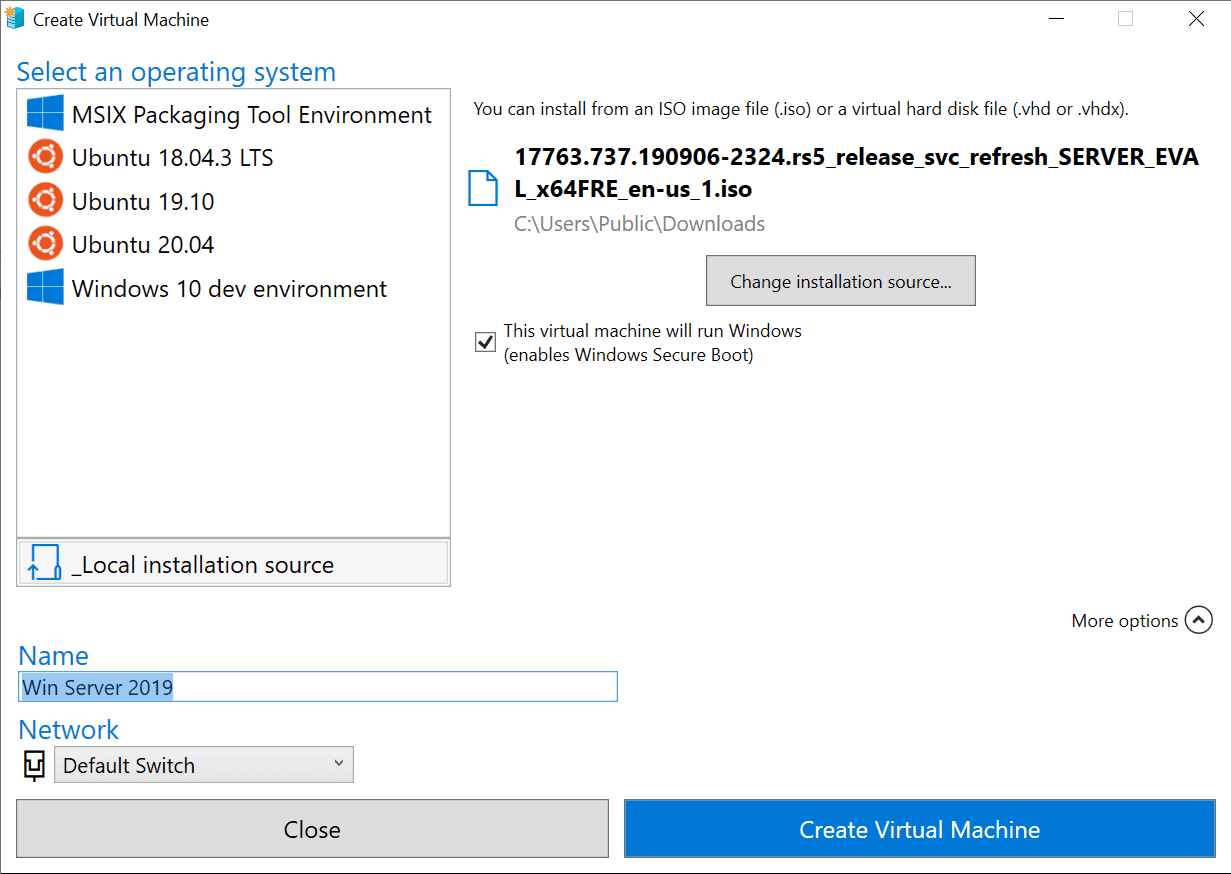
- Now click Create Virtual Machine.
- After a few seconds, you’ll see a message saying that the VM was successfully created. Click Connect to continue.
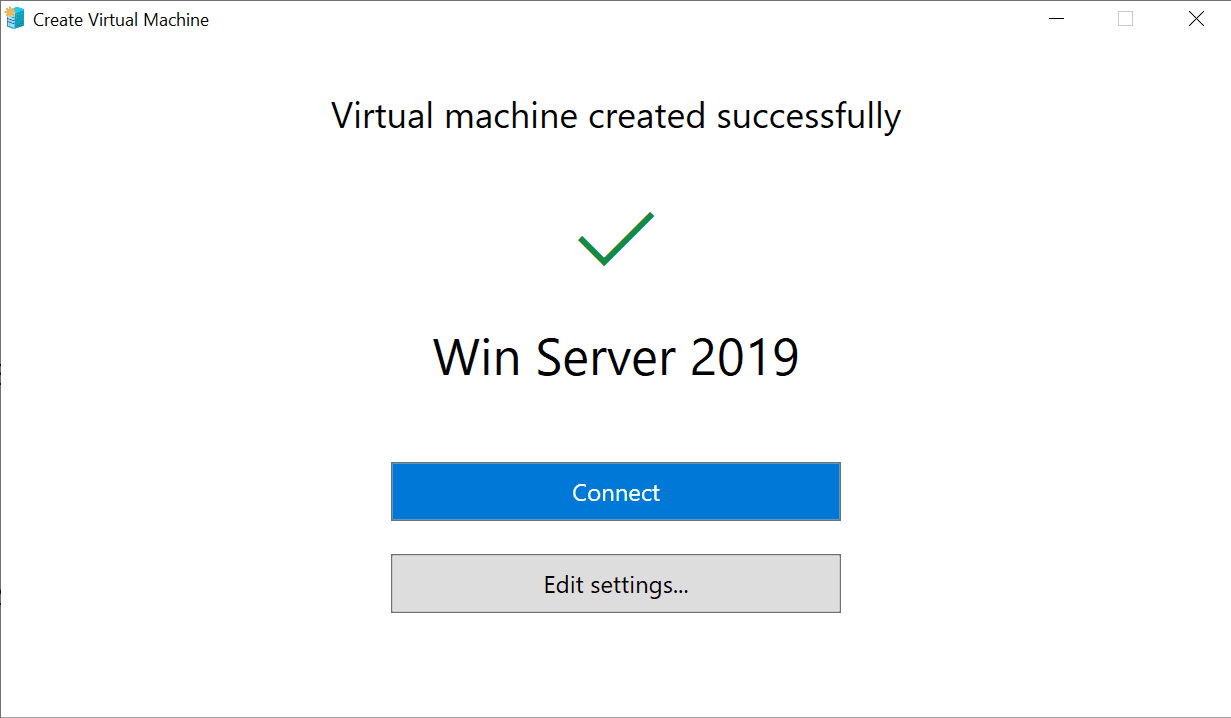
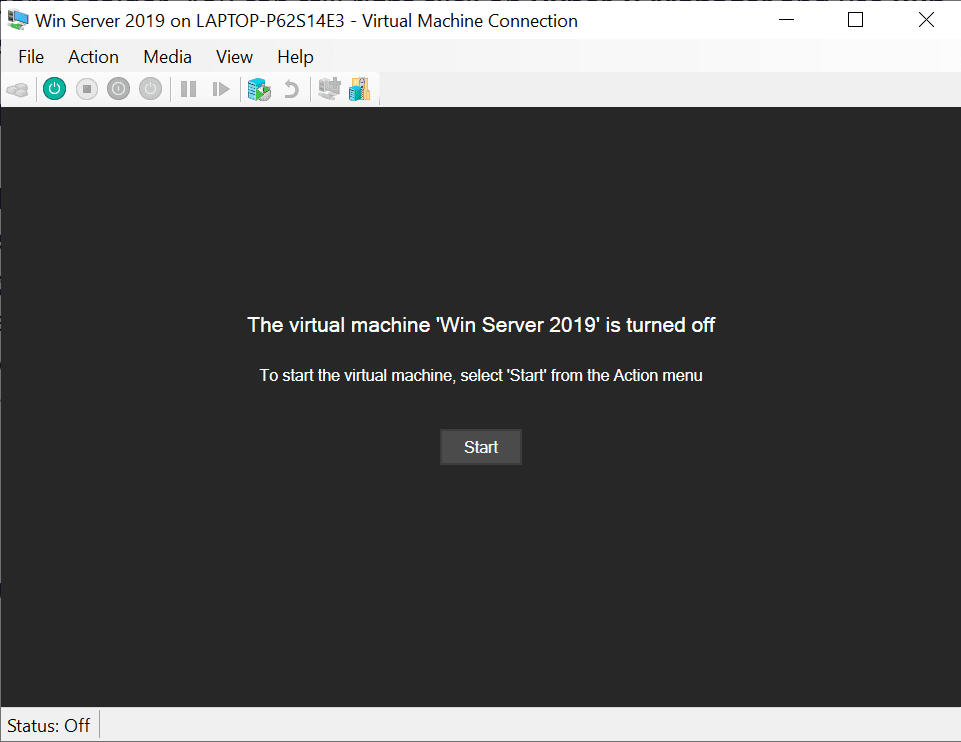
- The Virtual Machine Connection window will open. Click Start in the middle of the window.
- The VM will boot using the installation media you provided. Make sure to click in the VM window to activate it and press any key on your keyboard when prompted to boot from DVD. If you don’t catch it in time, click Turn Off in the Action Start the VM again by clicking the power button (Start) just below the File and Action menus in Virtual Machine Connection.
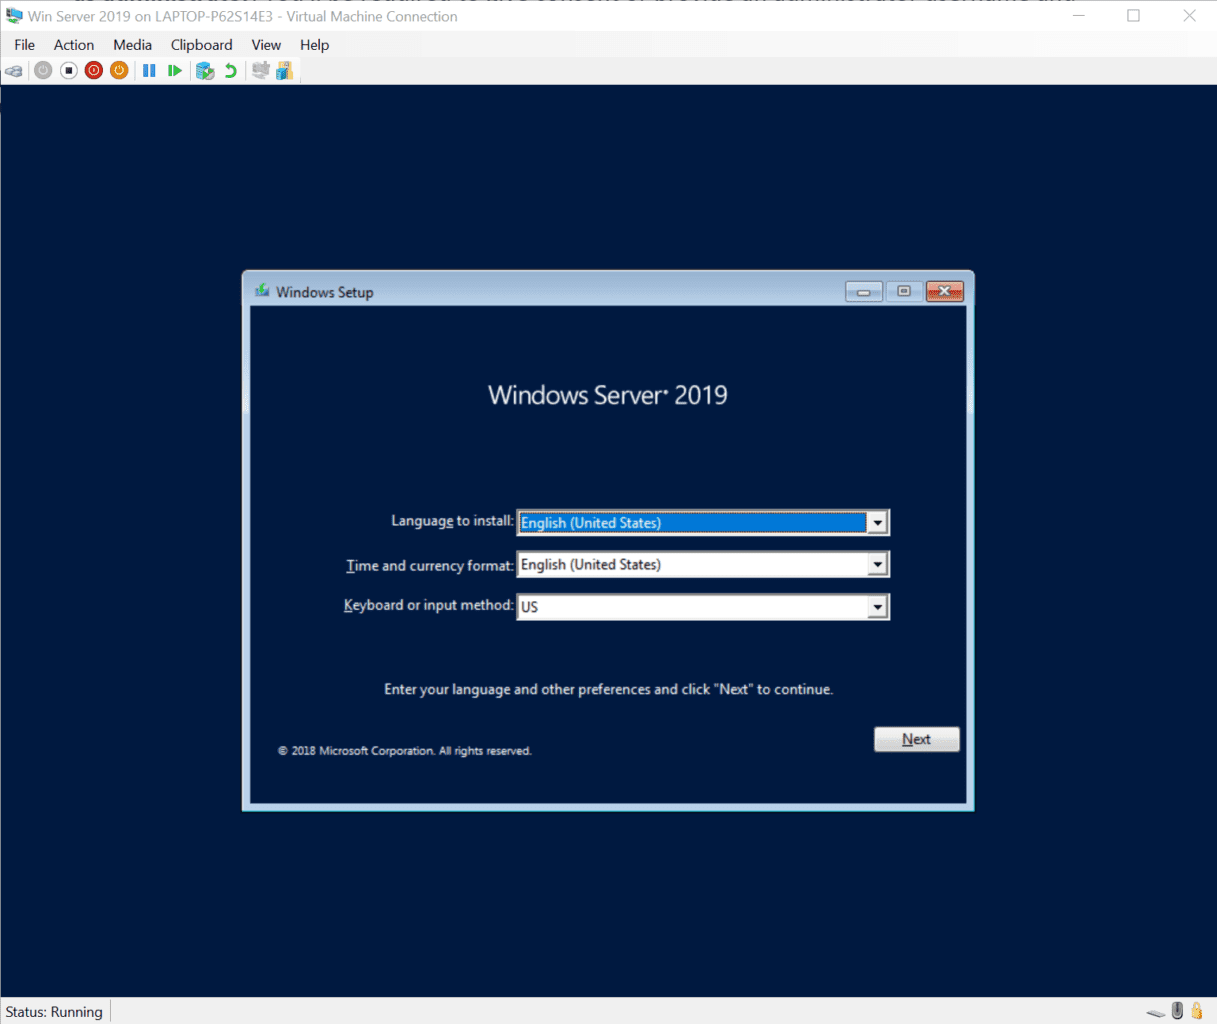
- In the Windows Setup dialog, choose a language, time and currency format, and keyboard and input method. Once you’re done, click Next.
- Then click Install now.
- Now select the edition of Windows Server 2019 that you want to install. In this example, I’m going to install Windows Server 2019 Datacenter Evaluation (Desktop Experience) and click Next.
- Check I accept the license terms and click Next.
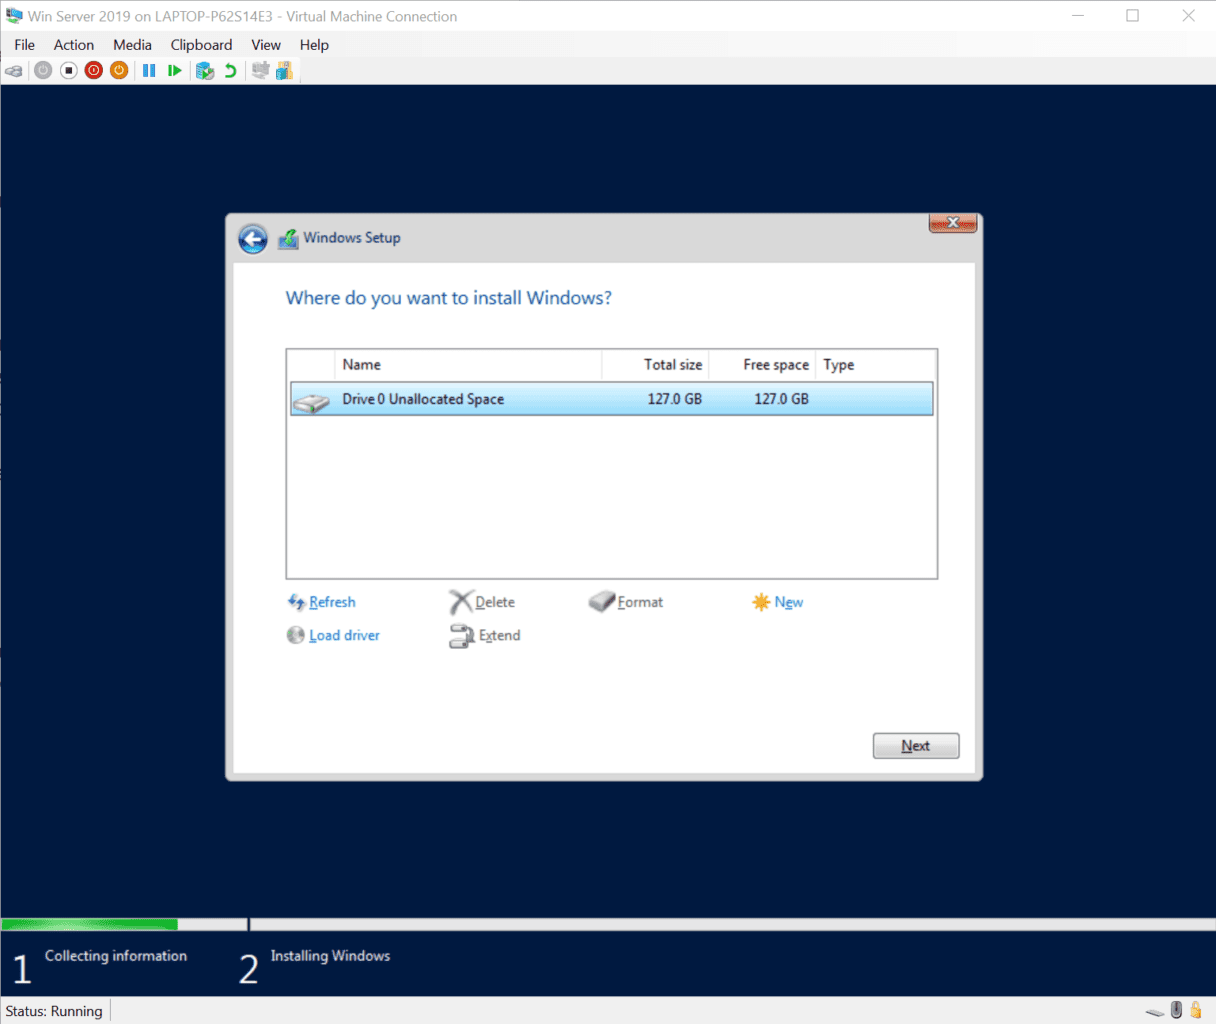
- Click Custom: Install Windows only (advanced).
- Click Next again to install Windows in the default VM drive.
Windows will now copy the installation files from the installation media to the VM disk and expand them. This process can take a few minutes depending on the speed of your host device.
- Once the first phase of setup is complete, the VM should automatically reboot.
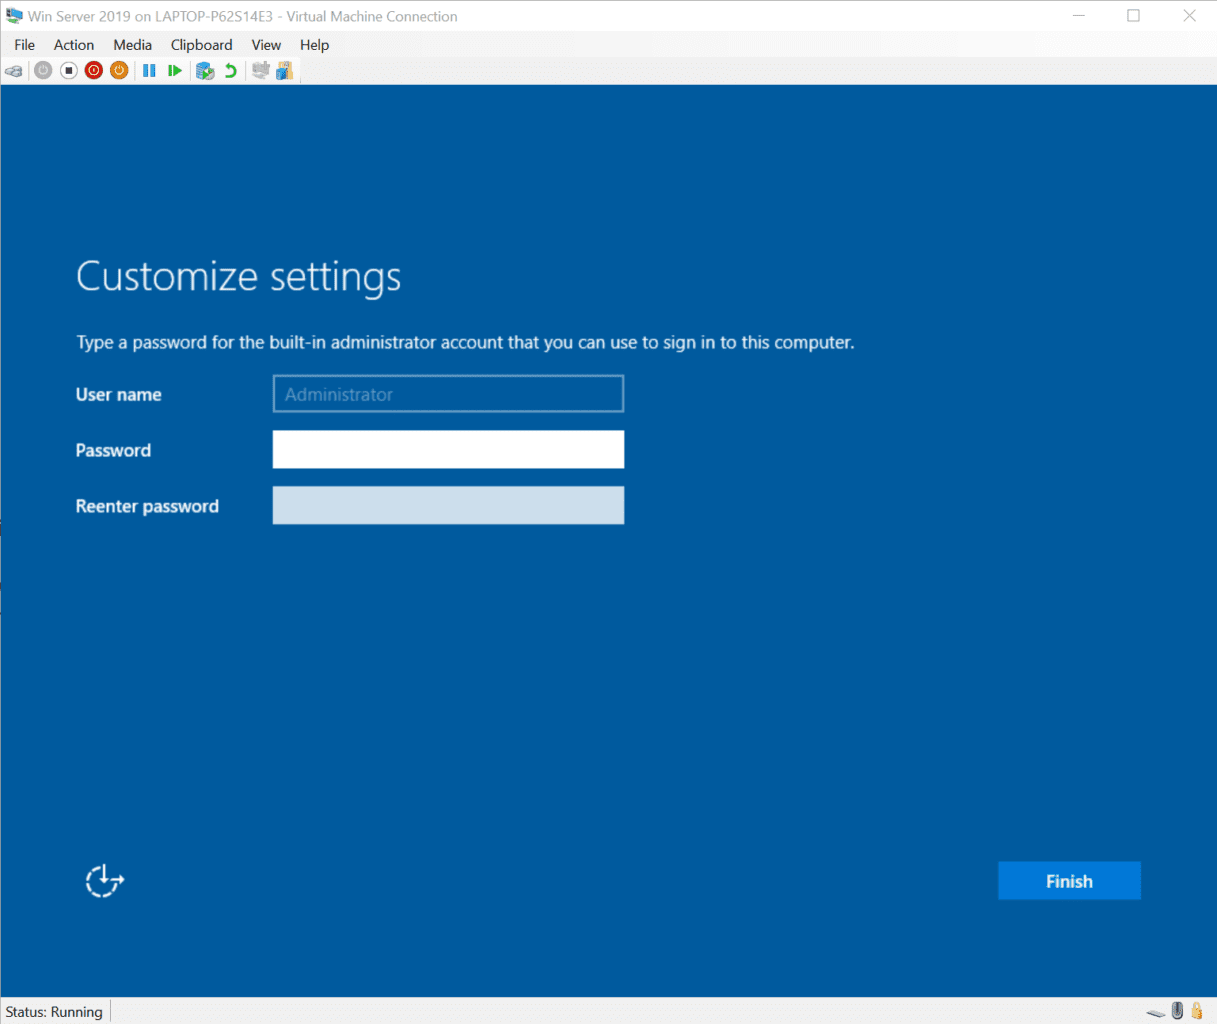
- You will then be prompted to enter a password for the built-in Administrator account. Type and confirm a password. And click Finish to continue.
You’ll be prompted to connect again to the VM. This establishes an ‘enhanced’ connection using the Remote Desktop Protocol (RDP) and it enables, among other things, features like copy and paste of text between your host OS and guest VM.
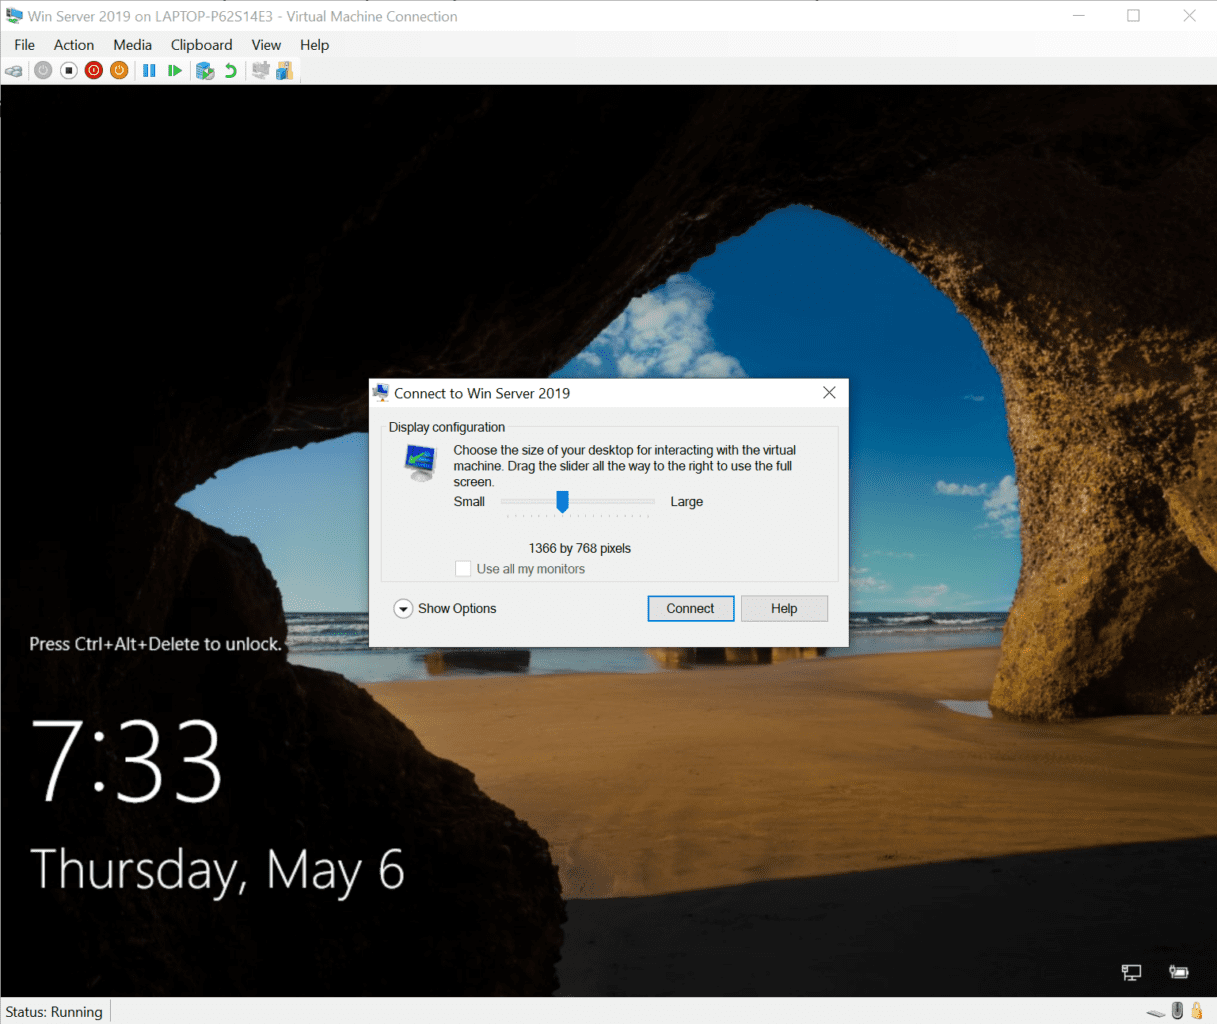
- Click Connect in the dialog that appears in the middle of the VM window.
- Now type the password you created for the Administrator account and press ENTER.
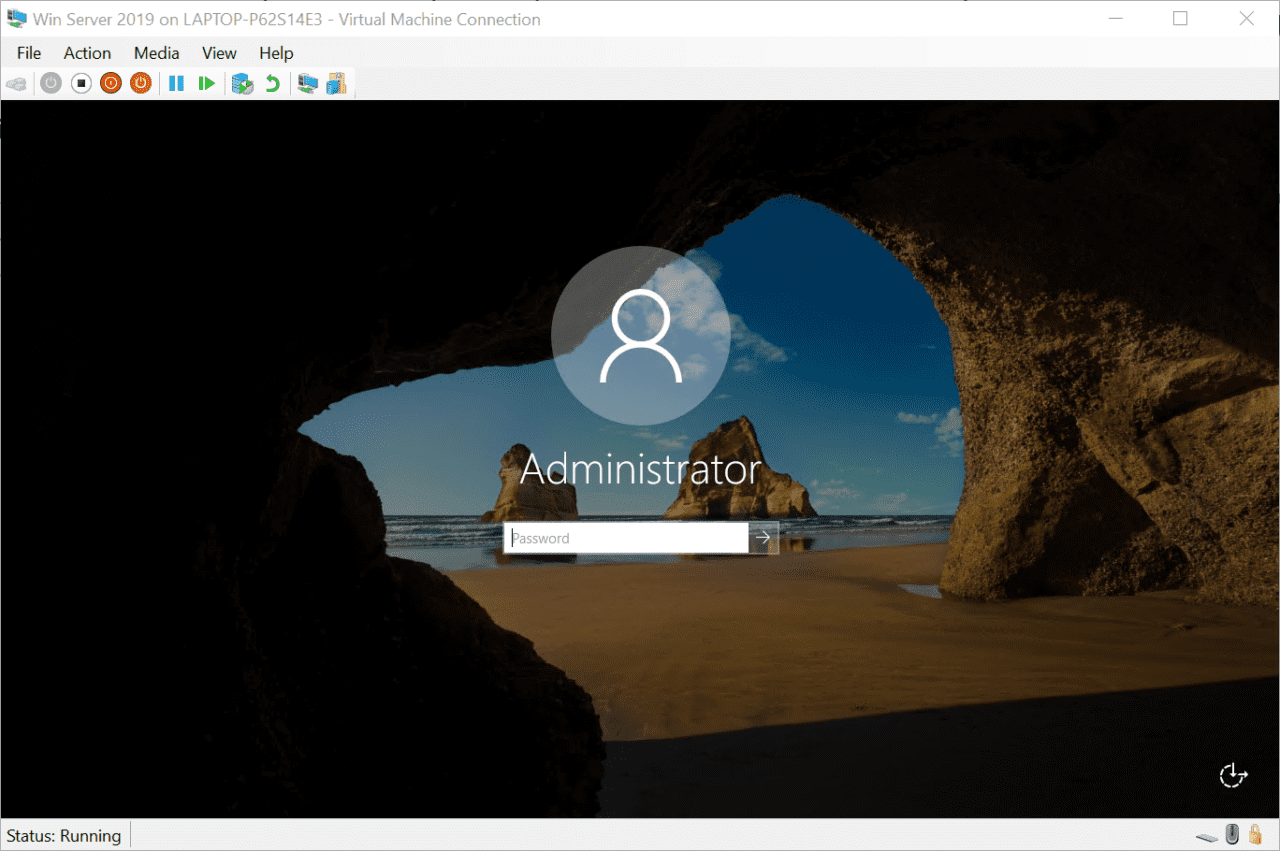
- After a few seconds, you’ll get access to your Windows Server 2019 desktop.
- If you want to enable network connectivity, click Yes in the Network dialog on the right of your server desktop.

And that’s it! Now you can use Windows Server 2019 in your virtual machine.