


How to Import and Export Delimited Files, like CSV, in PowerShell
- Blog
- PowerShell
- Post
The Export-CSV and Import-CSV cmdlets are exceptionally useful tools to both export data for consumption to other applications and to retrieve and import information from third-party data sources. Any time that one has to deal with data, there are several considerations to take into account, and these cmdlets help you to deal with those edge cases and issues that may arise.
The Export-CSV Command
First, let’s take a look at how to export data from normal PowerShell objects to a CSV file. CSV stands for comma-delimited values and is the most common format. You can use most any other type of delimiter, but for the purposes of this article, all files will be referred to as CSV. First, let’s set up a data series of data objects that we will then export to a CSV file.
$i = 0
$Objects = 1..10 | ForEach-Object {
[PSCustomObject]@{
"ObjectID" = $i
"Property1" = "Value1"
"Property2" = "Value2"
}
$i++
}
$Objects | Export-CSV -Path "C:\\Articles\\export.csv"
Once this code is run, you can open up the resulting file in Excel, or in Notepad, and see that the properties are comma-delimited.
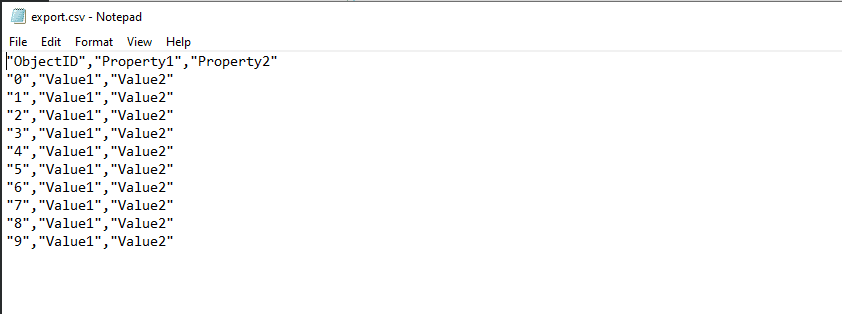
There may be situations where different systems want the resulting export file in different formats. Usually this revolves around the delimiter used and the quoting of values within the file. As you can see in the default example, all headers and values are quoted. This may not always be desirable or needed. First, let’s take a look at how to manage different delimiters.
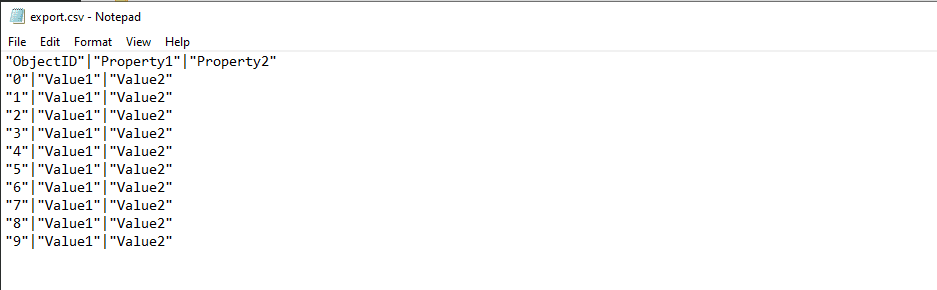
In the following example, we are going to change the delimiter to a | (pipe) character. This will take the place of the commas in the above example. As you can see below, each header and value is now separated by the pipe character.
$Objects | Export-CSV -Path "C:\\Articles\\export.csv" -Delimiter "|"
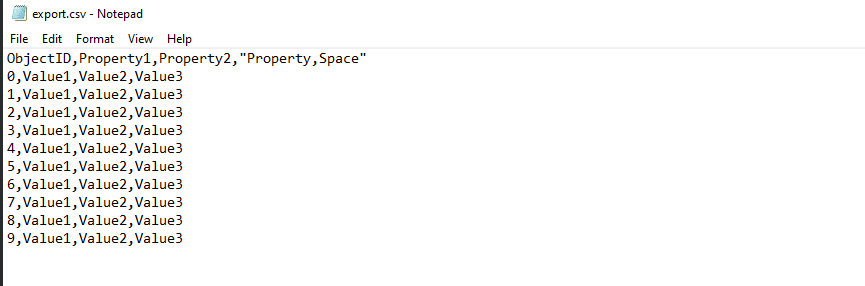
What about modifying the quoting of the exported files. Perhaps we do not quotes, except in the case where you have a header property that is separated by the delimiter character. To demonstrate this, we will add another property to our output that contains a comma in the property name. Next, we will use the -UseQuotes parameter and the AsNeeded value.
$i = 0
$Objects = 1..10 | ForEach-Object {
[PSCustomObject]@{
"ObjectID" = $i
"Property1" = "Value1"
"Property2" = "Value2"
"Property,Space" = "Value3"
}
$i++
}
$Objects | Export-CSV -Path "C:\\Articles\\export.csv" -UseQuotes 'AsNeeded'
There is one additional parameter that may be useful. This is the
-QuoteFieldsparameter. If you want to force certain fields to be quoted, add them as a comma-separated list of values and they will be quoted in the output.
Type Information in the Output
In Windows PowerShell, the default behavior of the Export-CSV cmdlet was to export the type information into the resulting CSV file. This meant that most scripts would include the parameter -NoTypeInformation as this would remove the exported type from the export file. In PowerShell 6.x and above, the default behavior changed to not output this value. Therefore, to include the information, you have to explicitly state your intentions to do so with the -IncludeTypeInformation parameter. This is an important, good to know, when converting scripts from Windows PowerShell to PowerShell 7.
Using the Import-CSV Command
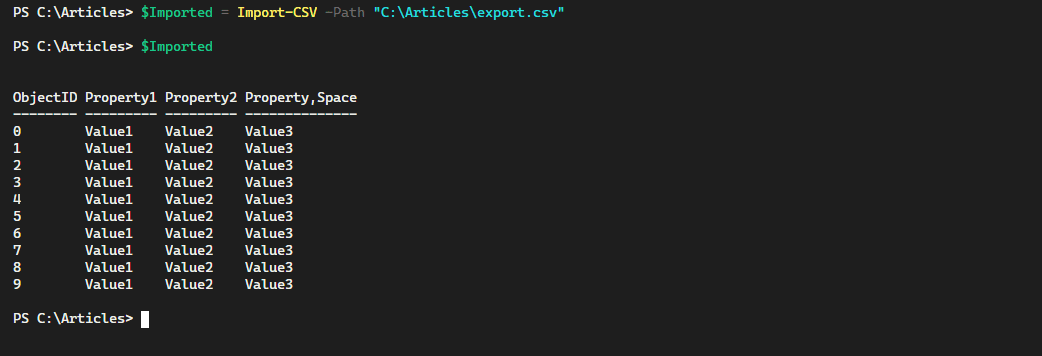
Just like the Export-CSV command, there is a corresponding Import-CSV command that allows us to consume files from another location. Taking the examples from before, let’s see how to import that data back into PowerShell. As you can see in the example shown below, using our comma-delimited file that is only quoted as necessary, imported successfully into PowerShell.
$Imported = Import-CSV -Path "C:\\Articles\\export.csv"
What about files that use a different delimiter than the default comma? We simply need to specify the delimiter to use via the -Delimiter parameter with the delimiter that is expected.
$Imported = Import-CSV -Path "C:\\Articles\\export.csv" -Delimiter "|"
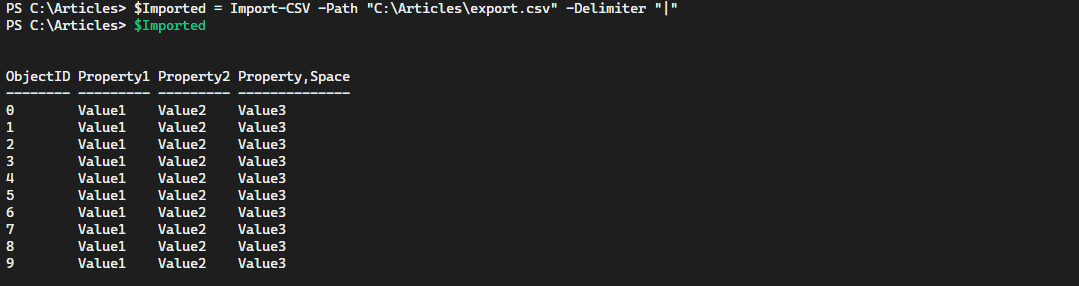
As expected, there is no difference in the objects that are imported into PowerShell. The next most common scenario is when you are given a file that does not have any header information. How do you import the data and assign the values to a named header? This is done by passing in an array of header values to the -Header parameter.
$Imported = Import-CSV -Path "C:\\Articles\\export.csv" -Delimiter "|" -Header @("ObjectID","Property1","Property2","Property,Space")
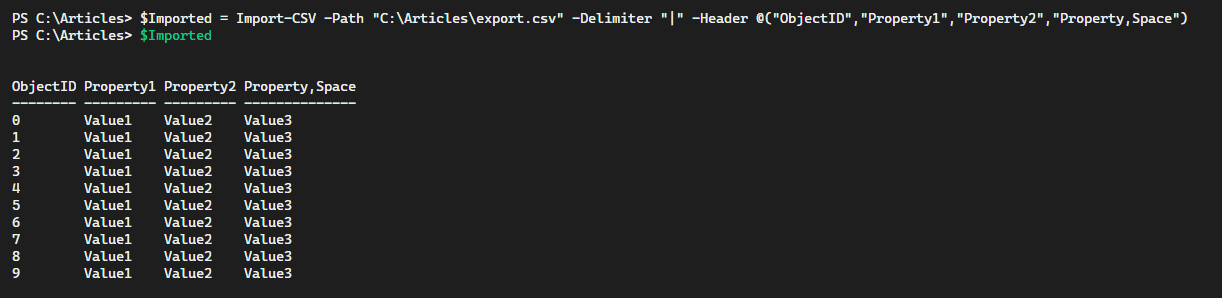
One final note for importing data and headers. If a line is encountered that has an extra value, but not corresponding header, one will be automatically generated using the format of H#. The # will be replaced with an incrementing value, such as H1. This is useful to know so that you can prepare for unclean data and how it will appear to PowerShell.
Conclusion
Both the Export-CSV and the Import-CSV commands are invaluable assets to system administrators and anyone working with data in the PowerShell environment. These commands make it easy to quickly export and import data for further manipulation. This further refinforces the view that PowerShell is a great “glue” language that is ideal for tying together disparate systems. See how you can use these two cmdlets in your scripts today!