


Hyper-V is the built-in hypervisor that comes free in Windows and Windows Server. It is used to run virtual machines (VM) on Windows. Virtualization is also used for other features, like Virtualization-Based Security (VBS), Windows Sandbox, and Windows Defender Application Guard (WDAG). Developers sometimes use virtualization with Visual Studio to run device emulators.
Microsoft introduced support for nested virtualization in Windows Server 2016. Nested virtualization lets you turn on Hyper-V inside a VM guest running on a Hyper-V host. So, you can think of it like a VM running inside a VM.
There are a few prerequisites that you need to meet before you can use nested virtualization. The VM configuration must be version 8.0 or higher. And nested virtualization is only supported on Intel CPUs with virtualization (VT-x) and Extended Page Tables (EPT).
Nested virtualization on AMD CPUs
Nested virtualization is available on Windows 10 build 19636 and later. As far as I understand, AMD support will be officially available as part of Windows 11 and Windows Server 2022. Both products are expected in the second half of 2021.
Create a virtual machine
Nested virtualization isn’t enabled by default. And it is enabled on a per VM basis. The first step is to create at least one VM on your Hyper-V host, whether it be Windows 10 or Windows Server. If you’ve never set up a virtual machine in Windows before, you can check out the guides below on Petri.
Guide: How to Install Windows 10 in a Virtual Machine
Guide: How to Install Windows Server 2019 in a Virtual Machine
You don’t need to install an operating system in your VM to enable nested virtualization.
Enable nested virtualization
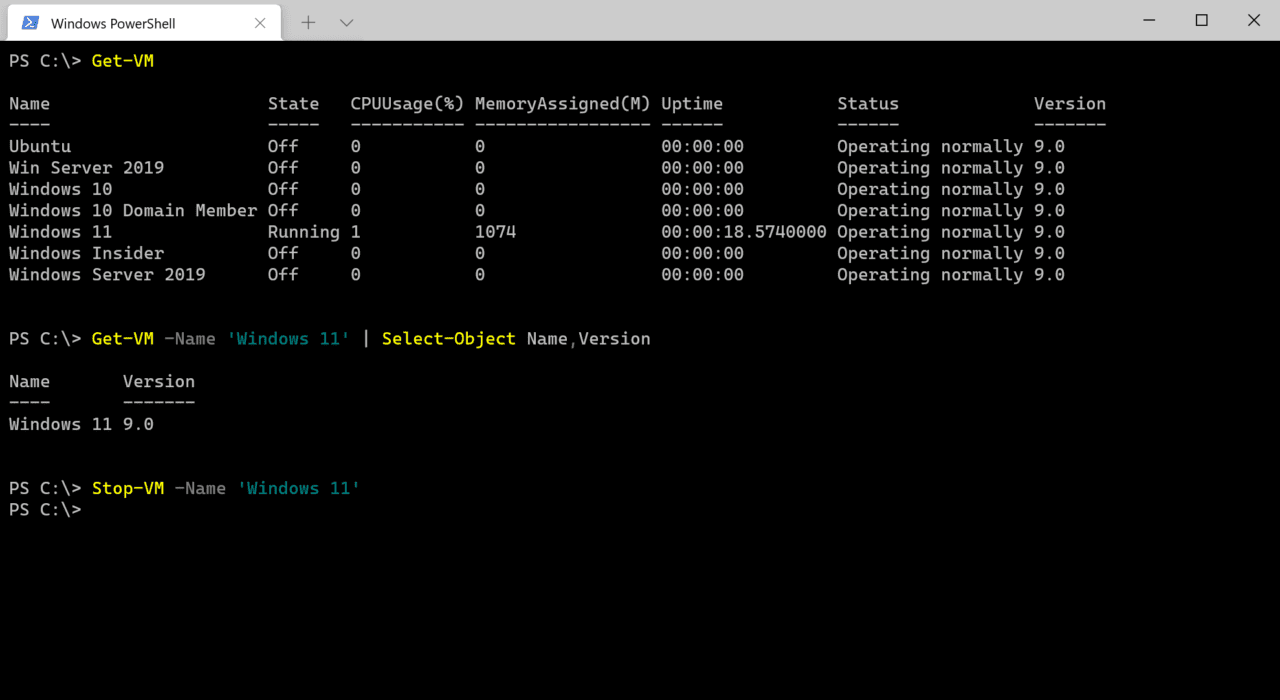
Once you have a guest VM setup on your Hyper-V host, it’s important to make sure that the VM is in the ‘Off’ state before enabling nested virtualization. You can stop VMs using Hyper-V Manager or using the Stop-VM PowerShell cmdlet. Open PowerShell or Windows Terminal and run the command below, replacing Windows 11 with the name of your VM.
Stop-VM -Name 'Windows 11'
If you are not sure of the name of the VM where you want to enable nested virtualization, you can get a list of VMs on the host using Get-VM. The Get-VM also provides the version number of each VM.
Get-VM
If you want to update the VM’s version number so that it can support nested virtualization, run Update-VMVersion as shown below, again replacing Windows 11 with the name of your VM.
Update-VMVersion -Name 'Windows 11'
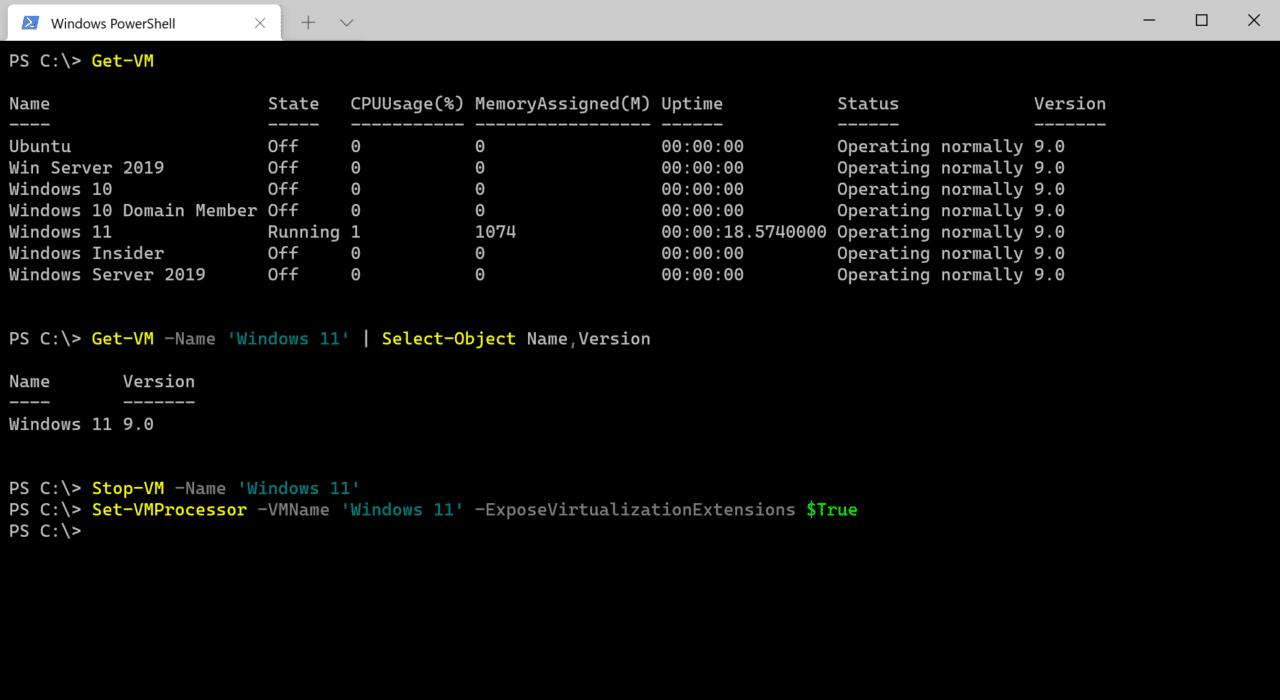
Now that the state of your VM is set to ‘Off’, you can enable nested virtualization. The only way to enable it is using PowerShell. In a PowerShell terminal window, run the command below, replacing Windows 11 with the name of your VM.
Set-VMProcessor -VMName 'Windows 11' -ExposeVirtualizationExtensions $True
Now all that’s left to do is start the VM, which you can do either using Hyper-V Manager or using PowerShell as shown below:
Start-VM -Name 'Windows 11'
When the VM has started, log in to Windows and you will be able to install the Hyper-V feature or server role, and any other features that depend on it.