


How to Create a PowerShell Powered Web Server Using Pode
- Blog
- PowerShell
- Post
Pode is a unique cross-platform PowerShell web server designed to host REST API’s, web sites, and TCP/SMTP servers. Support for templating languages, middleware, authentication, and SSL certificates. In this article, we explore creating a simple web site served via Pode and how a REST API server may be implemented.
Installing Pode and Creating the First Server
Installing Pode is easy to do using the Install-Module command. You can even specify the scope as CurrentUser so you do not need Administrator rights. Additionally, we are going to install Kestrel as well, a cross-platform .NET web server.
Install-Module -Name 'Pode' -Scope 'CurrentUser'
Install-Module -Name 'Pode.Kestrel' -Scope 'CurrentUser'
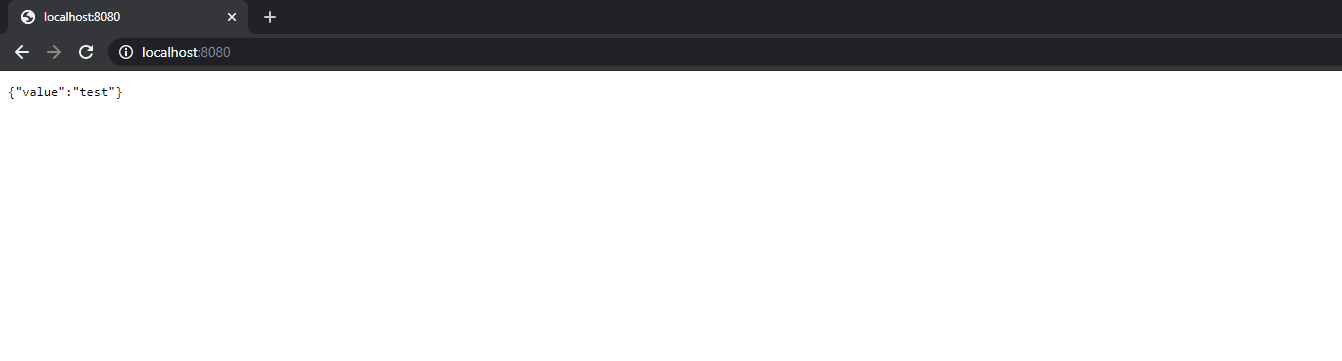
Next, we want to create a simple server, listening on 8080 and using Kestrel, to demonstrate a JSON response.
# Only need to import the modules the first time. Pode.Kestrel is only needed if using the Kestrel ListenerType.
Import-Module -Name 'Pode'
Import-Module -Name 'Pode.Kestrel'
# Start the Pode Server with the Kestrel ListenerType.
Start-PodeServer -ListenerType 'Kestrel' {
# Listen on port 8080, using the HTTP protocol and on localhost.
Add-PodeEndpoint -Address 'localhost' -Port 8080 -Protocol 'Http'
# Add a single method for the root and return a JSON response.
Add-PodeRoute -Method 'Get' -Path '/' -ScriptBlock {
Write-PodeJsonResponse -Value @{ 'value' = 'test' }
}
}
Using Kestrel this even works in the Windows Subsystem for Linux (WSL) and on most Linux servers!
Serving a Simple Web Site via Pode
Now that we have demonstrated how to serve a JSON response, how would we go about serving a web page through Pode? To do this, we need to first set up our views directory, relative to the directory that Pode is started in, and use the Write-PodeViewResponse to serve the files properly. Create the index.html file in the views directory, relative to the Pode server, and put in the contents, <h1>I am served via Pode!</h1>. Modify the Pode server file to incorporate the new response type, and run the server.
Add-PodeRoute -Method 'Get' -Path '/' -ScriptBlock {
Write-PodeViewResponse -Path 'index'
}

What if you want to add some styles to this page using CSS? You can create a public directory that lives alongside the views directory and any stylesheet referenced will then be looked for in the public directory as shown below.
index.html – Located in the views directory.
<html>
<head>
<link rel="stylesheet" type="text/css" href="/styles.css" />
</head>
<body>
<h1>I am served via Pode!</h1>
</body>
</html>
styles.css – Located in the public directory.
h1 { color: red; }
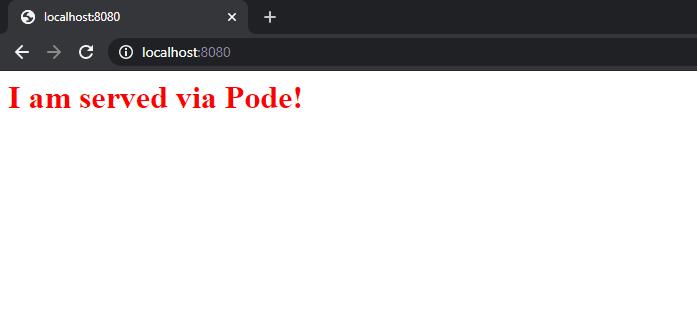
As you can see the h1 tag is now served in red. What is very useful is the fact that you can change these files at any time and the change will be instantly reflected, like any typical web server. This makes quick debugging and changes possible. Read on to learn about the next typical use case, using Pode to create a REST API server.
Creating a REST API Server in Pode
Now that you have seen how to create a typical web site served via Pode, what about a REST API server? This type of server is used to programmatically interact with different types of backends and present information in a way that is consumable to third-parties. Pode makes this easy to implement as you are able to leverage PowerShell to retrieve and format your data before serving it. Using a similar method to the original example, we will utilize Write-PodeJsonResponse to return a JSON response. In the below example, we are returning a value for the HTTP query parameter, userId. The $WebEvent variable is a Pode automatic variable that contains several useful pieces of information, notably the Query parameter that will return the data associated with any passed in parameters.
Add-PodeRoute -Method 'Get' -Path '/' -ScriptBlock {
$User = $WebEvent.Query['userId']
Write-PodeJsonResponse -Value @{
"UserID" = $User
}
}
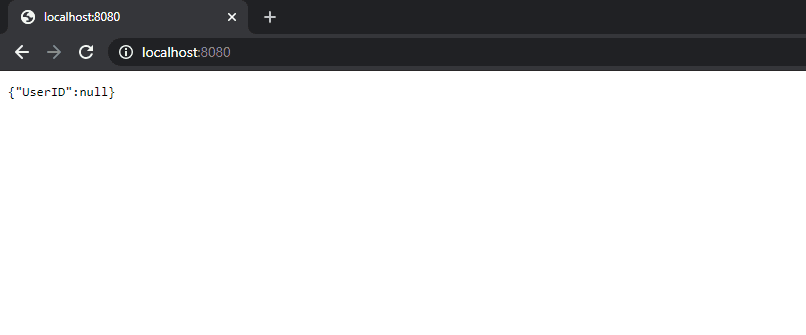
Without passing in a query parameter, we receive a null value.
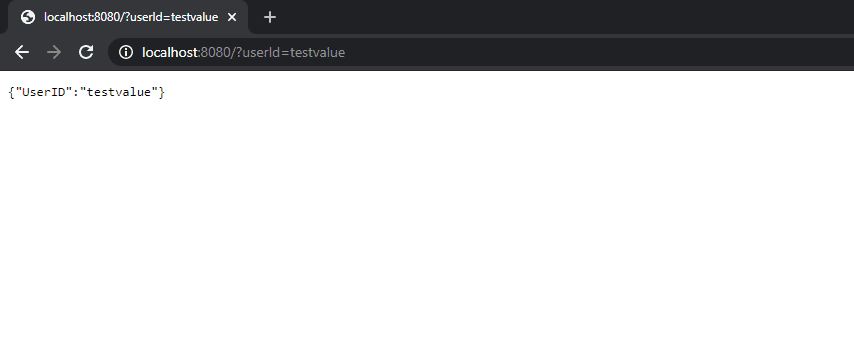
With a userId query parameter and value passed to the site, Pode echoes out the content that was passed in. In a real-world scenario, you would want validation on this data, most likely authentication, and formatting. This example demonstrates just how easy it is to create a server that easily returns the data that you need.
Now that you have served both a typical web site and REST API response via JSON, read on to learn a bit more of the possibilities that Pode offers.
What else can Pode do?
As mentioned at the start of the article there are quite a few additional ways to utilize and extend Pode. Below is just a quick listing, but will hopefully give you ideas as what can be done.
- Azure Functions, AWS Lambda, IIS, NGINX, and Apache supported.
- Listen on more than one IP address and hostname.
- Multiple thread support for scalable requests.
- Built-in templating engine to utilize inline PowerShell via
.podefiles, with additional support for other templating languages. - Middleware with support for authentication such as Basic, Windows, and Azure AD.
This is just a sampling of the available features!
Conclusion
Pode is a powerful and flexible cross-platform PowerShell web server that offers rapid development and tooling to integrate different aspects of your infrastructure together. Utilizing the powerful and familiar PowerShell language, Pode can fit right into your already existing scripts and act as the glue to interface different aspects of any operation together!