External Hard Drive Read Only Issue and Solution
I usually use an external USB drive to backup my files, documents, scripts, pictures and other important data. Recently, I was using a Samsung 1TB external drive and I was moving it back and forth between several machines. I was using a different computer (actually, it was a laptop) than the one I was regularly using at the time and something happened to my external USB drive.
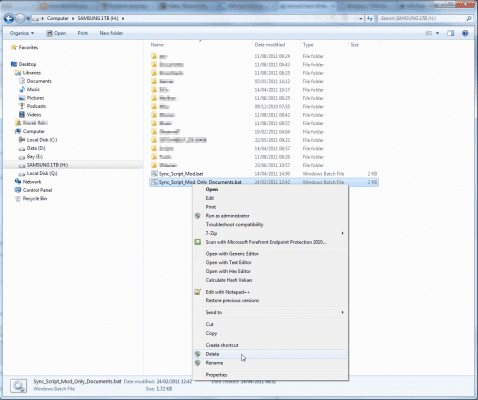
Right-click > New didn’t work. In fact, it was not even showing on the screen.
The Delete button on the keyboard didn’t work; pressing it didn’t do anything.
Files, folders, the entire disk seemed to be write protected, or read-only.
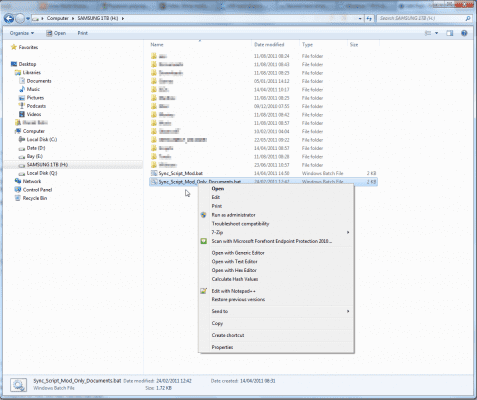
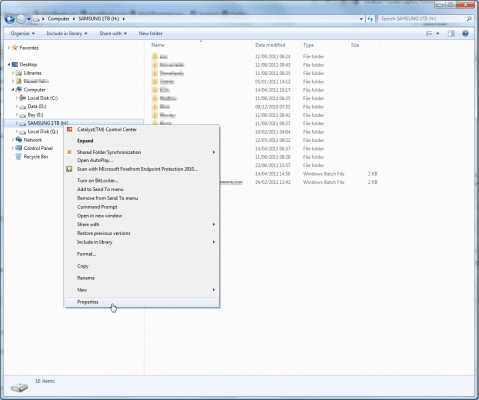
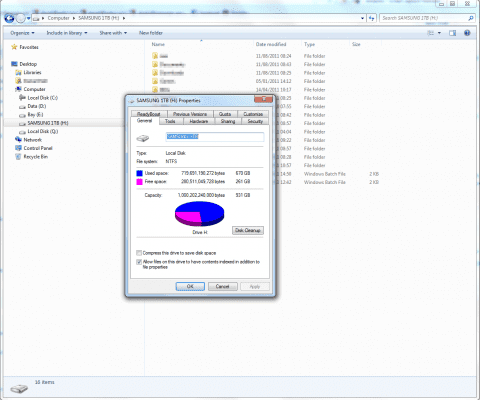
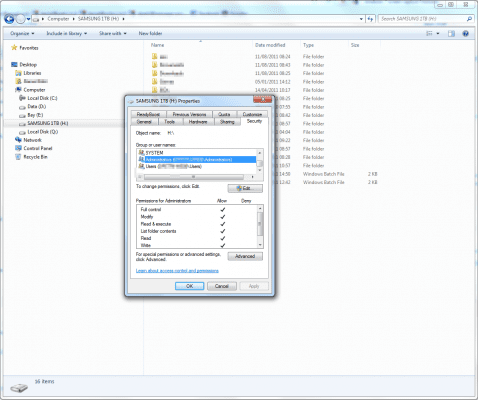
In order to investigate this, I looked at the volume properties in Windows Explorer. Nothing indicated that it was read-only. Nor did the folders or files within. My user was a member of the local administrators group, and these had Full Control. I also checked to see if there were no specific Deny permissions, and the answer was negative.
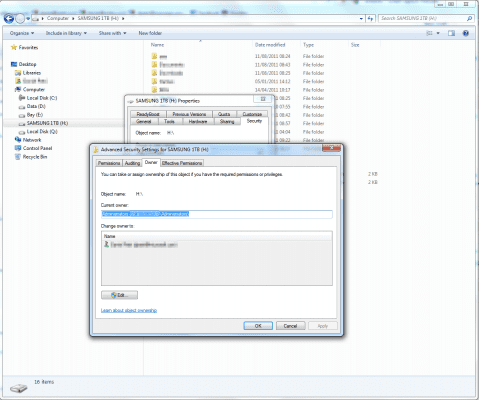
Looking at the ownership of the files and folders showed that it was not the problem. I was a local administrator, so there was no issue there:
Notice that there is no reference to the fact that the disk is read-only.
On the Security tab, also note that (in this case) the administrators group has Full Control permissions (my user is a member of that group), and that no individual deny permissions are assigned to any user or group.
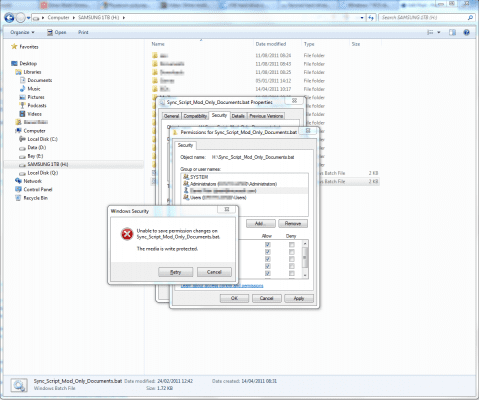
However, if you do try to edit existing file or folder permissions you may get an error similar to this:
Unable to save permission changes on “XYZ”.
The media is write protected.
In the Advanced > Ownership tab, note that (in this case) the administrators group has ownership (my user is a member of that group).
In order to further troubleshoot, I inserted the disk into a different computer, and behold, it worked like a charm. Inserting it back into this laptop caused it again to become read-only. Clearly, it wasn’t an NTFS permissions issue, otherwise it would have been read-only on the other computer as well. But that was not the case.
After some further investigation I found that the external disk may become read-only and even though the regular Windows Explorer UI does not indicate that it is.
There is a possibility that someone or something modified a registry key that makes the volume read-only. Read the following article:
Configure USB Disks to be Read-Only in Windows XP SP2
If the above article does not apply to your case, read on.
There are 2 methods you can use to determine if this is the case:
Method 1 – Using Diskpart
Read the DiskPart documentation on the following link:
DiskPart Command-Line Options
http://technet.microsoft.com/en-us/library/cc766465(WS.10).aspx
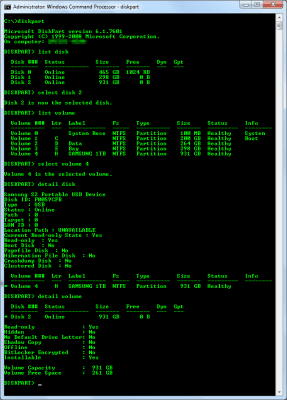
1. Open a Command Prompt with administrative privileges (Right-click > Run as Administrator).
2. Type diskpart and press Enter.
3. List the disks by typing:
list disk
4. Select the external USB disk by typing (in my example the external disk was disk 2):
select disk 2
5. List the volumes by typing:
list volume
6. Select the volume by typing (in my example the external disk was using volume 4):
select volume 4
7. Display the volume details:
detail disk
8. Display the volume details:
detail volume
Note that the Read-only attribute is Yes on both the disk and the volume.
Method 2 – Using Disk Management Console
1. Open Disk Management either by using Computer Management from the Administrative Tools folder, by using Server Manager (if this is a Windows Server 2008/R2 machine), or by typing diskmgmt.msc and pressing Enter.
2. After it loads, right-click the external disk and select Properties.
Solution
To solve this issue, you must use Diskaprt.
1. Open a Command Prompt with administrative privileges (Right-click > Run as Administrator).
2. Type diskpart and press Enter.
3. List the disks by typing:
list disk
4. Select the external USB disk by typing (in my example the external disk was disk 2):
select disk 2
5. List the disks by typing:
list volume
6. Select the volume by typing (in my example the external disk was using volume 4):
select volume 4
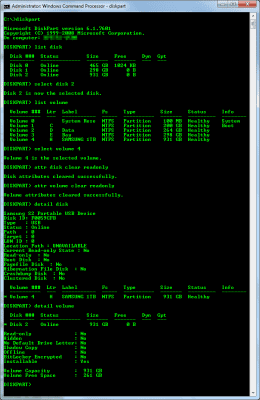
7. Set the read-only attributes for the disk and volume to be off:
attr disk clear readonly
attr volume clear readonly
8. Display the volume details:
detail disk
9. Display the volume details:
detail volume
Note that the Read-only attribute is Yes on both the disk and the volume.
Now you can save, edit, delete files and folders on the external drive.
External hard drives are very useful but only if you can access them fully. If you’ve ever found yourself in a situation where your external hard drive is read only, it can be very frustrating. However, as the above article demonstrates, getting the hard drive to work normally is a fairly easy process. Hope it’s helped you!


