


Exchange 2010 Cross-Forest Migration: Using ADMT and the Password Export Server
In the first two installments of this article series on Microsoft Exchange 2010 cross forest migration, we prepared both Exchange installations to work in co-exisitance mode. In this article, we’ll continue using our migration by using the Active Directory Migration Tool (ADMT) and the Password Export Server (PES) setup, and now we’ll prepare the configuration to perform the cross forest migration of users.
- Part One: Microsoft Exchange 2010 Cross-Forest Migration
- Part Two: Exchange 2010 Cross-Forest Migration: GAL Sync and Enabling MRS Proxy
Here’s a quick preview of the steps we’ll complete in this installment, which I’ll go into much greater detail as we progress through the operation:
- ADMT Admin Service account creation and configuration
- Install and configure ADMT tool
- Install and configure Password Export Server (PES) on source forest DC greendc.green.com
- Configure registry to allow password export on source server Greendc
- Disabling SID filtering on the target domain blue.com
- Copying Certificate from the blue.com CAS servers to green.com CAS servers and vice versa
1. ADMT Admin Service account creation and configuration
The ADMT service account plays a major role during the migration. It needs permission on both the source and target forest. It helps to migrate the users, groups, and computers to migrate from source to target.
- Create a service account ‘ADMTAdmin’ in the domain blue.com and provide ‘Domain Admin’ permission at blue.com forest.
- Add ‘blue\ADMTAdmin’ into the built-in Administrator’s group for the source forest, green.com.
2. Installing and configuring the ADMT tool
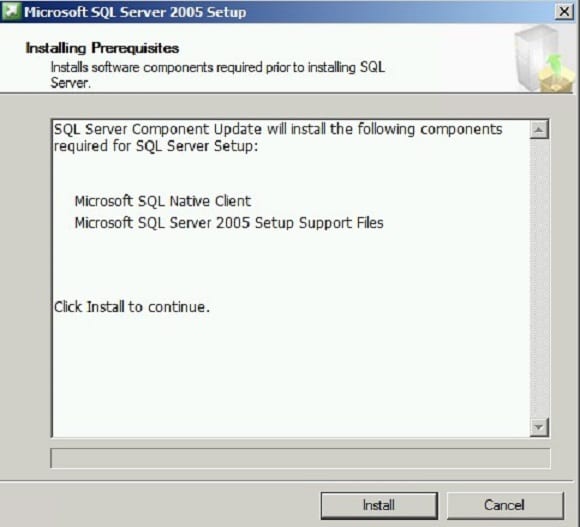
SQL Server is a pre-requisite for an ADMT tool, and it needs to be installed prior to ADMT installation. Microsoft has SQL recommendations for working with ADMT 3.2 in a command-line mode.
If you have a requirement to install ADMT 3.2 on a domain controller to use command-line or scripted user migrations with SID History, then install SQL 2008 SP1 (non-Express edition) on a Windows Server 2008 R2 member server in the target domain and select that remote instance when installing ADMT 3.2 on the DC. Alternatively, you can install SQL Express 2005 SP3 on the DC.
Installing and configuring SQL 2005 SP3 Express edition
- Log on to bluedc.blue.com as blue\ADMTADMIN
- Download SQL Server 2005 SP3 Express edition from Microsoft and perform the default installation.
Installing and configuring ADMT 3.2
- Download ADMT 3.2 from Microsoft and perform a default installation.
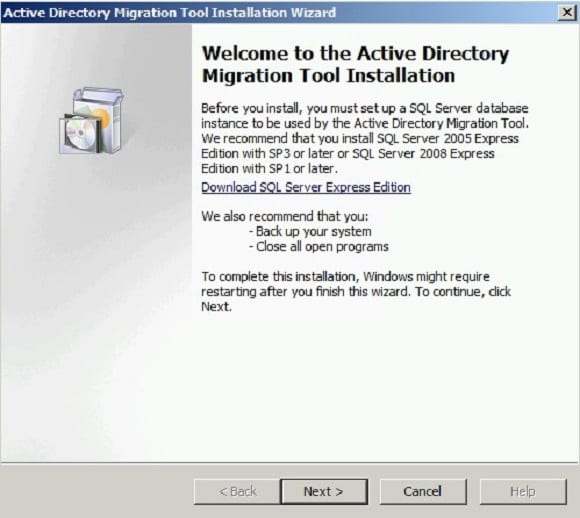
- During the Installation of ADMT, on the Database Selection page, type .\SQLEXPRESS to use a default SQL Server Express instance on a local server
3. Installing and configuring Password Export Server on source forest DC
The PES server helps to migrate passwords from the source domain to the target domain. It integrates into the ADMT tool to perfom this operation. The ADMT key has to be generated at the target domain (blue.com), and it has to be imported into the source forest PES server.
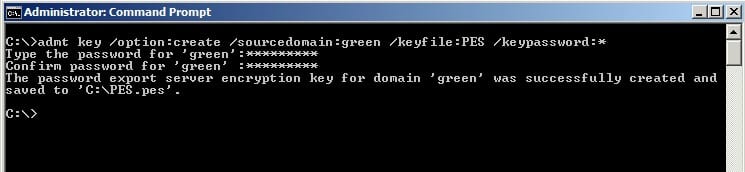
Generating ADMT key at target domain blue.com
This is to generate the ADMT encryption key, log in to the ADMT server (bluedc.blue.com), and then start the command prompt by run as administrator and execute the command below. You will be prompted for the password, key in the password and again confirm the same. This generates the encryption key file at the path “C:\Pes.pes”.
admt key /option:create /sourcedomain:green /keyfile:PES /keypassword:
Installing and Configuring PES server at source forest greendc.green.com
- Log in to the domain controller, greendc.green.com.
- Copy the file C:\pes.pes from the bluedc.blue.com to root directory (C:\) of the server greendc.green.com
- Download the Password Export Server (PES) 3.1 into the server greendc.green.com.
- Perform the default installation of the PES Server.
- During the installation wizard, on Encryption file page, provide the encryption file path “c:\PES.pes” and click ‘Next.’
- Enter the password that was used to generate the encryption key, and click ‘Next’ to continue the installation.
- The install wizard will prompt you to specify the service account to run the Password Export Server service. Input the service account ‘Blue\admtadmin’ and the password, then click ‘OK’ to continue the installation.
- Reboot the server once the PES is installed successfully.
- On reboot of the server greendc.green.com, log in and start the windows services console.
Next, start the service Password Export Server Services.
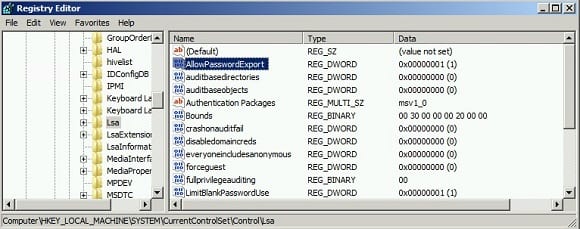
4. Configure registry to allow password export on source server Greendc.green.com
Apart from configuring the PES server, some registry settings need to be configured to allow the password to be copied from the source to target account.
- Logon to greendc.green.com and start registry editor (regedit)
- Navigate to HKEY_LOCAL_MACHINE\SYSTEM\CurrentControlSet\Control\Lsa
- Edit Dword ‘AllowPassworExport’ and change the value from 0 to 1
5. Disabling SID filtering on target domain blue.com
It is the best practice to preserve the user’s access on the source forest once the AD account is migrated to the target forest. This is done by copying the SID from source account to the target account as SID History and it is performed using ADMT migration. SID history can be used for a roaming user profile access, certification authority access, software installation access, and resource access. SID filtering is enabled by default, while configuring the two-way trust between the forests. It also needs to be disabled using the following steps:
- Log into blue domain (bluedc.blue.com) and start the command prompt with run as administrator.
- Only domain administrators or enterprise administrators can modify SID filtering settings. To disable SID filter quarantining for the trusting domain, type a command using the following syntax at a command-prompt:
Netdom trust TrustingDomainName /domain:TrustedDomainName /quarantine:No /usero:domainadministratorAcct /passwordo:domainadminpwd
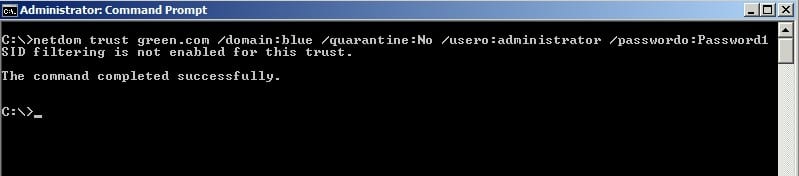
The following is the command that’s executed on bluedc.blue.com.
Netdom trust green.com /domain:blue /quarantine:No /usero:administrator /passwordo:Password1
6. Copying certificate from the blue.com CAS servers to green.com CAS servers
This is only for the lab environment, as the Exchange certificates are issued by a local untrusted CA and cross-forest CAS servers may not be able to establish the TLS connection between the two cross-forest CAS servers and the move-mailbox requests will fail. The following image shows the error snapshot.
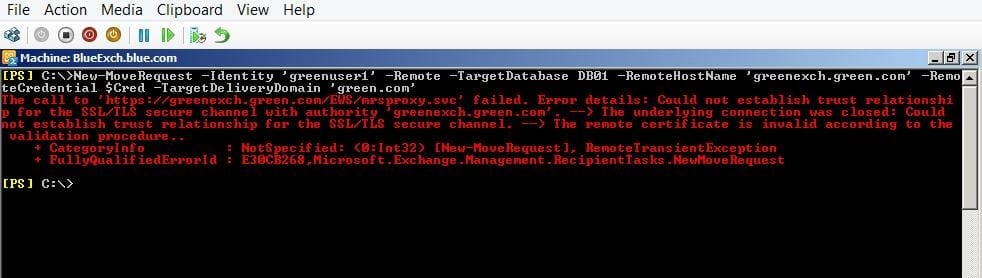
Hence, copy the root certificate and Exchange certificate from greenexch.green.com (CAS) to the blueexch.blue.com (CAS) server’s ‘Trusted Root Certification Authorities’ container with the following steps:
- Log into greenexch.green.com
- Click Start, type mmc in the Search programs and files box, and then press ENTER.
- On the File menu, click Add/Remove Snap-in.
- Under Available snap-ins, double-click Certificates.
- Select Computer account, and then click Next.
- Click Local computer, and then click Finish.
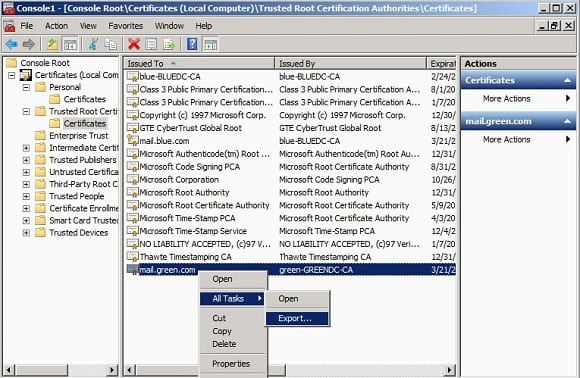
- Expand the certificates and ‘Trusted Root Certificate’ container and select the mail.green.com certificate and right click and export.
- Click Next on the Welcome screen
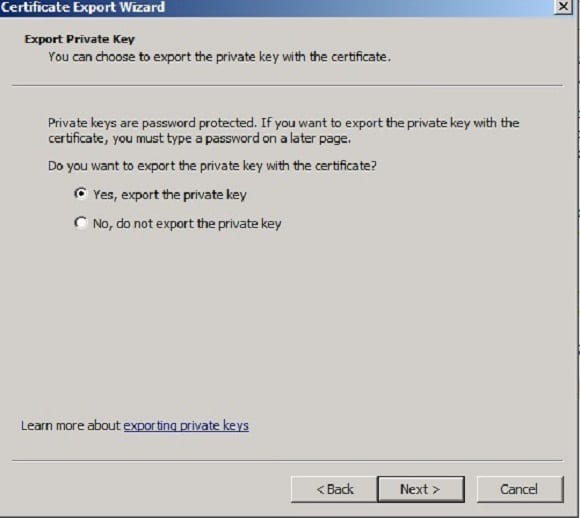
- Select ‘Yes, export the private key’, and click Next.
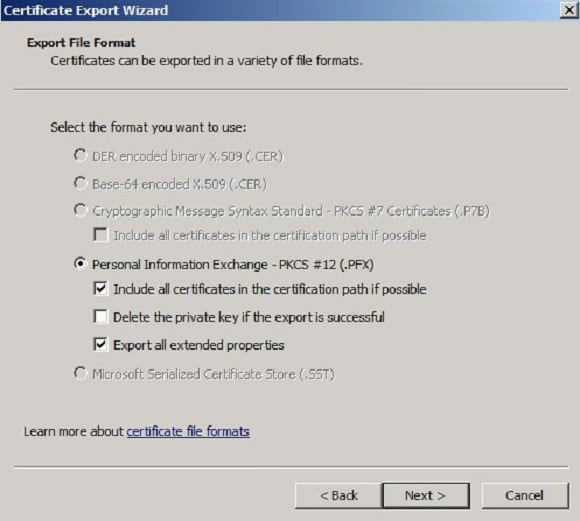
- Select ‘Include all certificates in the certification path if possible’ and ‘Export all the extended properties’, and click Next.
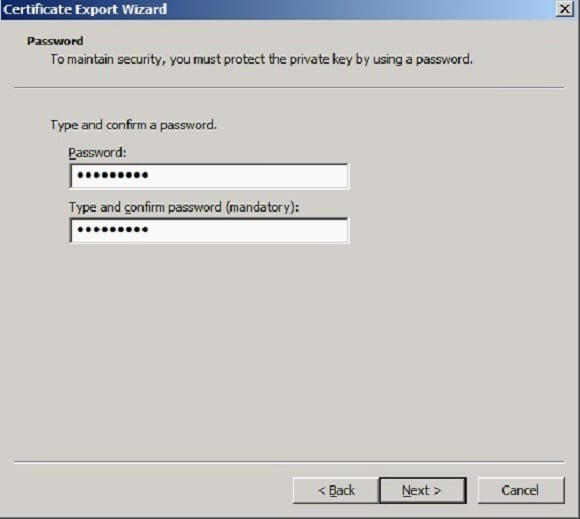
- At the password page, enter the password and confirm with the password.
- Specify the path to save the .pfx file and then click ‘Next’.
- Click on ‘Finish’ to complete the Certificate Export Wizard.
- Copy the Greencert.pfx file to the blueexch.blue.com, c:\temp folder.
- Log into blueexch.blue.com to import the certificate.
- Add the Certificates snap-in to an MMC for a local computer account using steps two through five above.
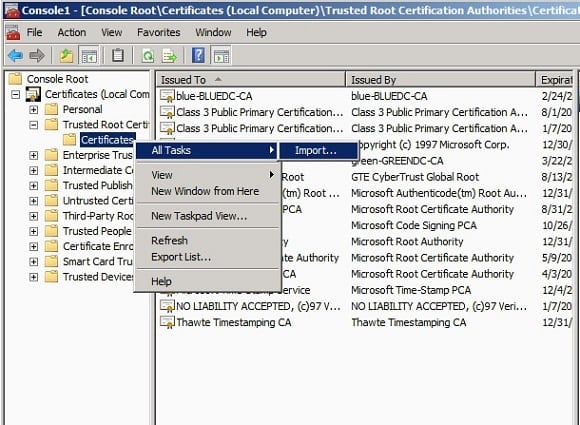
- Expand the Certificate -> Trusted Root Certificate -> certificate -> right click -> All Task -> Import
- Specify the file path to import(c:\temp\Greencert.pfx), and click ‘Next’.
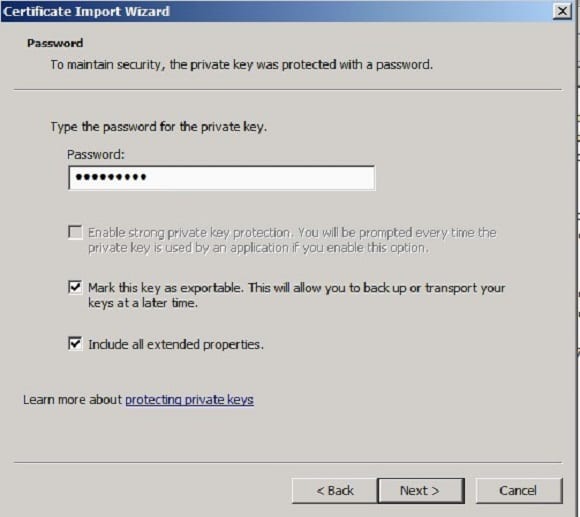
- Input the password that was used during the export process and select ‘Mark this key as exportable’ and ‘include all extended properties’, and click ‘Next’.
- Click ‘Next’ and finish the Certificate Import Wizard.
Most of the steps for copying the certificate from the blue.com CAS servers to green.com CAS servers may not be required in a production environment, as the CAS servers will have certificate from external trusted root Certificate Authority.
With this, we have prepared both the Exchange forest blue.com and green.com, where they are ready for migration of users. In the next and the final part of the article series, we will use our custom script to migrate the users from green.com to blue.com.