


Declutter Your Inbox with Office 365 Clutter Enhancements
Last fall Microsoft released a new tool called Clutter to help Office 365 users automatically organize the email in their inboxes. This tool is currently only available to Office 365 customers and can’t be found in any Exchange on-premises versions. Clutter learns your email patterns over time and moves your low-priority messages to a folder named Clutter. The expectation is that these messages are the ones that you most likely would not have done anything with, so Clutter declutters your inbox moving them out of sight and out of mind.
Recent Clutter Improvements
It’s been a few months since the original release, and Microsoft is now offering some enhancements to Clutter. The Office 365 team announced in early March that there are now three new Clutter-related features that Office 365 email customers can start utilizing. They include the ability to bypass Clutter filters, configure retention policies and personalize system notifications. Let’s dive in to each of these new features and learn how to configure and take advantage of them.
Transport Rule to Bypass Clutter Filters
As previously stated, Clutter has the intelligence to study your email behaviors to better learn how email should be managed. In some cases, we’re learning that there are times where we may want Clutter to ignore certain message types. Once configured, Clutter can ignore a specific message that will remain in the user’s inbox. This is useful for important messages that your team must see and you wouldn’t want it accidentally reorganized by Clutter. In this example, we’ll talk about setting up Clutter bypass for meeting requests.
It’s become a rule of thumb to always accept meeting requests from your inbox. If they are not accepted from the inbox, then you risk the side effect of meeting corruption, where the meeting may disappear from your calendar unexpectedly. Another reason to keep meeting requests in inboxes is to make sure that your meeting response is recorded accurately. If a meeting request is moved by Clutter, then the meeting organizer won’t know if you’re able to attend, and the user might just miss that very important meeting.
Now that we understand why Clutter shouldn’t reorganize meeting invites, let’s look at how to set up Clutter bypass to have it ignore meeting requests. Please note that you must be an Office 365 administrator with access to the Exchange components. Exchange Management Shell or the Office 365 Console can also be used to do this work, and each method is shown below.
Using Remote Powershell to Exchange Online and the Exchange Management Shell
1. Connect to Exchange Online Using Remote PowerShell. For additional details on how to do this see this, refer to the following TechNet article.
2. Run the following command by filing in your own rule name and filling in your organization name.
New-TransportRule -Name -organization -SubjectContainsWords "Meeting" -SetHeaderName "ClutterBypassedByTransportRuleOverride" -SetHeaderValue "true"
For more details about the above PowerShell command please, see the following TechNet article.
Using the Office 365 Console
1. Go to Office 365 portal.
2. Sign in to your Office 365 subscription as an administrator.
3. Click the Admin button.
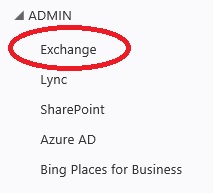
4. Scroll down and click Exchange.
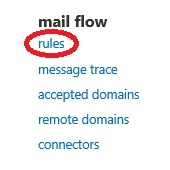
5. Click rules under “mail flow”.
6. Click the + sign and click “add a new rule” to start the creation of the Clutter bypass rule.
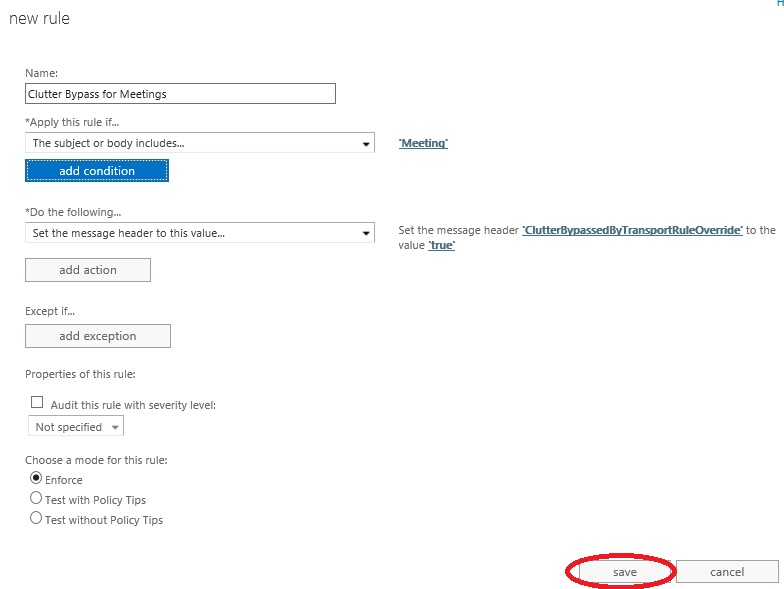
7. Create the rule with the settings below and click Save to complete.
Retention Policies for Clutter
The next new feature recently added to Clutter offers retention policies for Clutter data. Standard retention policies within Office 365 are typically used in conjunction with the policies that your legal and compliance teams have put together. These policies typically determine what data is retained and for how long. Retention policies are also beneficial for policy surrounding archive data and when data stays in the regular mailbox versus moving to the end users’ archive. Now Office 365 administrators can create similar retention policies for Clutter by helping to determine how long data in the Clutter folder will be stored. In order for this to work, Clutter needs to be set up with a retention tag and retention policy. Here’s how you can get started with this new feature.
Create a retention tag
First, we need a retention tag. Retention tags can be applied to any default folder within your mailbox. Here are the steps to setting up a retention tag for Clutter data.
1. Choose Compliance Management from within the Exchange online management console.
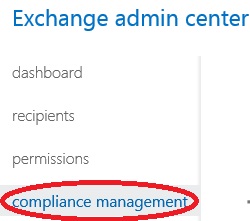
2. Click Retention Tags.
![]()
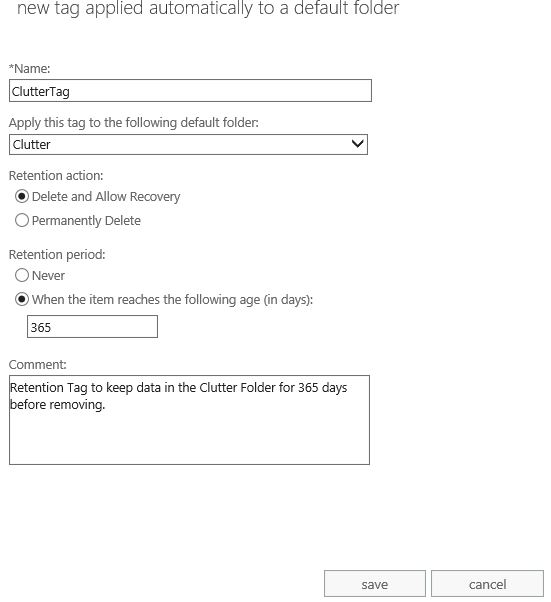
3. Click the + sign and then choose “Applied automatically to a Default Folder”.
4. Create the new retention tag and click Save
Add the new tag to a retention policy
Retention policies are used in conjunction with the retention tag that we just created. In order for the tag to function, it must be in a retention policy. Because Clutter is now considered to be a default folder, it can be added to the default policy. If you prefer to place the tag in its own policy, that’s okay, too. Let’s get started!
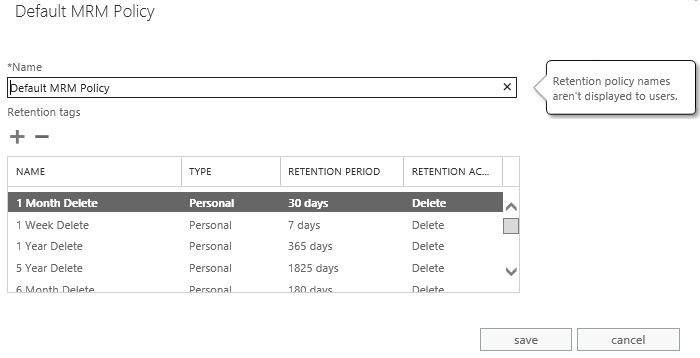
1. From within the same section of the console, click retention policies.
![]()
2. In this case, we’re going to add the tag to the default MRM policy, so double-click default MRM policy
3. Click the + sign to add the new tag to the Default MRM Policy.
4. Choose ClutterTag, click Add and then click OK.
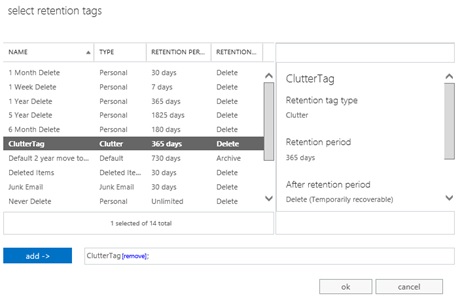
5. Click Save to complete the process.
That covers this process to setup a retention tag and policy for Clutter. For more information on how to work with retention tags and policies, please see the following Technet article.
Clutter Personalization
Throughout this article we have discussed what it means for our Office 365 deployments to use Clutter, along with outlining the feature’s most recent product enhancements. This final enhancement helps businesses modify system notifications to users about Clutter. This personalization allows administrators to modify and personalize notifications. For example, the sender display name can be modified, and Microsoft says that down the road we’ll be able to add our corporate logs to these system notifications. Microsoft has not provided much guidance on how to set this up yet, but has promised some detailed information soon.
That summarizes that newly released features and how you can get started with them. These new enhancements to Clutter are designed with the user in mind, ensuring that our users can do their jobs effectively and efficiently.