


Adding a ToolTip using SAPIEN PowerShell Studio
- Blog
- PowerShell
- Post
In a previous article, I demonstrated how to add pop-up help for a WinForm-based PowerShell script using the ToolTip control. Because creating a WinForm script manually can be a tedious process, many IT pros find it useful to use a commercial product, such as PowerShell Studio from SAPIEN. You can download a free evaluation copy from SAPIEN.com. Let’s say that I have an existing project and want to add some ToolTip help. I want to use the same technique from my previous article, so check that out first before continuing.
I have my project open in PowerShell Studio. Find the ToolTip item in the control Toolbox.
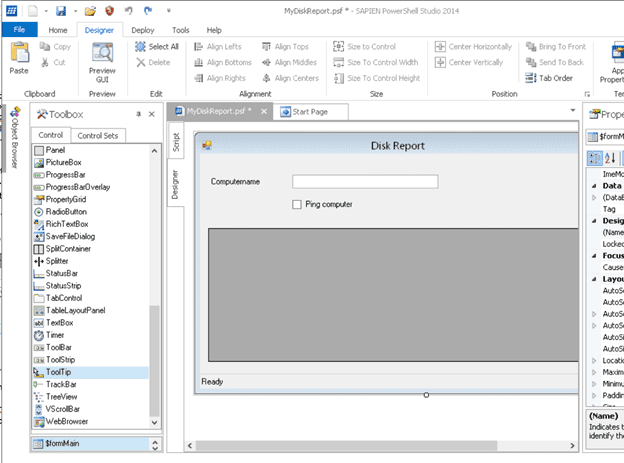
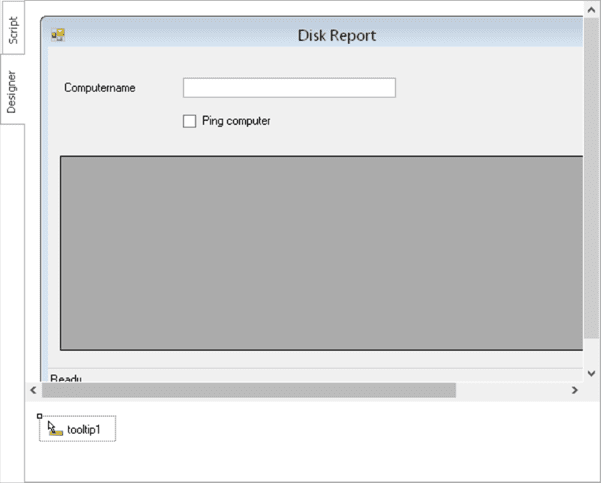
Drag and drop the control anywhere onto the form. It isn’t a visible part of the form, but it’s there behind the scenes.
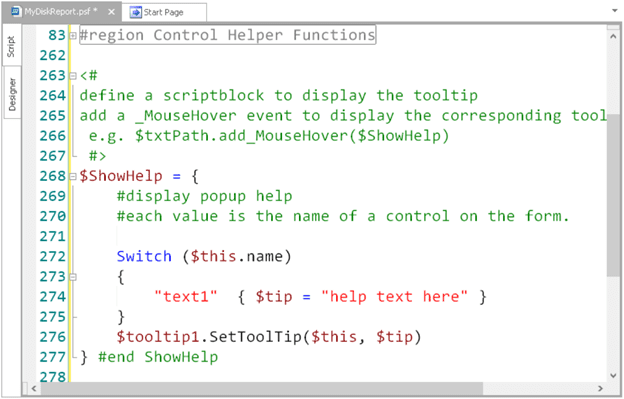
Next, I’ll select the Script tab and paste the outline of my ShowHelp command.
$ShowHelp = {
#display popup help
#each value is the name of a control on the form.
Switch ($this.name)
{
"text1" { $tip = "help text here." }
}
$tooltip1.SetToolTip($this, $tip)
} #end ShowHelp
My template assumes you are using a ToolTip control called $ToolTip1. It shouldn’t really matter where you insert the command. Eventually I will copy and paste the switch statement for every control that I define.
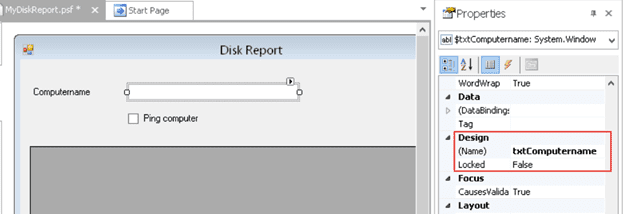
Now I need to connect the different controls to this command. Jumping back to the Designer tab, I select a control to verify its name.
I need to tie my command to an event. While the control is selected, press Ctrl+E, which gives you a list of all events. Scroll down and select MouseHover.
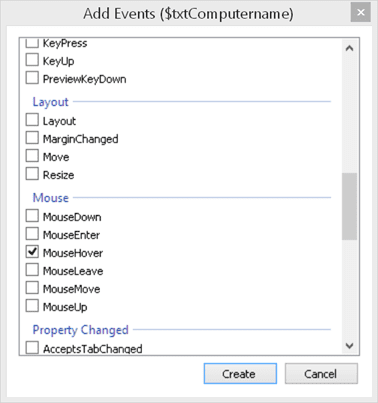
Click Create and PowerShell Studio will insert the necessary code. All I have to do is specify the name of my ShowHelp scriptblock.
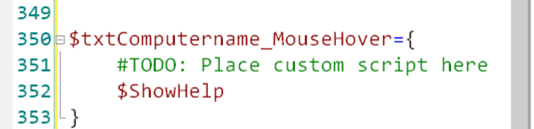
I’ll repeat this process for the other controls on my form. There is a subtle distinction between what I am doing here compared to what I did in the previous article with a simple form.
In PowerShell Studio, the application is inserting a handler for me. In order for my ShowHelp command to run I need to invoke it with the & operator.
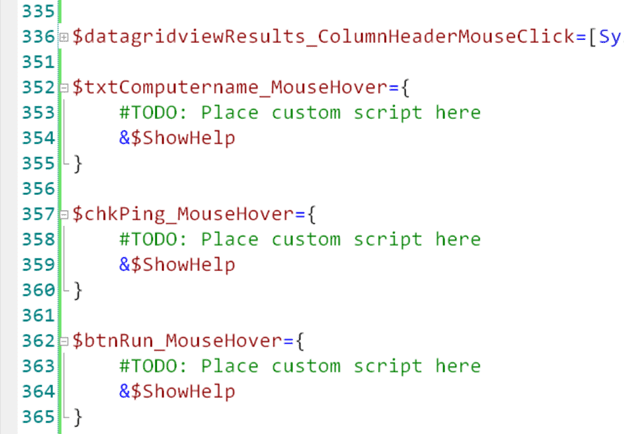
Finally, I need to update my scriptblock for the correct names and define the associated popup text.
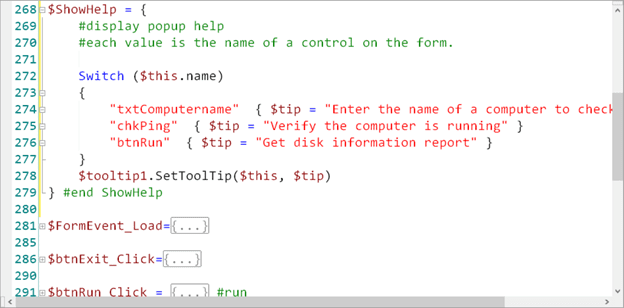
In PowerShell Studio, the name of the control is almost always the name of the variable so as long as you use a consistent naming convention. This doesn’t take much effort to complete.
Now I can export the project to a PowerShell script file and test it out.
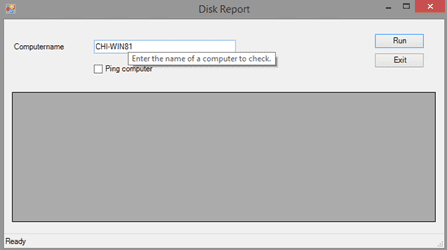
Hovering over any of my controls with defined help should show the tooltip.
If I had not used the & operator, my ShowHelp scriptblock would not have run. In my final PowerShell script, this is what the code looks like:
$txtComputername.add_MouseHover($txtComputername_MouseHover)
As an alternative, I could modify the event to call ShowHelp directly.
$txtComputername.add_MouseHover($ShowHelp)
However, I would have had to wait until the final script was created to make the change. I could have set ToolTip help in each _MouseHover event handler, but personally I find my ShowHelp scritpblock easier to use because I can define all the help strings in one location. Ultimately, it depends on what you find easier to work with.
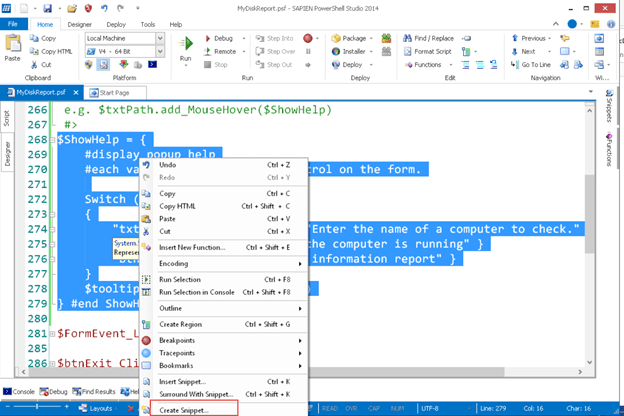
If you find yourself using my ShowHelp technique, you may want to save it as a snippet in PowerShell Studio to save some yourself from typing next time. Select the code in the script editor and right-click.
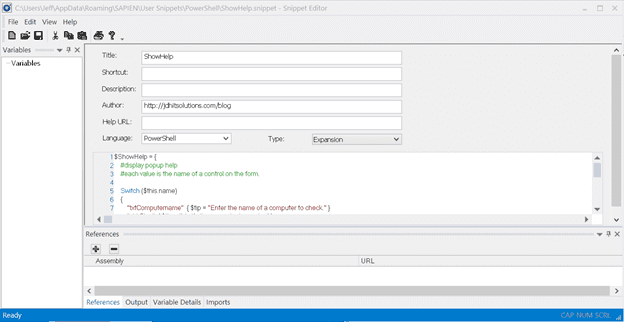
Click on Create Snippet. Enter the name of your new snippet in the dialog box. Add any optional metadata you’d like.
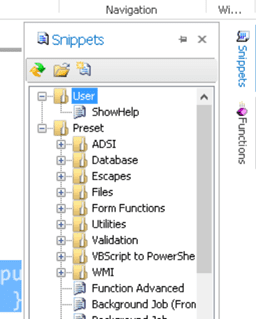
The next time you need the scriptblock you can easily insert it from the Snippets menu.
PowerShell Studio is updated all the time, and SAPIEN is always adding features to make it even easier to create WinForm- based scripts. Perhaps at some point in the future they will include a helper function for tooltips. But for now, it really isn’t that difficult to add your own.
I’ve put my final PowerShell script along with the PowerShell Studio form file in a zip archive if you would like to download and try this out for yourself.